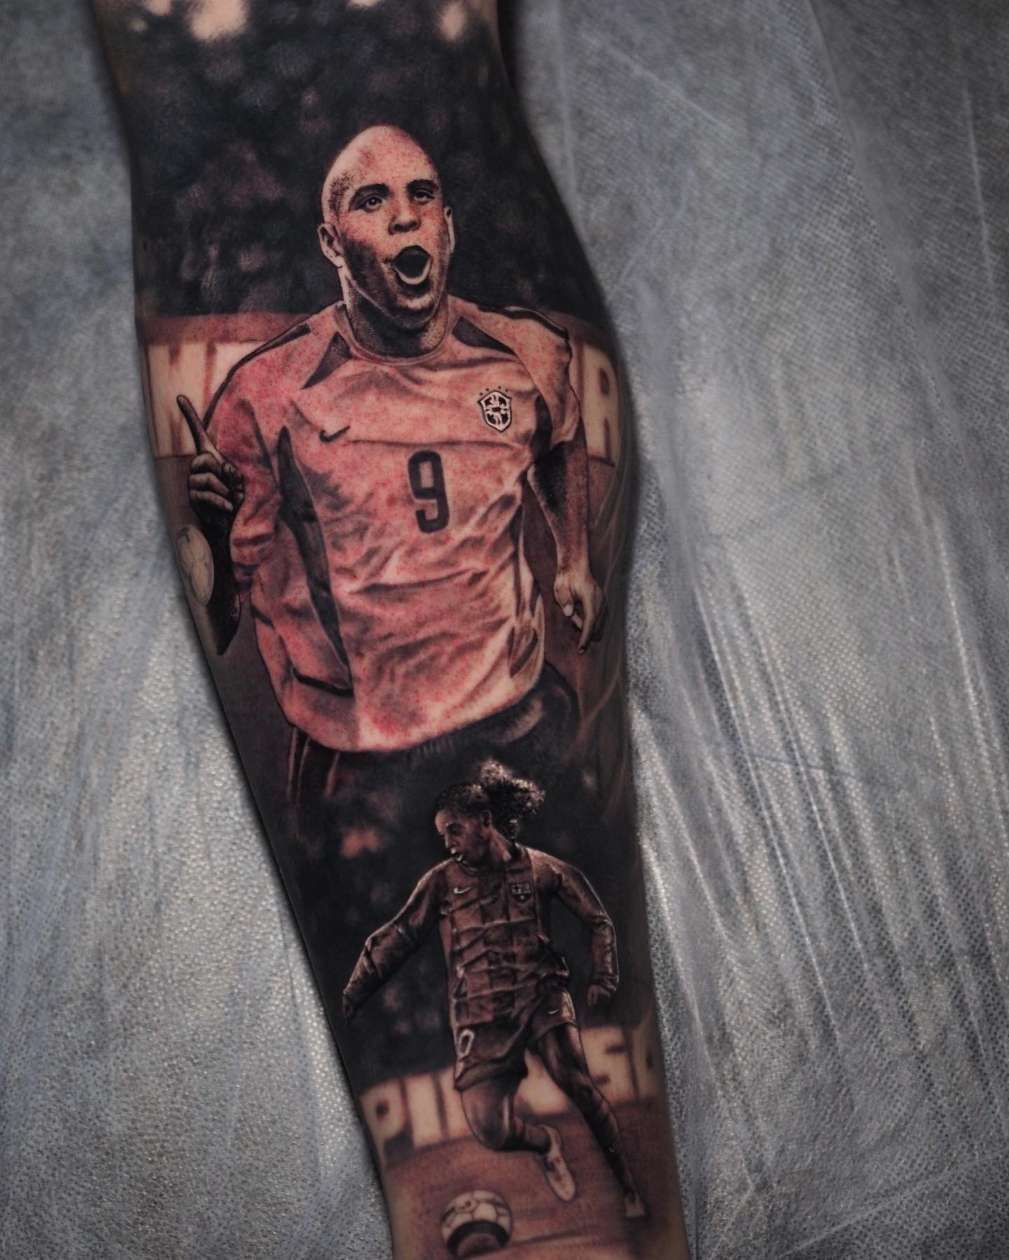
If portraiture is the destination of black and grey realism, shading and texture are the techniques that take you there. The tonal gradients that give realism its three-dimensional quality, the textures that make fur feel tactile and stone feel hard — these are products of specific, learnable techniques applied with consistency and control.
This guide breaks down the core shading and texture approaches used in professional black and grey realism, explaining what each produces and how it’s executed.
The Foundation: Tonal Value Management
Before discussing specific techniques, it’s worth reinforcing why tonal value management is the foundation of everything in realism tattooing. Without colour to rely on, realism creates the illusion of three-dimensionality entirely through the management of light and dark.
A subject lit from one direction will have highlights on all surfaces facing toward the light source, midtones on neutral-facing surfaces, and shadows in any recess or area facing away from the light. The realism artist’s task is to translate this light map accurately into ink values — using black ink at full saturation for the deepest darks, progressively diluted washes for midtones, and reserving the skin’s natural tone for highlights.
Artists who produce technically competent but flat realism — work that depicts the right subject but lacks convincing depth — are almost always making errors at the tonal value level. The subject is there; the light map is not.
Core Shading Techniques
Whip shading: The most fundamental soft-shading technique in realism. The artist moves the needle across the skin at a consistent speed and gradually decelerates while lifting away from the surface at the edge of the shaded area. The deceleration creates a natural taper in ink density — full saturation at the starting point, fading to nothing at lift-off. Developing a consistent, reliable whip is one of the core competencies of realism training and requires significant focused practice on synthetic skin before it becomes trustworthy.
Circular and oval motions: Used for filling broad tonal areas smoothly — large shadows, background gradients, facial planes. The circular motion with a curved magnum distributes ink across a wide area without hard edges. Speed consistency, pressure management, and voltage control are all critical — circular motion done inconsistently produces blotchy, uneven coverage that is difficult to correct without overworking the skin.
Layered construction: Complex tonal transitions are not achieved in a single pass. Experienced realism artists build tone in layers — establishing the deepest values first, then adding midtone layers, then refining transitions with detail passes. The instinct to add more ink to fix a problem area is one of the most common errors in realism — overworking typically makes the problem worse. Work methodically, step back after every few minutes, and let each layer inform the next before adding more.
Negative space and highlights: Highlights in realism are created by not depositing ink — by leaving skin untouched or very lightly saturated. Managing where you don’t put ink is as critical as managing where you do. This is counterintuitive for many beginners who instinctively want to add detail and ink everywhere. Learning to protect highlight areas through deliberate restraint is a significant mindset shift.
Texture Simulation: Surface-Specific Approaches
Fur and animal coat: Individual hair strokes laid in the growth direction of the coat, with varied length and density to create the layered quality of real fur. Liner needles (3RL or 5RL) are used for individual hair strokes. The direction changes across the body to follow natural anatomical growth patterns — getting the direction wrong in even one area creates an unconvincing result. Dark undertones establish coat depth; lighter strokes on top simulate the reflective outer coat.
Skin texture in portraiture: Human skin in close-up portraiture has visible pore structure, fine surface lines, and subtle tonal variation. These are suggested rather than mechanically reproduced — a slight granular quality in the midtone layers, achieved through controlled cross-hatching or controlled stippling, creates the impression of realistic skin without overworking the surface into a damaged state.
Feathers: Feather structure follows a clear radiating pattern from the central shaft. Establish the shaft first as a structural reference, then lay individual barbs outward from it in the correct direction. Barbs closest to the shaft are densest; those toward the outer edge become finer and more spaced. The overall result should feel directional and aerodynamic, not static.
Scales and geometric texture: Reptile scales follow a regular overlapping grid that follows the body’s underlying anatomy. Map the overall scale grid on your stencil before beginning individual scale work. Each scale is a slightly convex surface — highlight on the upper edge, shadow at the lower edge and beneath adjacent scales. This micro-dimensional quality within each scale is what creates convincing depth in scale work.
Troubleshooting Common Shading Problems
Muddy gradients: Usually caused by blending dark and light tones too aggressively without adequate layer separation, or by overworking an area while trying to fix a problem. Prevention: work from dark to light in deliberate layers, resist the urge to add ink when an area isn’t resolving.
Patchy coverage: Uneven ink density in broad shaded areas indicates inconsistent machine speed or pressure, or a needle that needs replacing. Consistency in your machine management — maintaining speed and voltage within a shading pass — is the primary prevention.
Hard edges in soft areas: A visible line where a gradient should be smooth usually results from stopping a shading pass at a fixed point rather than tapering off gradually. Every shading pass should begin and end with a feathered edge. Hard stops create visible transitions.
These techniques — and the systematic approach to developing them on synthetic skin before working on clients — are the curriculum foundation of our Black and Grey Realism Masterclass. Shading and texture competencies are built progressively, with regular tutor feedback on your submitted practice work throughout.
For a full overview of our training, visit Omnia Tattoo Academy.