One of the most practical questions for students enrolling in an online tattoo course is: where do I actually practise? You don’t need a professional studio to get through your training — but you do need a clean, functional, well-organised space. Getting this right from day one makes your practice sessions more productive and builds the professional habits that will carry through your entire career.
This guide covers everything you need to set up a proper home practice space — from the physical environment to the equipment layout and hygiene protocols.
Why Your Practice Environment Matters
Experienced tattoo artists treat their workspace as an extension of their technique. A clean, organised environment removes friction — you spend time practising, not locating supplies. More importantly, practising in a properly set up space trains the hygiene habits that are non-negotiable in professional tattooing across every Canadian province.
If you practise in a cluttered, disorganised space where infection control procedures are skipped or inconsistent, those are the reflexes you’ll carry into a studio environment. Building correct habits during your training is far easier than unlearning problematic ones later.
Choosing the Right Space
You don’t need much room — a clear 1.5m x 2m area is sufficient. What matters more than size is the quality of the space:
Hard flooring: Carpet is a contamination risk and impossible to properly disinfect. If your only available space has carpet, lay down a large rubber mat or hard vinyl surface over it. This creates a cleanable surface for your practice area.
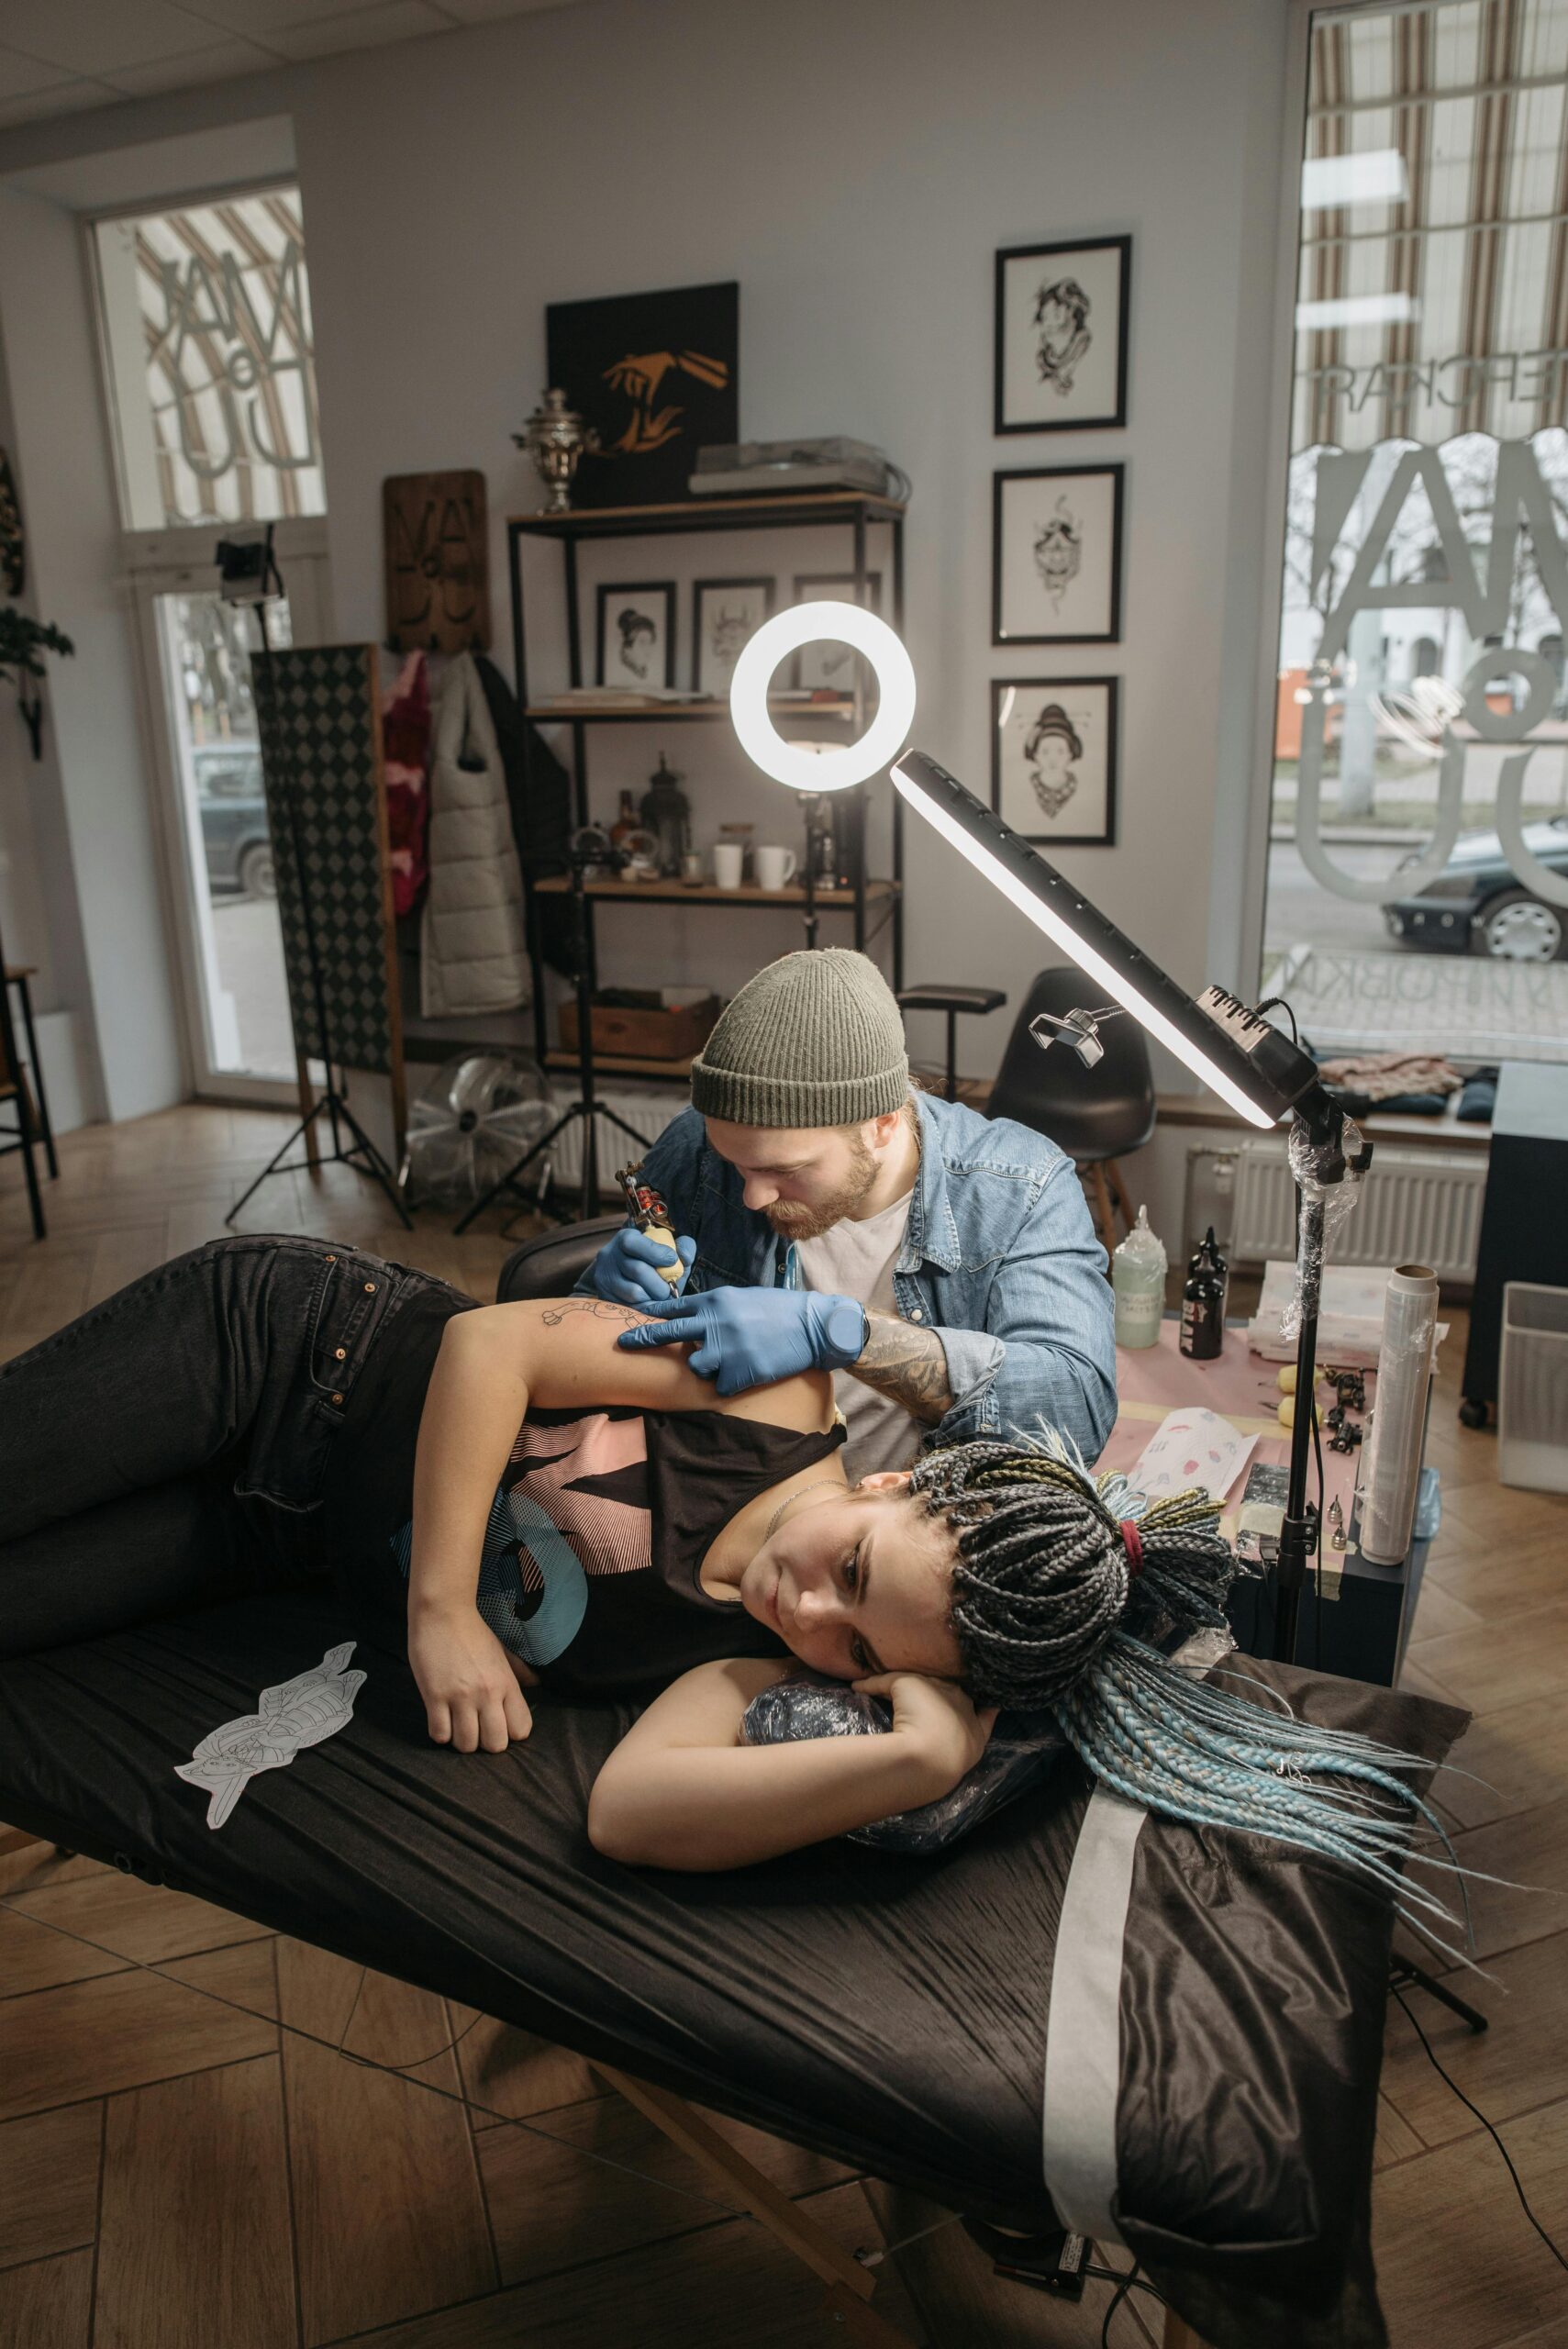
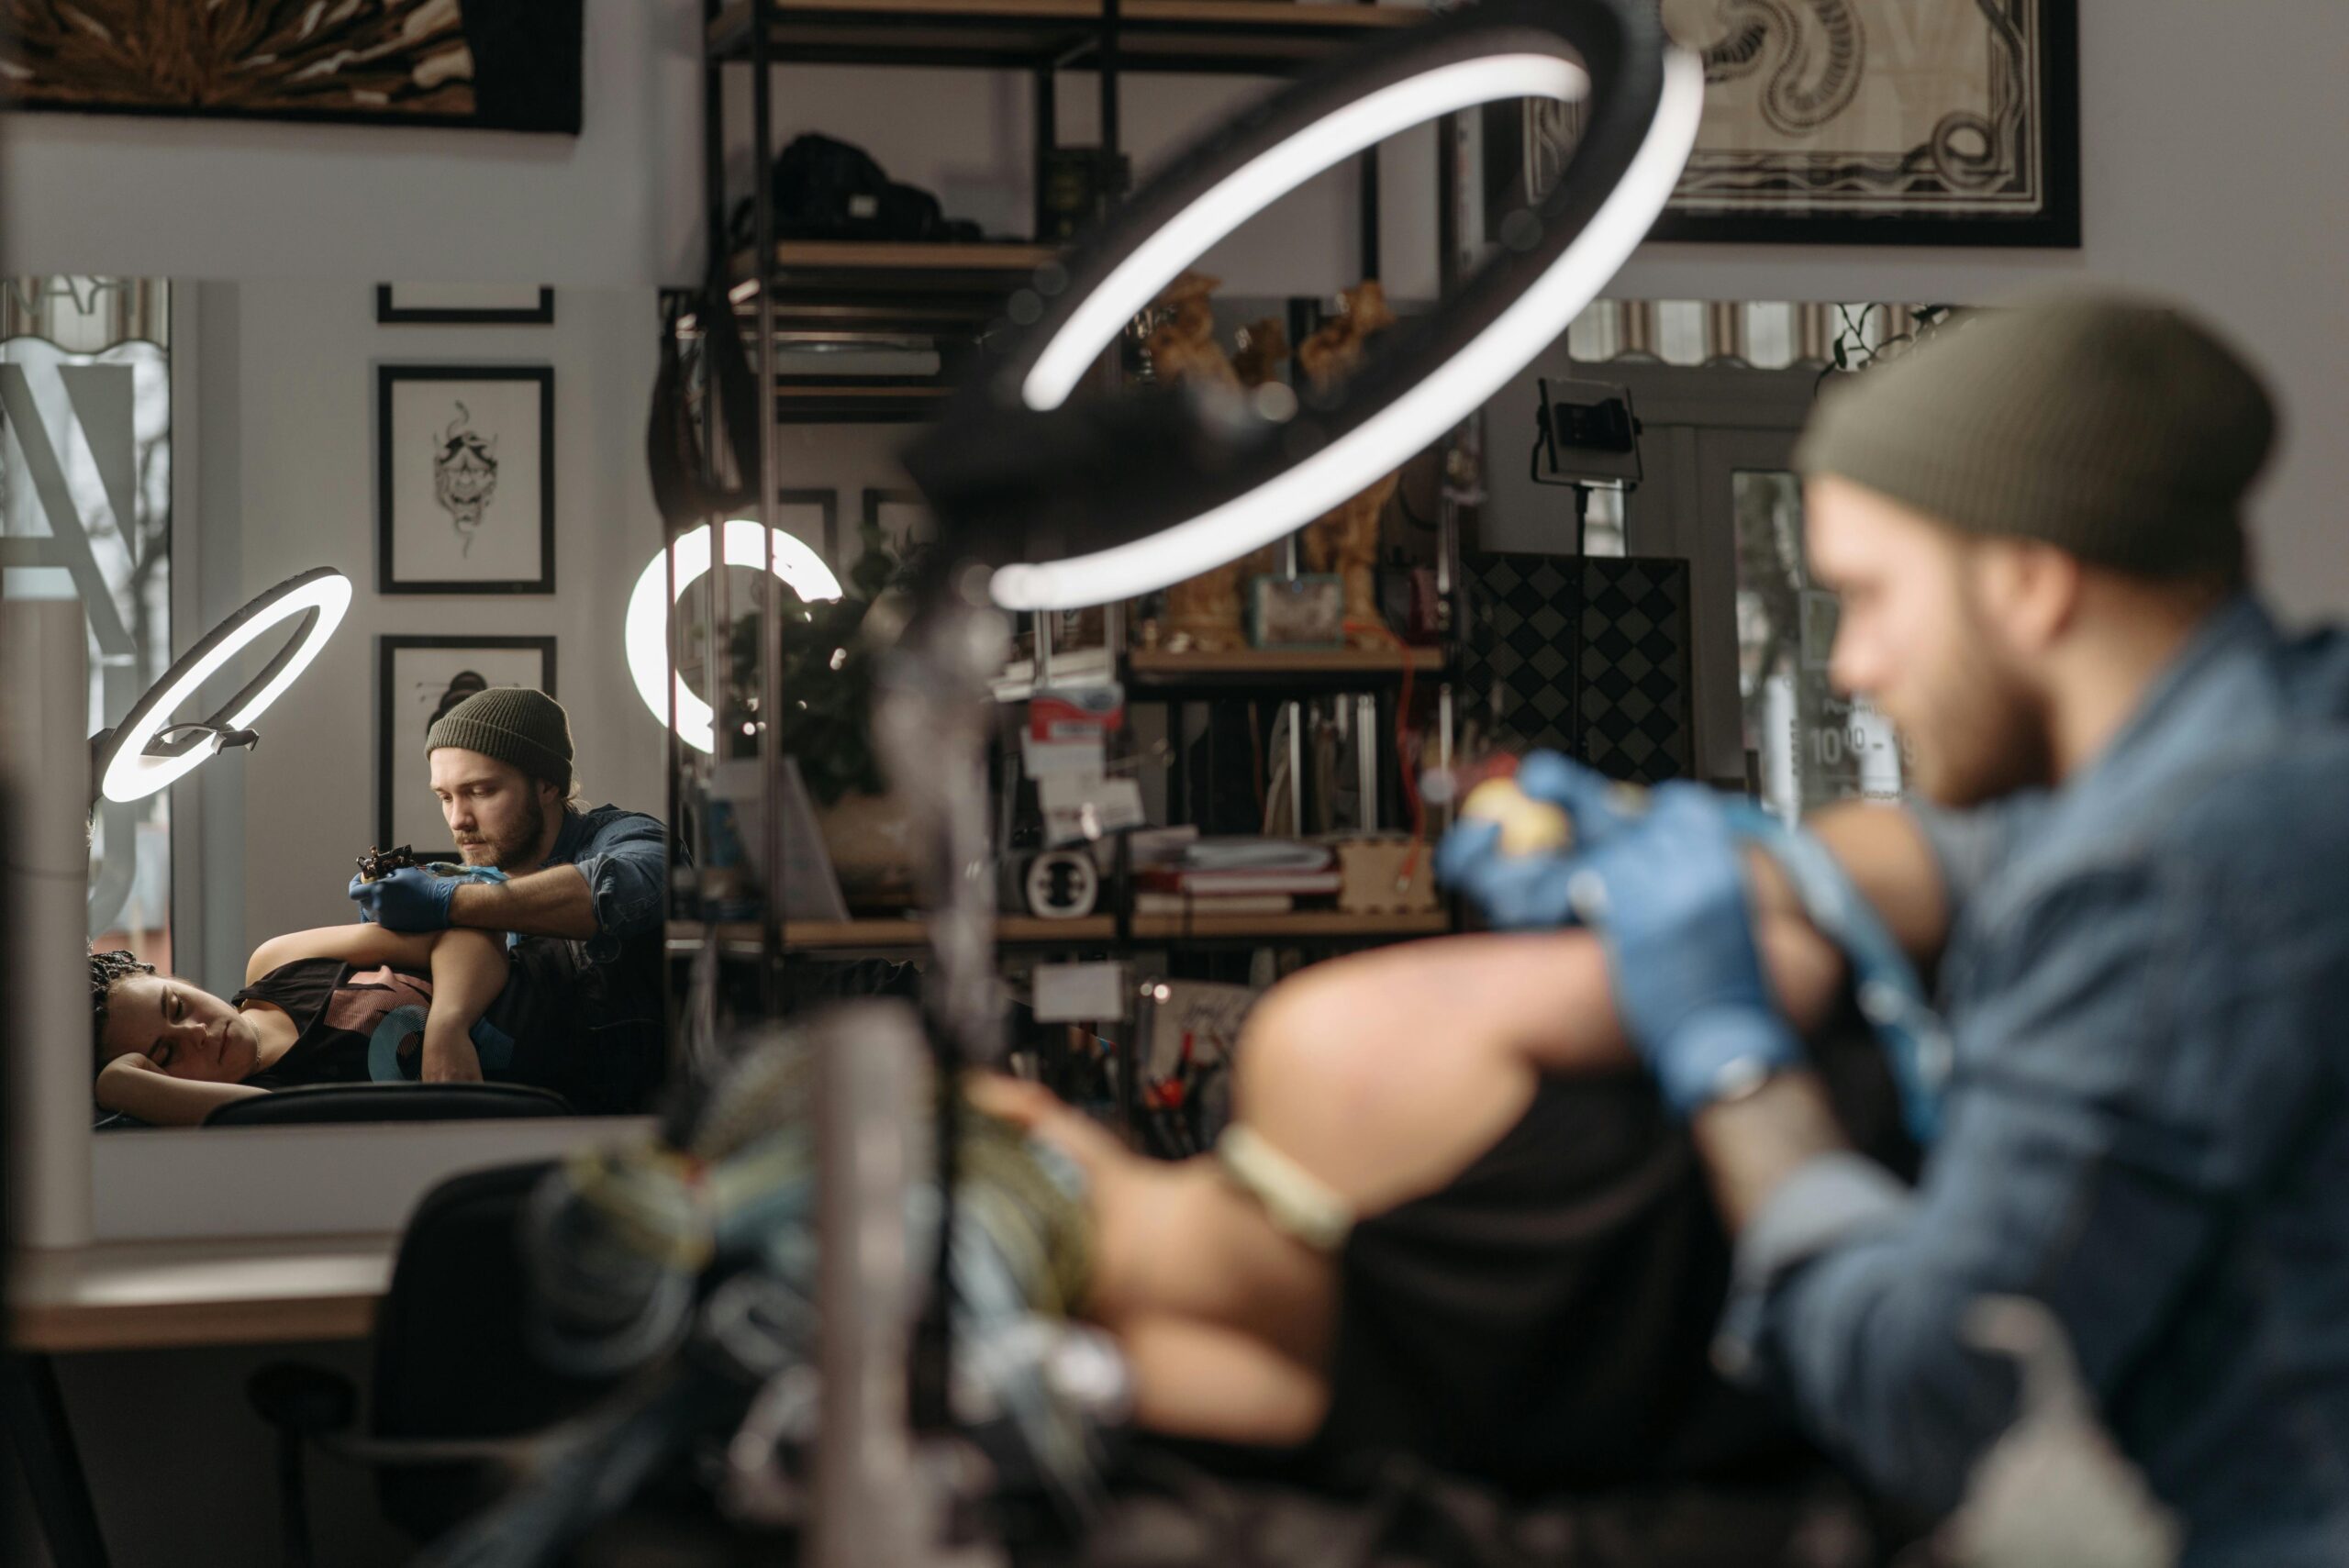
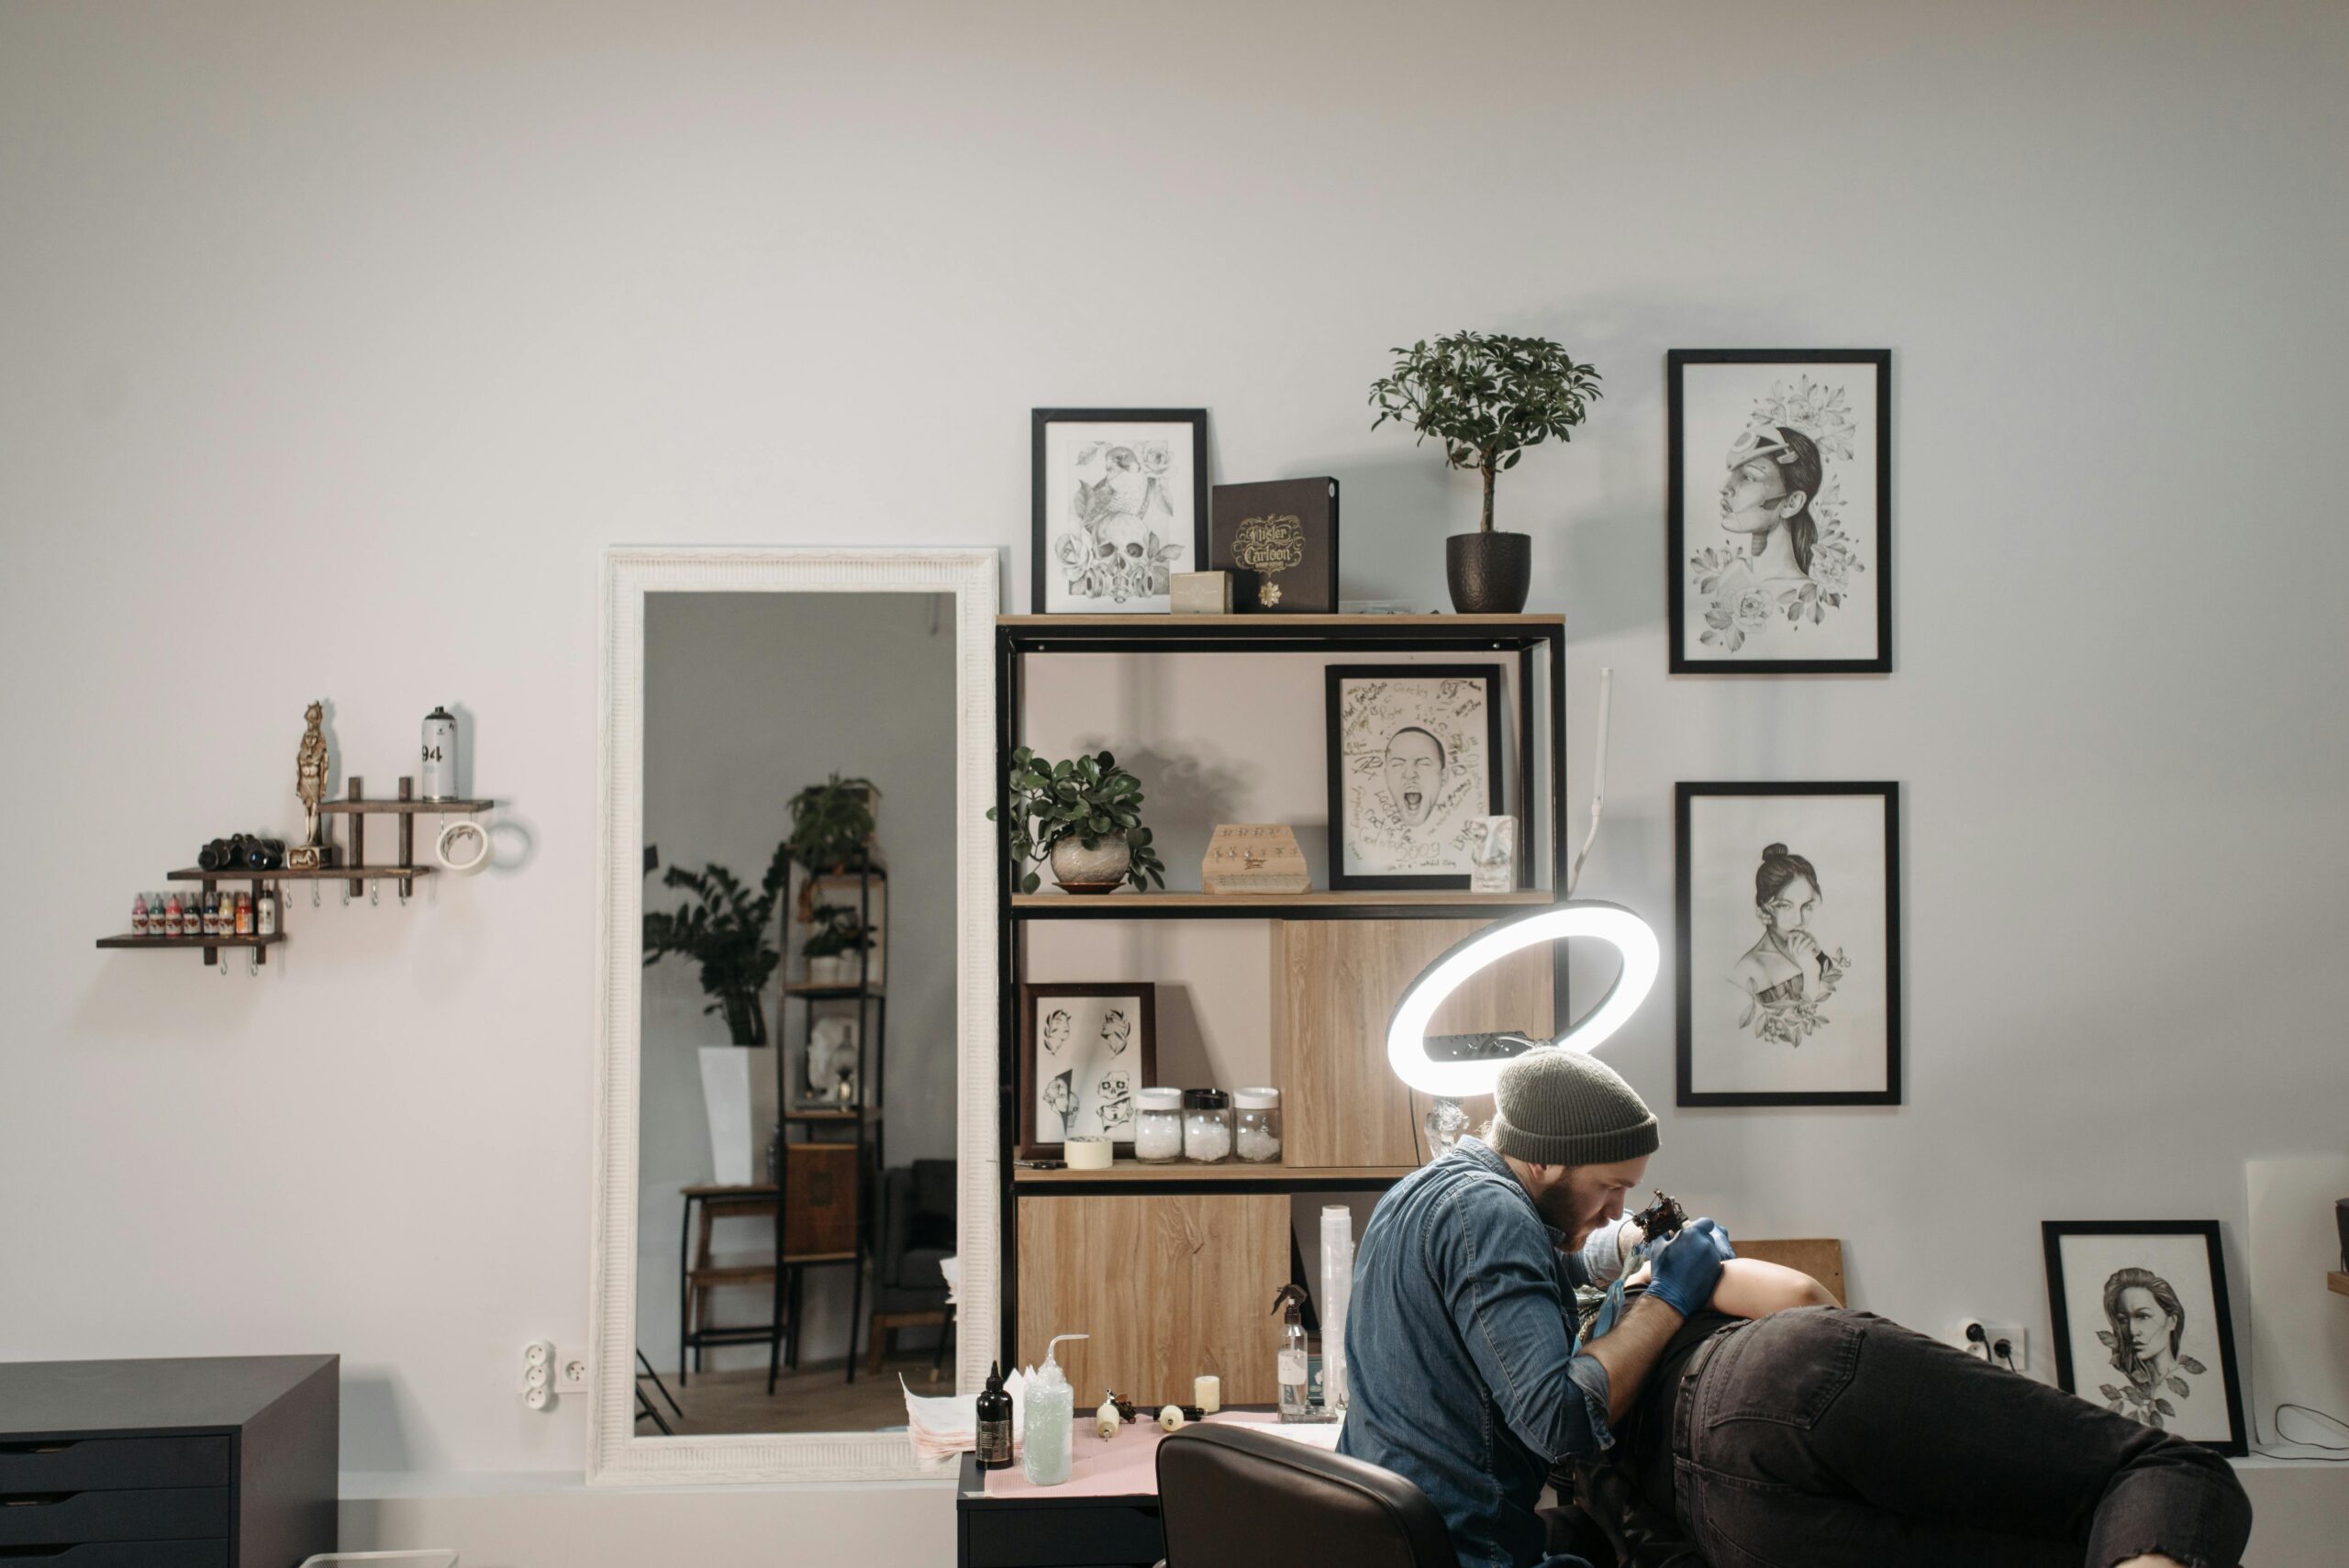
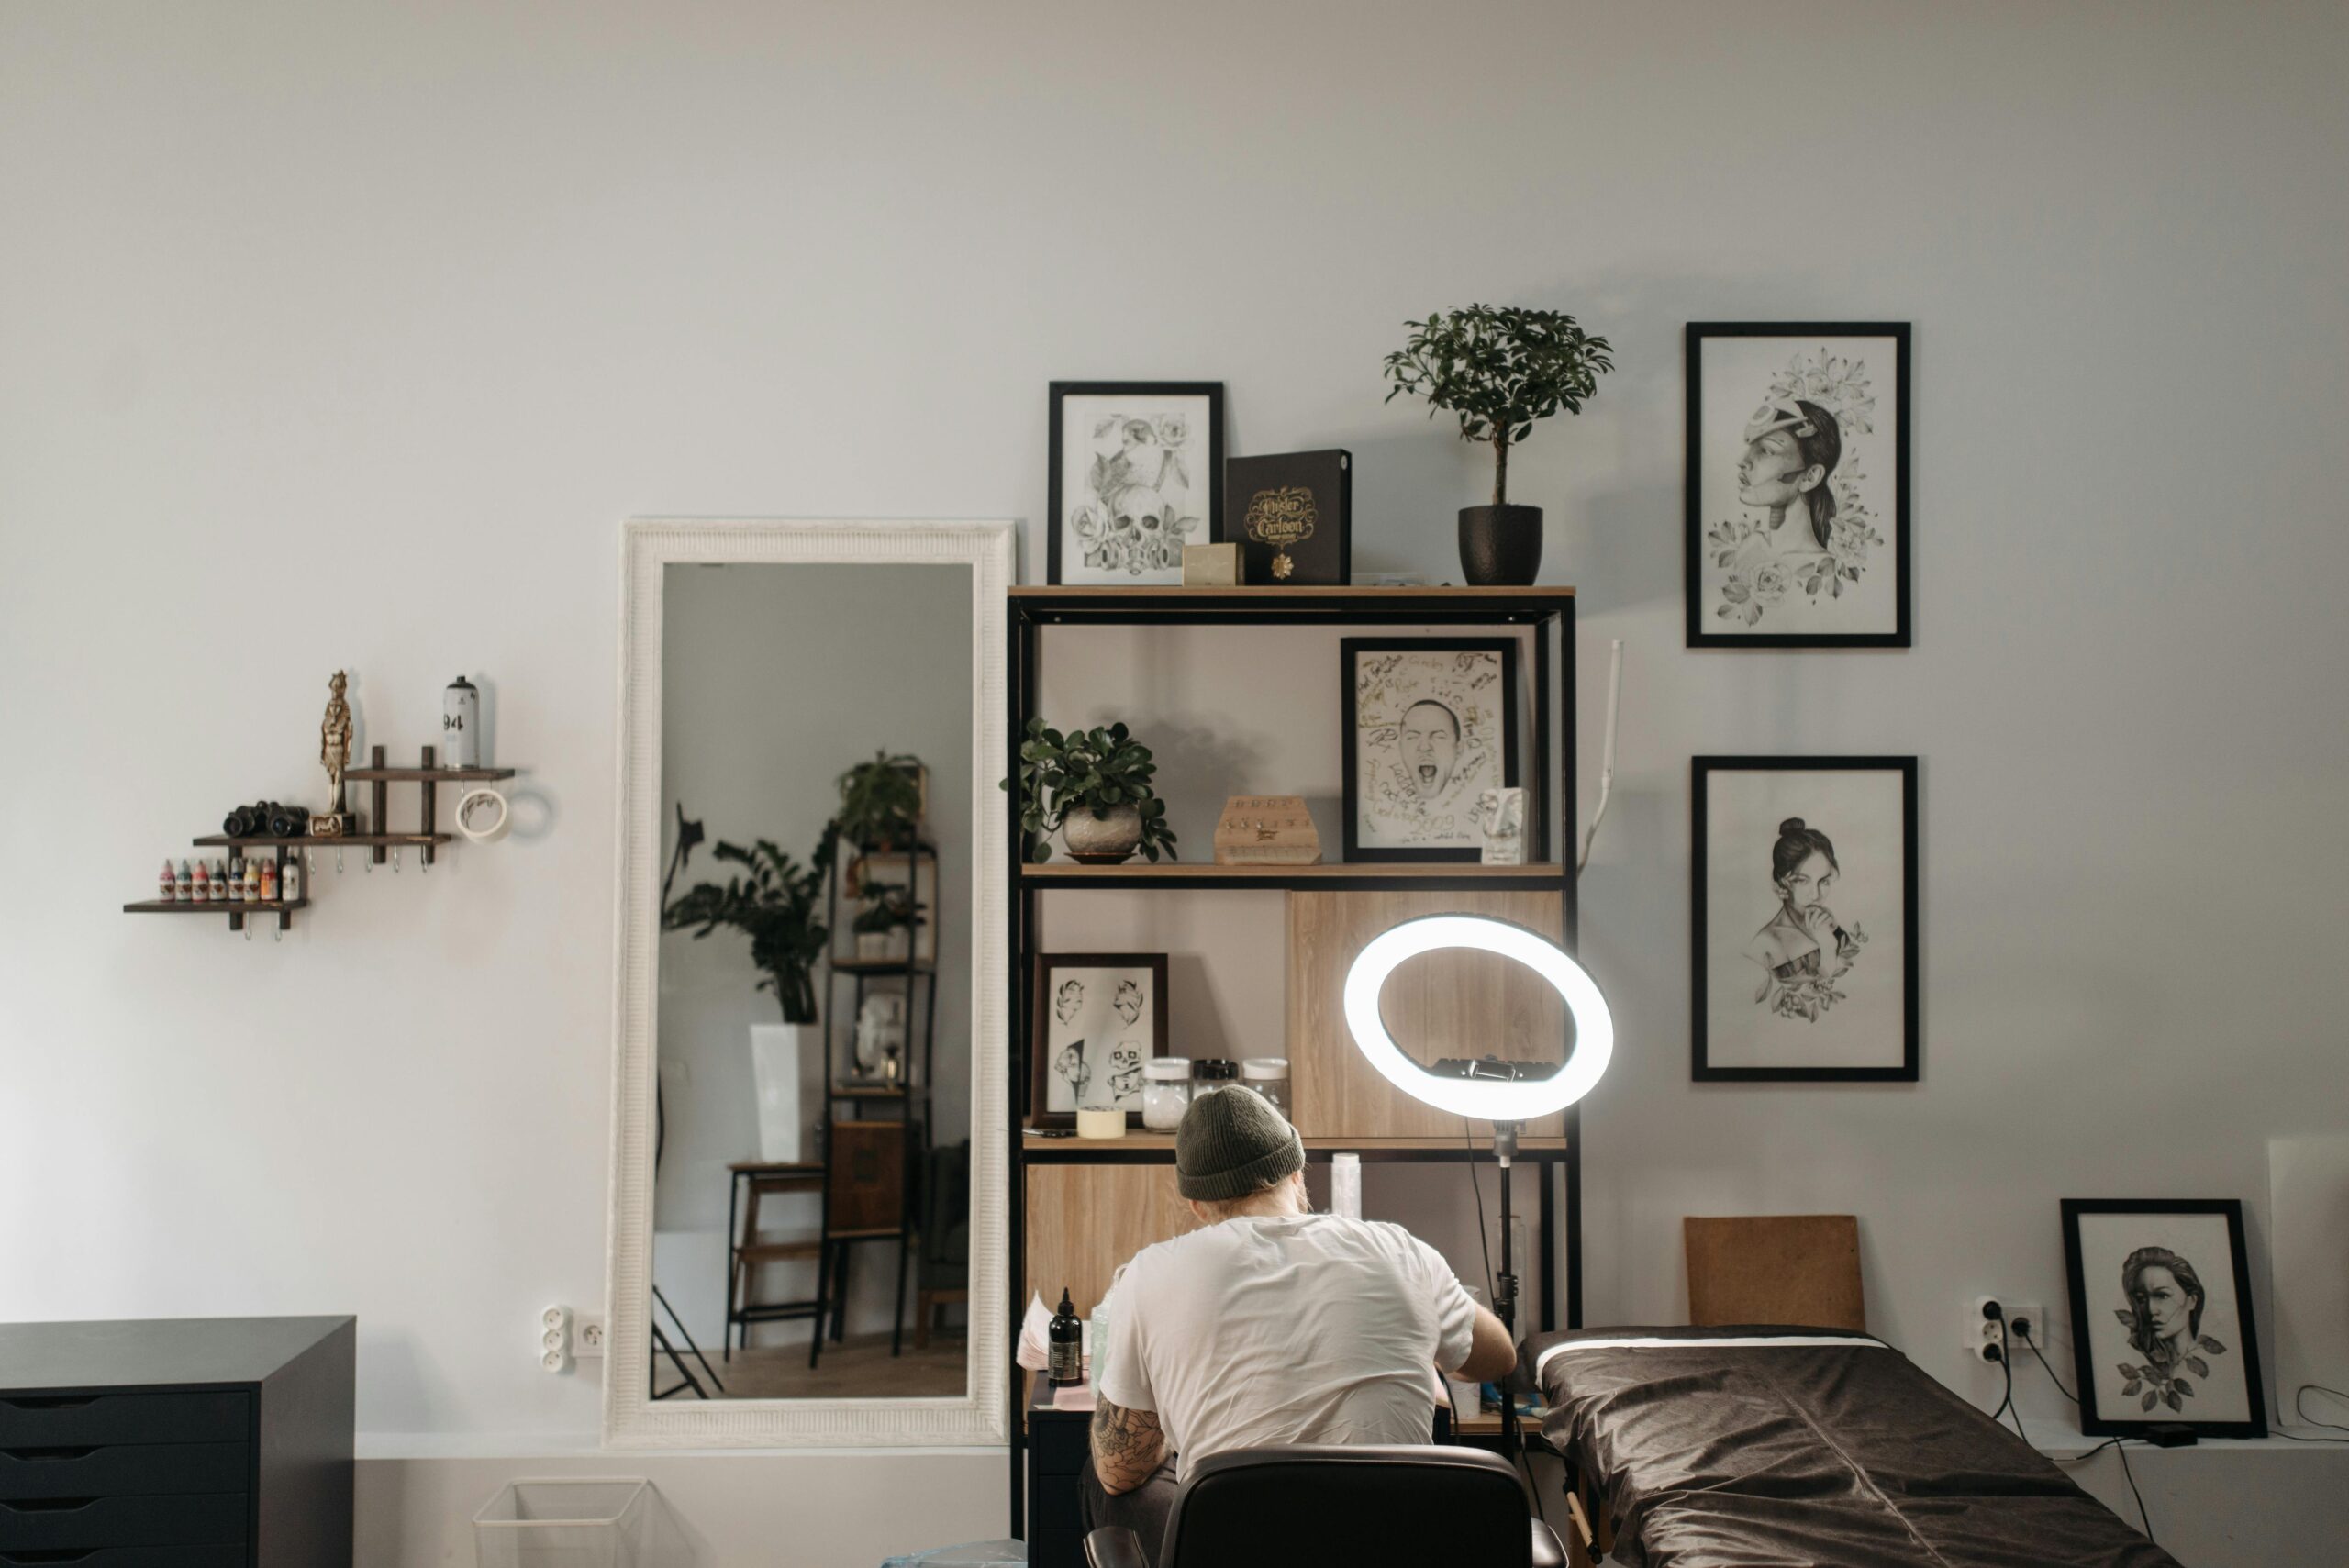
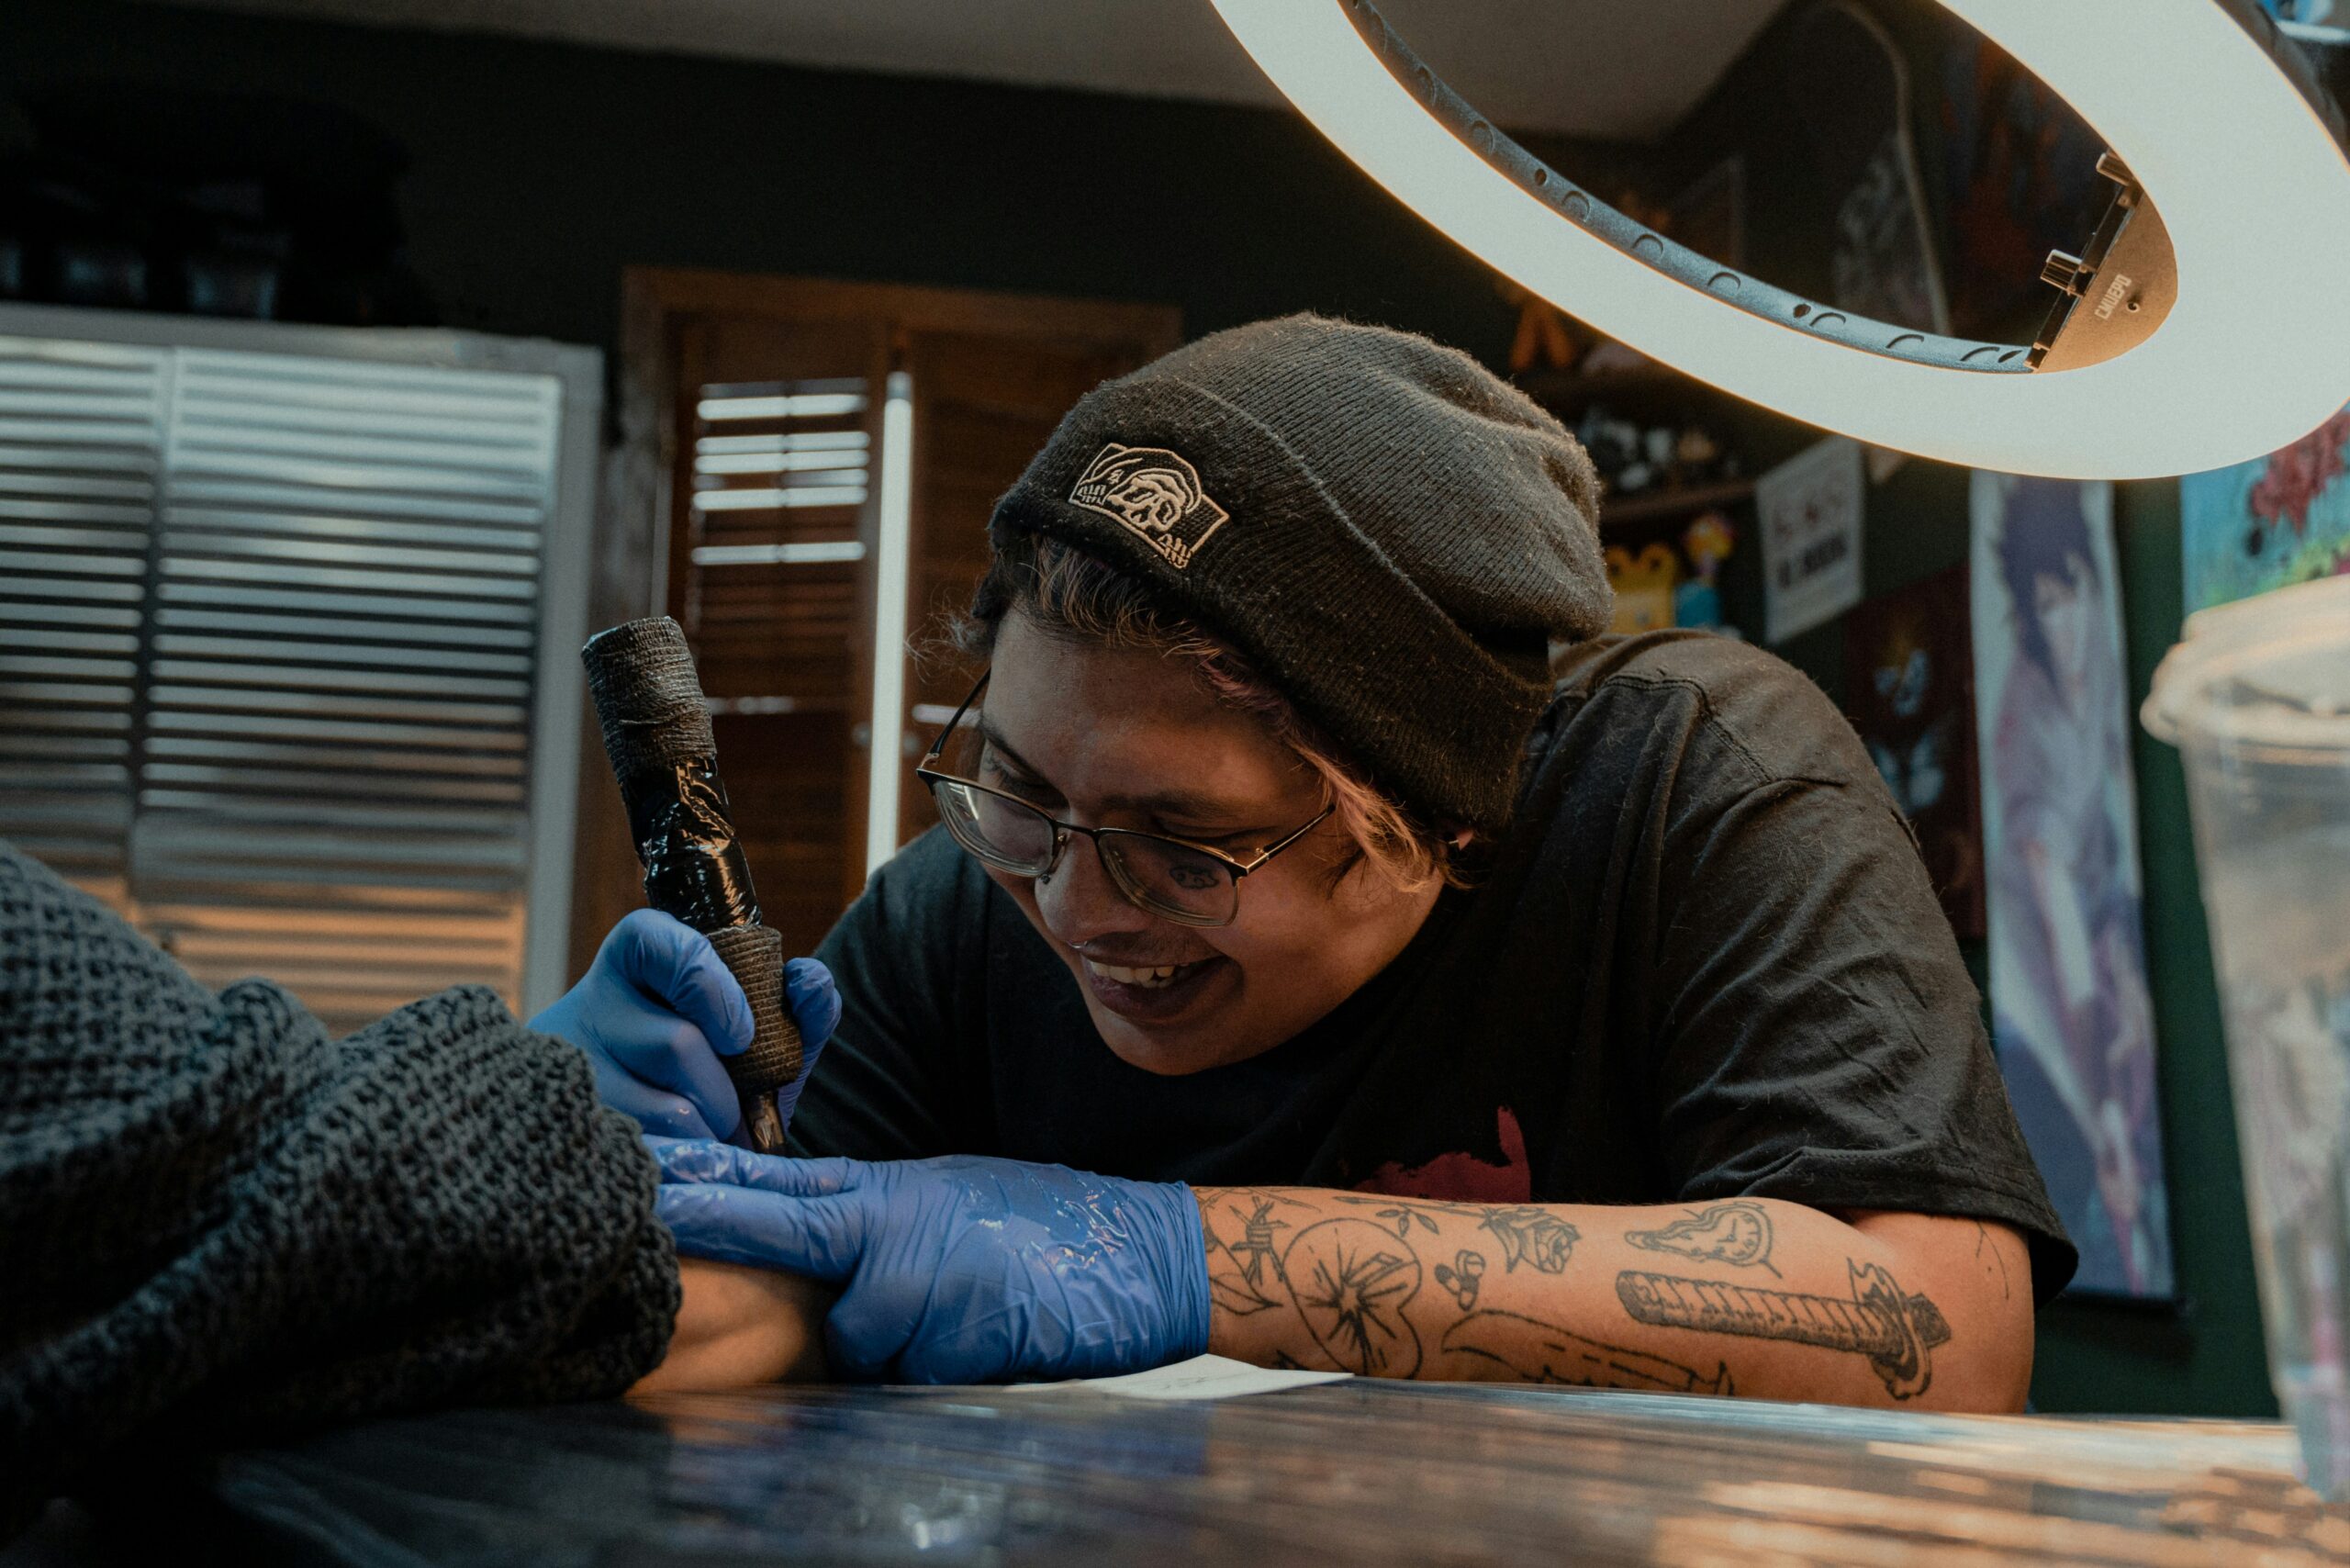
Good lighting: Tattooing requires clear, shadow-free illumination. Natural daylight is valuable for colour assessment. A dedicated LED work lamp or ring light positioned over your work surface is essential. Aim for at least 500–1000 lumens on your work area with minimal shadow. Tattoo-specific ring lights are widely available online at accessible price points.
Easily cleanable surfaces: Your work table needs a smooth, wipeable surface. Avoid fabric or rough-textured surfaces that resist full disinfection.
Ventilation: A room with a window you can open is ideal. Good airflow is important for comfort during extended practice sessions and helps maintain appropriate air quality.
Essential Equipment for Home Practice
A quality online tattoo course provides the core equipment you need. Here’s what you’ll also want to have in your practice space:
Adjustable stool and work surface: You’ll be working for extended periods in a fixed position. An adjustable stool or chair that lets you sit with your back straight and arm supported prevents fatigue and protects your posture and technique.
Ink caps and holder: Even in practice, use proper individual ink caps rather than working directly from the bottle. This builds the professional habit of fresh ink setup for each client session.
Cleaning and disinfection supplies: Isopropyl alcohol (70%), surface disinfectant spray, paper towels, and disposable gloves should be within reach before every session.
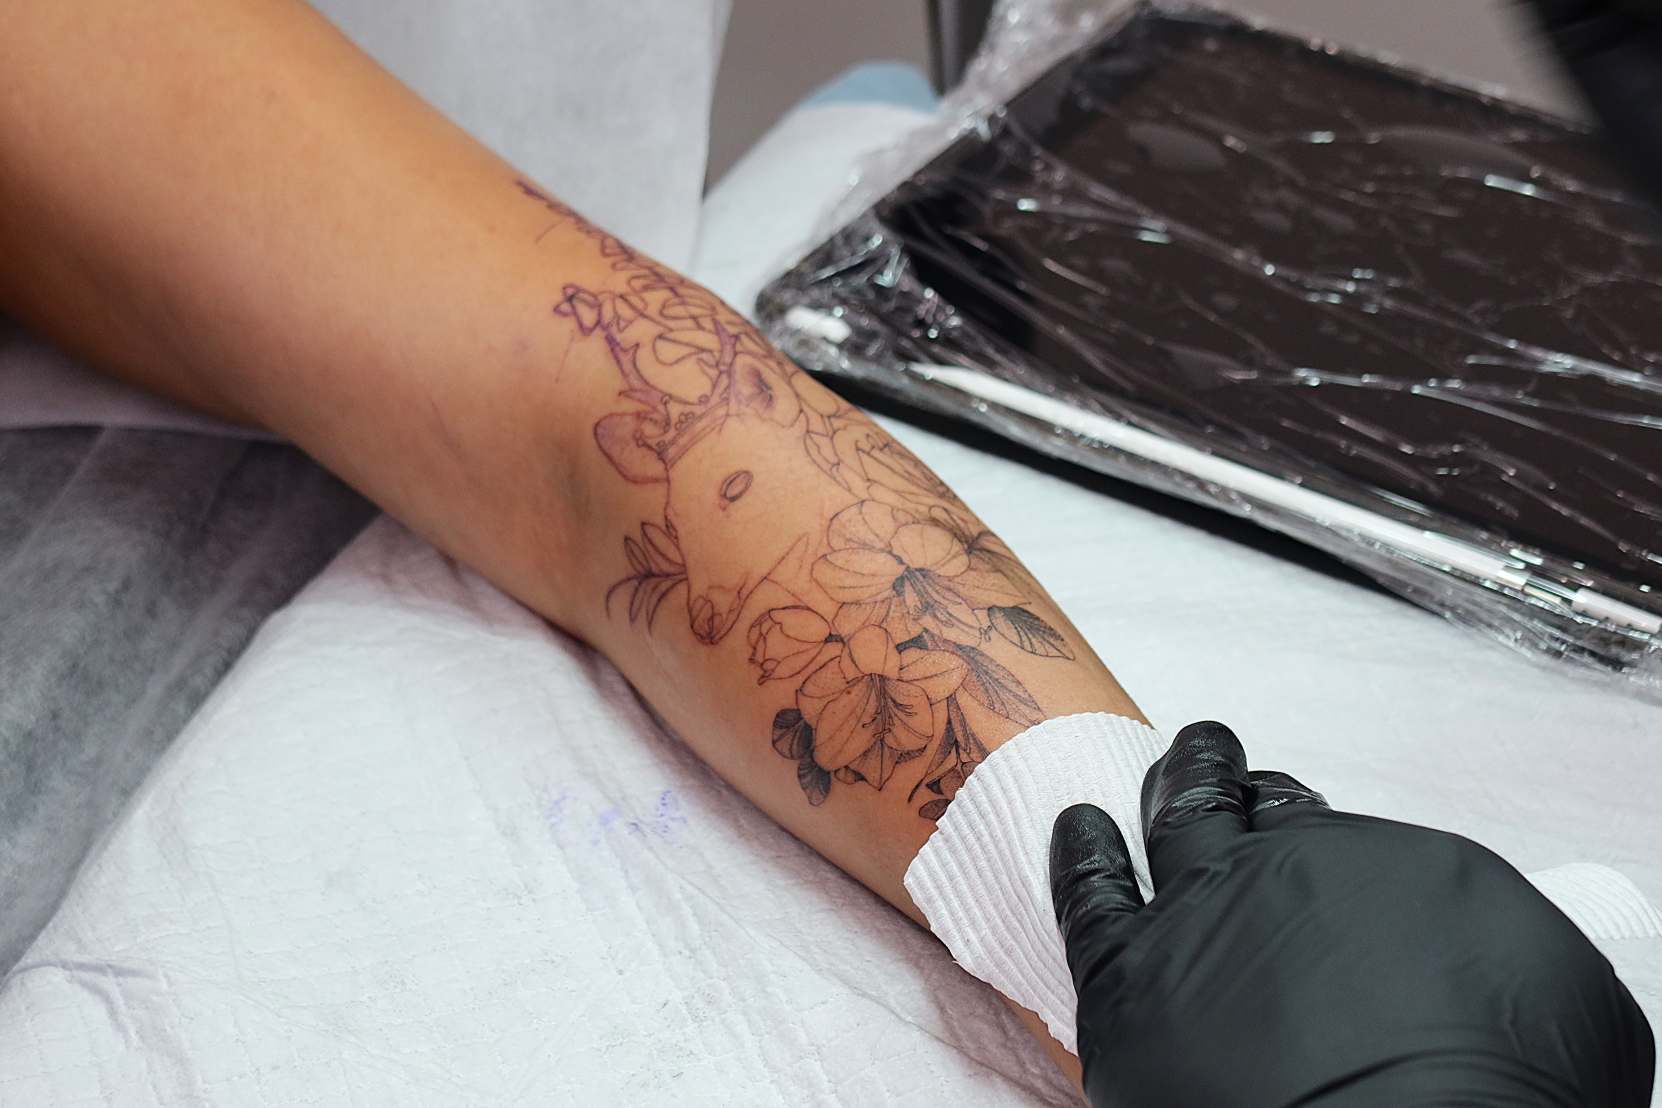
Green soap or tattoo wash: Used to clean synthetic skin between passes, simulating the working process on real skin.
Sharps disposal container: Used cartridges must be disposed of correctly in a purpose-built sharps container. In Canada, used needle disposal is regulated — most pharmacies and some community health centres accept sharps for safe disposal. Never put used needles in general household waste.
Hygiene Protocol: Non-Negotiable Even in Practice
One of the most valuable things you can do during home practice is establish a pre-session hygiene routine and follow it every single time without exception. The routine should feel automatic before you ever work on a paying client.
A basic pre-practice hygiene sequence:
1. Disinfect your work surface 2. Lay barrier film over your machine, bottle tops, and power supply 3. Gloves on before touching equipment 4. Set up fresh ink caps — never reuse from a previous session 5. Confirm sharps container is within reach and accessible 6. Position your synthetic skin securely on a firm surface
After each session: dispose of all used cartridges in the sharps container, remove and discard all barrier film, disinfect the work surface, and remove gloves last.
Setting Up for Submission and Feedback
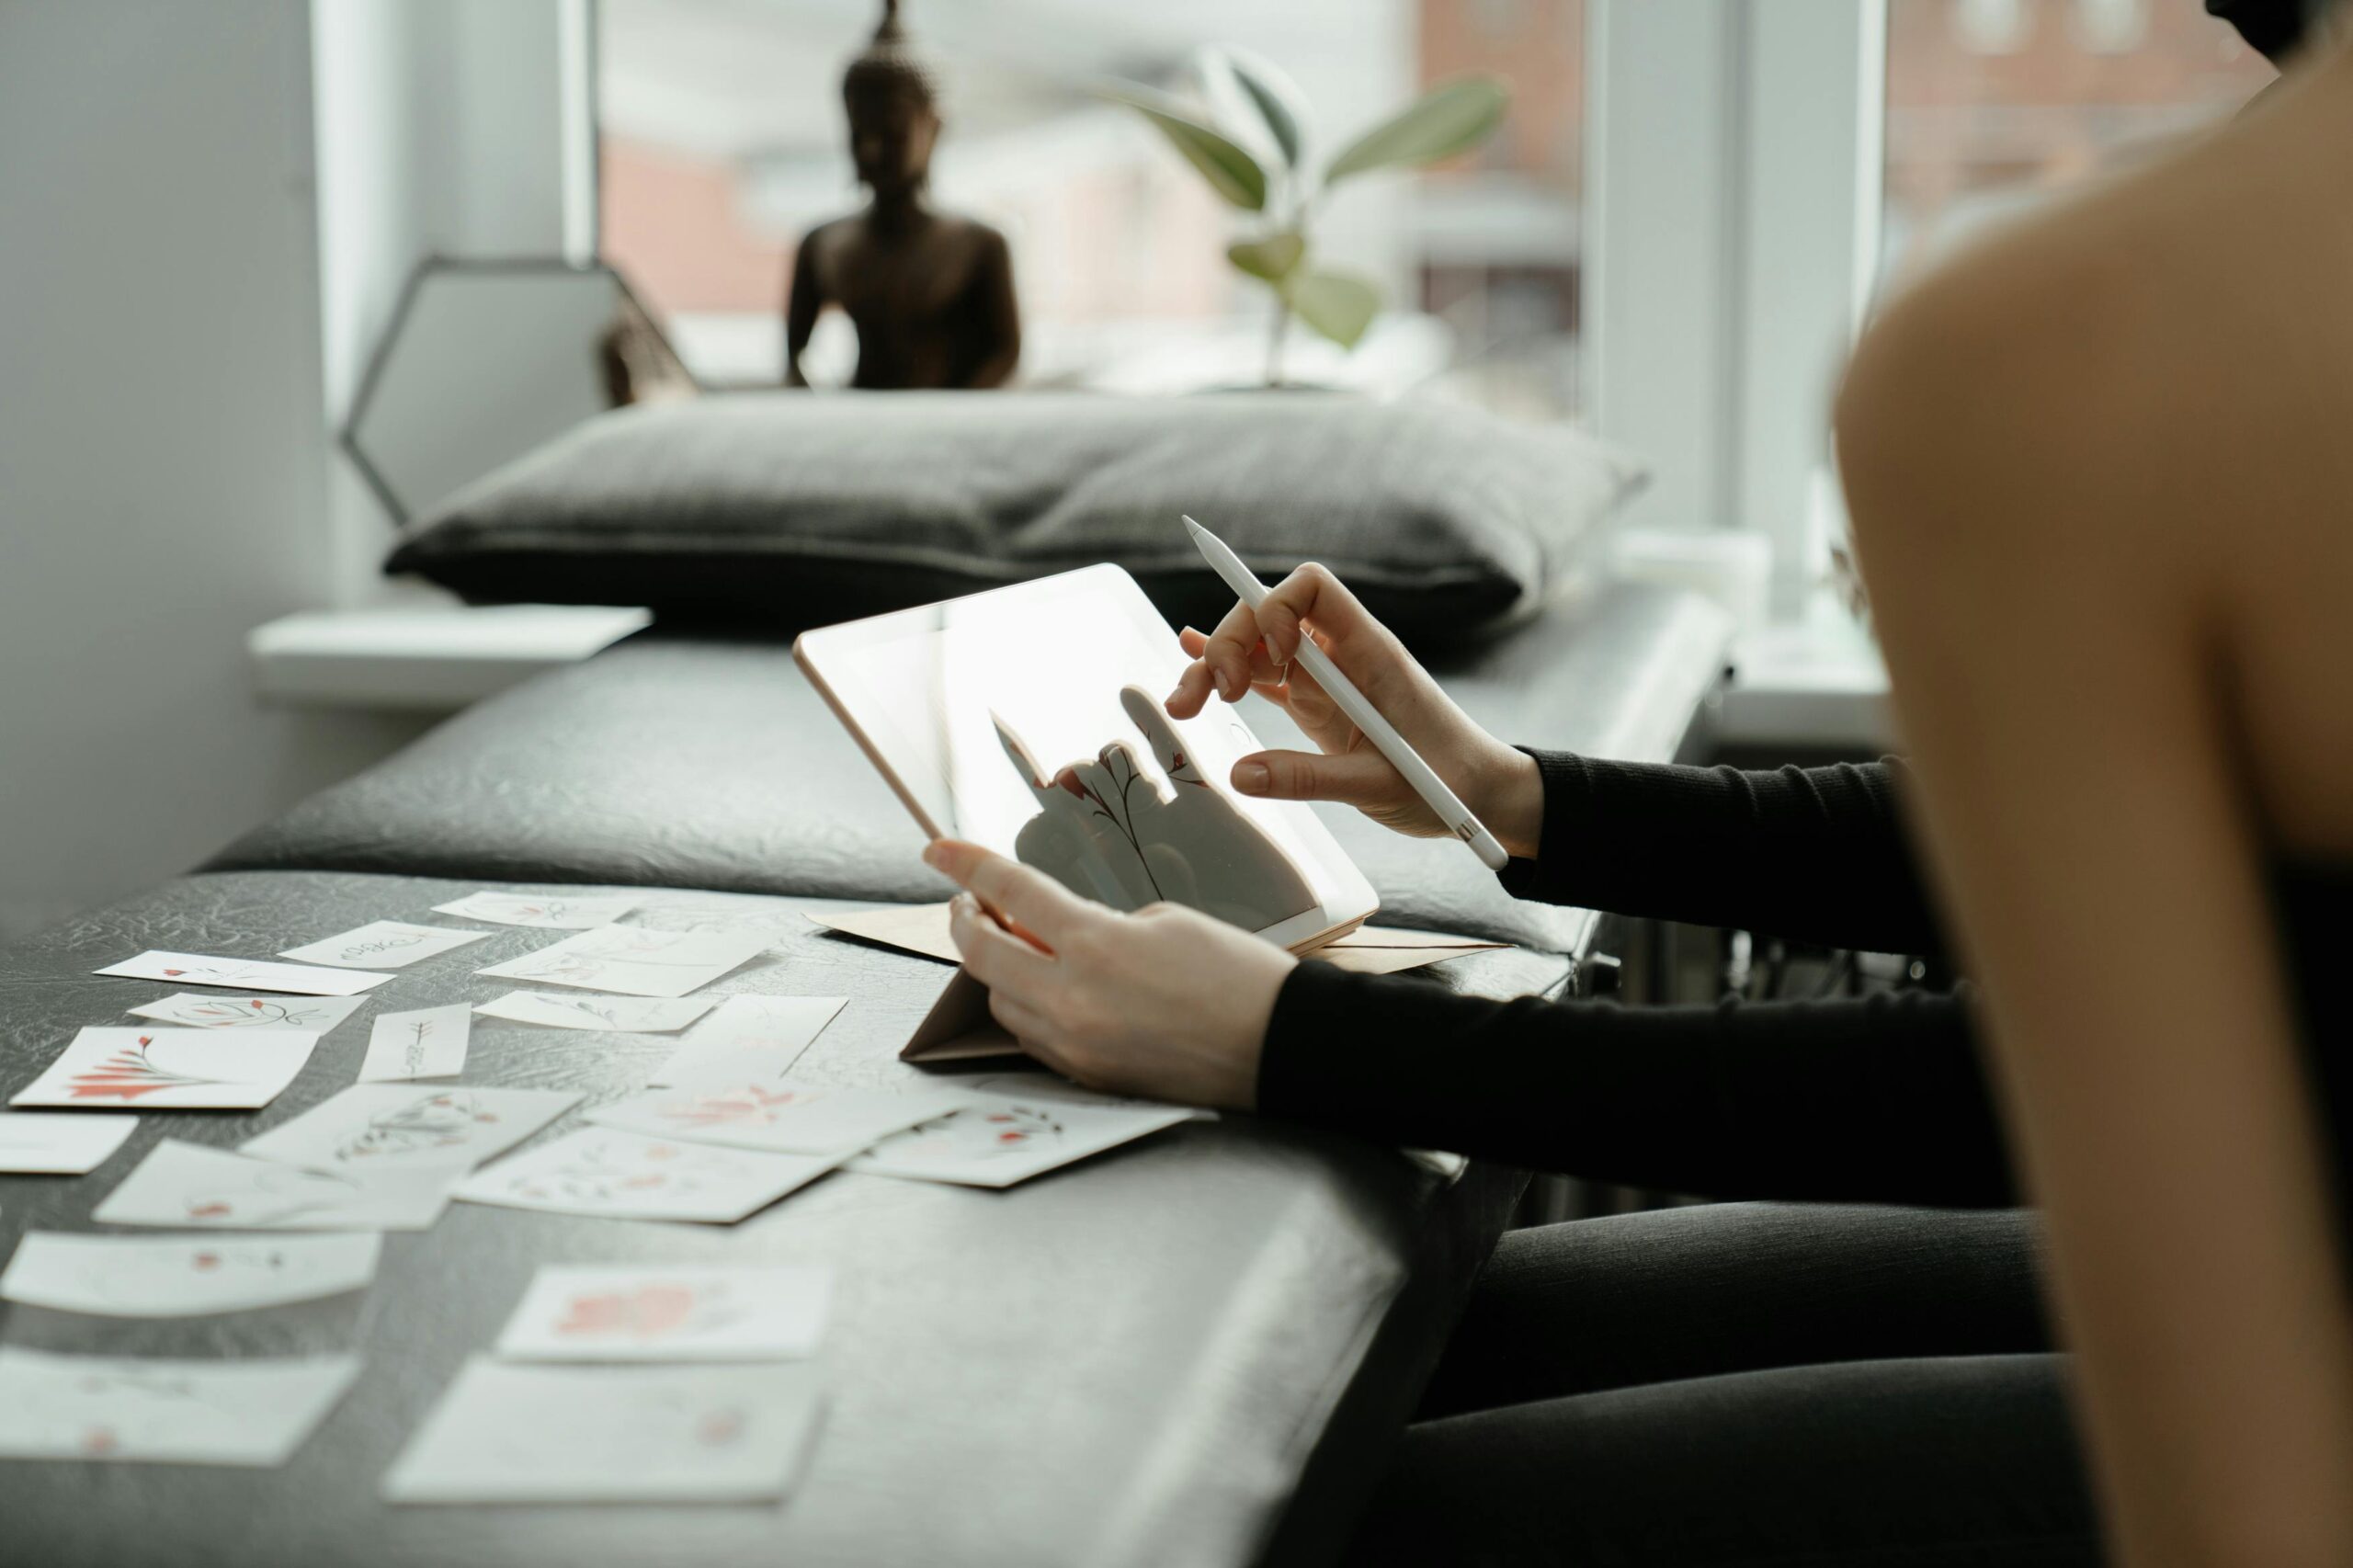
If your online course includes photo or video submission of your practice work — which the best courses do — your lighting and setup also need to support clear documentation. Position your work area so you can photograph synthetic skin pieces with even, consistent lighting. A small phone stand or mini tripod mounted above your surface makes this straightforward.
Clear, well-lit submission photos give your tutor the most accurate possible view of your technique. This is where good lighting pays back its cost many times over — vague, shadowy photos make it hard for your tutor to give specific, useful feedback.
Temperature, Comfort, and Session Length
Home practice conditions affect your technique in ways that are easy to overlook. Working in a cold room tightens your hands and reduces fine motor control. Working in an overheated room increases fatigue and sweat — which affects grip on your machine. Aim for a comfortable room temperature between 18–22°C.
Limit practice sessions to no more than 2–3 hours at a stretch in the early weeks, and build up from there. Fatigue in your hands and back directly affects technique quality, and practising tired reinforces bad habits rather than good ones. Short, focused practice sessions are more effective than marathon sessions where quality degrades toward the end.