Fine line tattooing is a style that rewards precision — and that precision is tested not just during the session, but in the weeks that follow. Fine line tattoos heal differently from bold work, and artists who don’t understand this distinction will find their work fading, blurring, or failing to hold in ways that damage their reputation before it has even been established.
This guide covers the healing science behind fine line work, what correct healing should look like at each stage, common healing problems and their causes, and how to give clients the aftercare guidance they need to protect your work.
Why Fine Line Healing Is Different
The fundamental difference between fine line and bold tattooing is ink volume. Traditional bold work packs significant amounts of ink into the dermis across broad areas — there’s redundancy built in. If some ink is lost during healing, what remains is still visually solid and the design reads clearly.
Fine line work deposits far smaller amounts of ink in very precise locations. Single-needle work in particular has minimal margin for loss — if the client’s skin response, poor aftercare, or technical error causes excess ink loss during healing, the result is a faded, patchy, or inconsistent tattoo that no longer represents the quality of your session.
This is why fine line artists must understand the healing process deeply — not as an afterthought, but as an integral part of their technical practice and client communication.
The Healing Stages and What to Expect
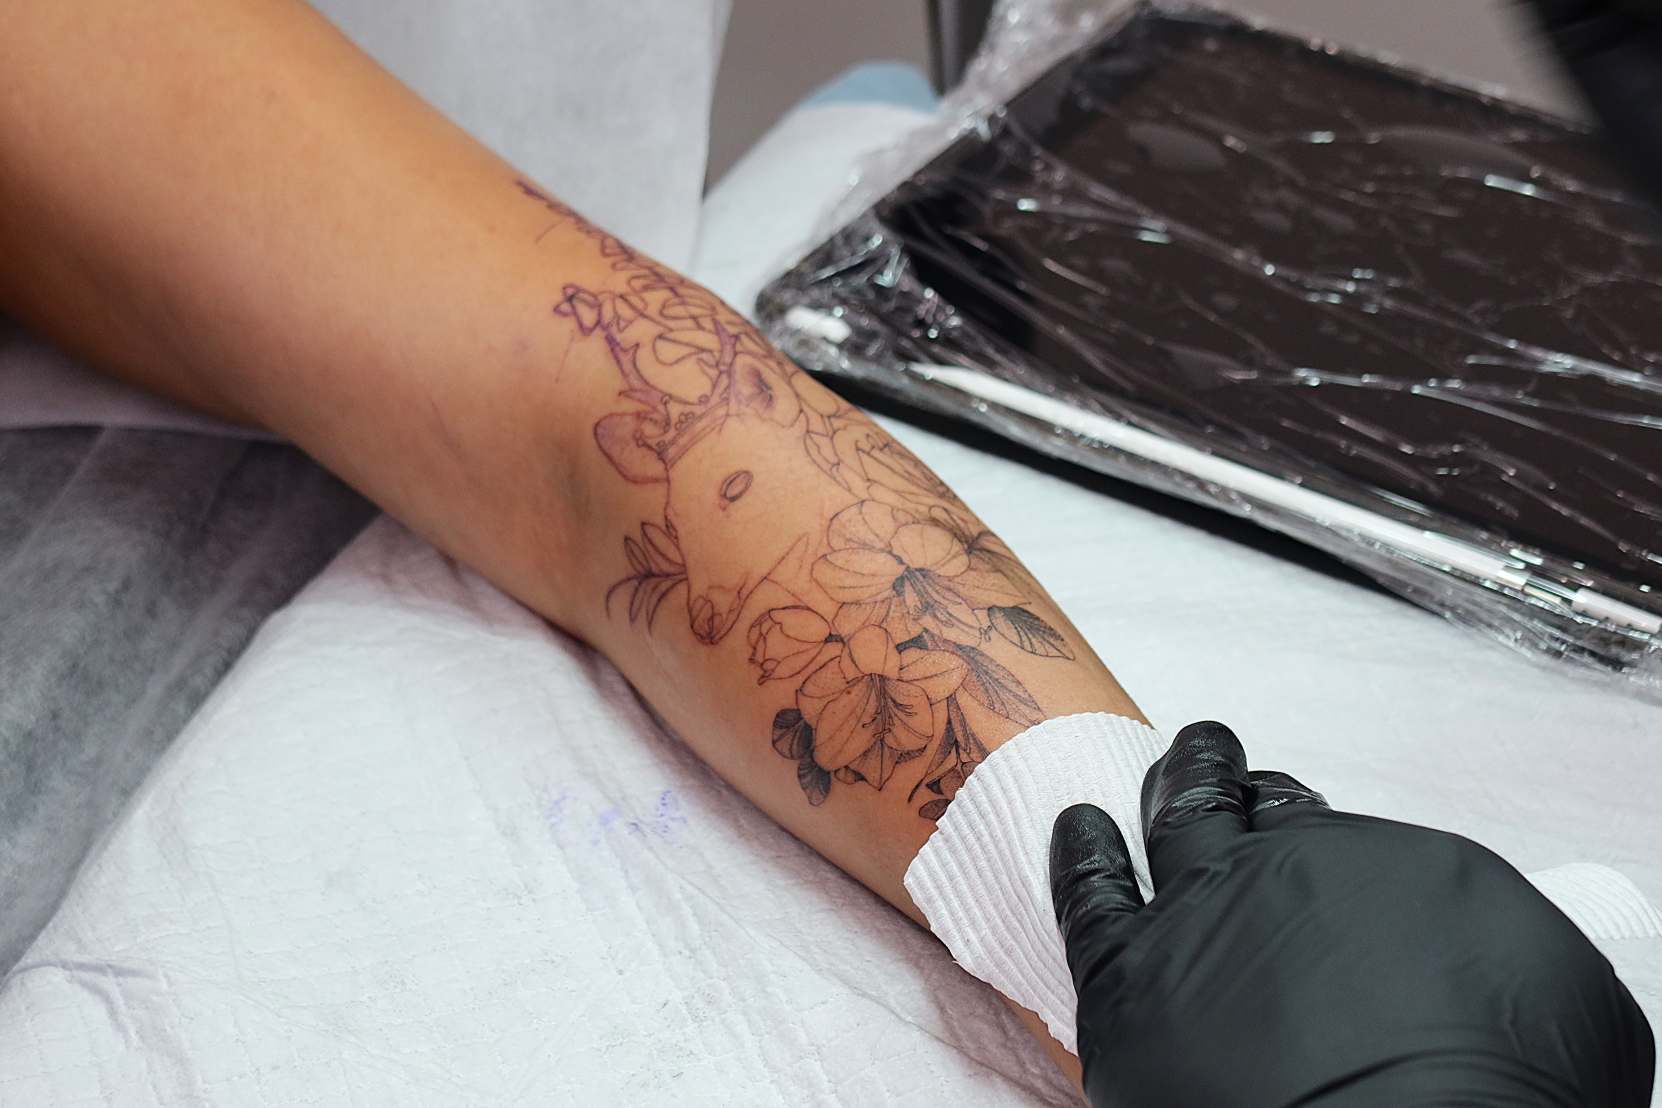
Week 1 — Inflammation and weeping: The tattooed area will be red, slightly swollen, and will produce a plasma and ink mix in the first 24–48 hours. This is a normal immune response to skin penetration. Clients may be alarmed by the amount of colour appearing on their wrap or sheets. Prepare them for this in advance — it is expected and resolves quickly.
Days 3–7 — Peeling: As the surface layer heals, peeling begins. For fine line work, this is the most critical phase from a technique-protection standpoint. Clients must not pick, scratch, or peel. Fine line tattoos are vulnerable in this phase because the ink deposit is thin enough that mechanically forcing peeling removes ink with it. Emphasise this clearly.
Weeks 2–4 — The milky phase: The tattoo will appear cloudy or less sharp as a new layer of skin grows over the ink. Many clients panic at this stage, assuming something has gone wrong. The cloudiness is a new skin layer forming over the ink — it’s completely normal and temporary. Set this expectation in your aftercare conversation before the client leaves.
Month 1–3 — True healed result: The tattoo’s actual healed appearance settles over 4–12 weeks. Line sharpness, density, and overall quality will look different from the fresh tattoo and different again from the milky phase. The final result should be assessed at 8–10 weeks minimum — not at the two-week mark.
Common Fine Line Healing Problems and Their Causes
Fading and ink loss: The most common complaint. Causes include: ink placed too shallow (in the epidermis rather than dermis — epidermal ink is shed as skin renews); too many passes over the same area creating over-saturation and ink dispersion; and poor aftercare resulting in premature peeling or excessive skin dryness.
Blowouts: A blowout occurs when ink is driven too deep into the hypodermis, where it spreads and creates a blurred shadow. In fine line work, blowouts are particularly damaging because the style’s value is its crispness. Causes include incorrect needle depth, excessive machine speed, or aggressive technique over bony areas where skin is thin.
Patchiness: Uneven ink density in healed fine line work usually indicates inconsistent technique during the session — varying depth or speed producing different ink saturation in adjacent areas — or uneven aftercare where some areas dried out more than others during healing.
Aftercare Instructions That Protect Fine Line Work
Your aftercare guidance is an extension of your technical work. Provide it in writing — not just verbally. The key instructions for fine line specifically:
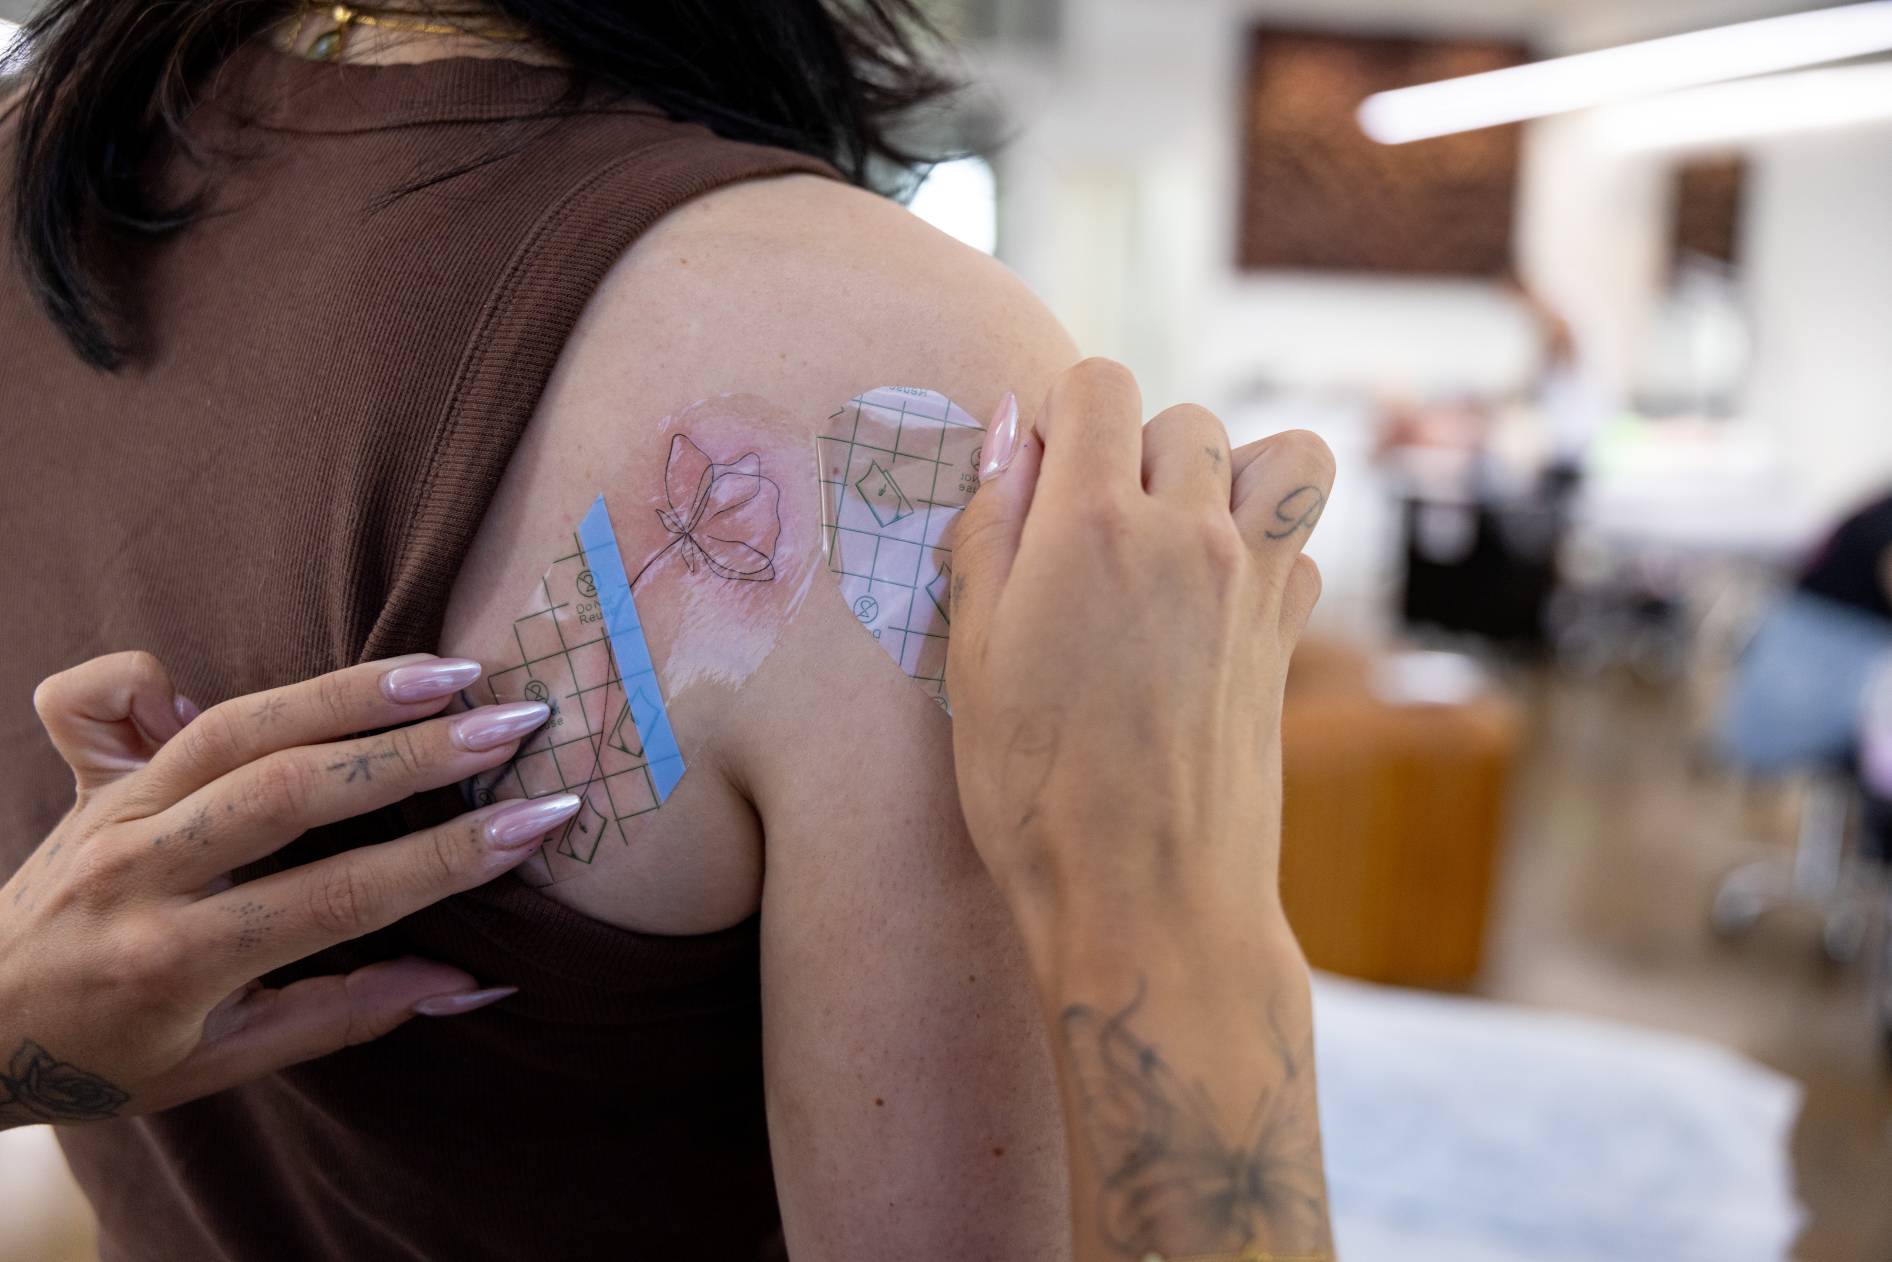
• Keep the initial wrap on for 2–4 hours (or 3–5 days for second-skin adhesive film) • Wash gently 2–3 times daily with fragrance-free, non-antibacterial soap and lukewarm water • Pat completely dry — never rub • Apply a thin layer of fragrance-free moisturiser (tattoo balm, unscented lotion) • No swimming, soaking, or prolonged water exposure for 2–4 weeks • No direct sun exposure on the healing area • Do not pick, scratch, or peel at any stage
The ‘thin layer’ instruction is particularly important for fine line. Over-moisturisation can affect ink retention. Thin and regular is correct — not thick and occasional.
When to Offer a Touch-Up
No matter how skilled the artist or compliant the client, fine line work occasionally needs a touch-up. This is a normal, accepted reality of the style and should be communicated proactively at booking and again at the end of the session.
Most professional fine line artists offer a complimentary touch-up assessed at the 8–10 week healed mark. This builds client trust, demonstrates confidence in your own work standards, and is a natural opportunity to see the client again and deepen the relationship.
Touch-ups should address specific soft spots or faded areas, not wholesale re-tattooing. If a client requires significant reworking, explore what caused the healing issue to prevent it recurring.