Perfect stencil application forms the foundation of precise tattoo work. This guide covers seven professional techniques for achieving crisp, well-positioned stencils on any skin type, troubleshooting common transfer problems, and ensuring your stencil lasts throughout lengthy tattoo sessions without fading or smudging.
Why Stencil Application Makes or Breaks Your Tattoo
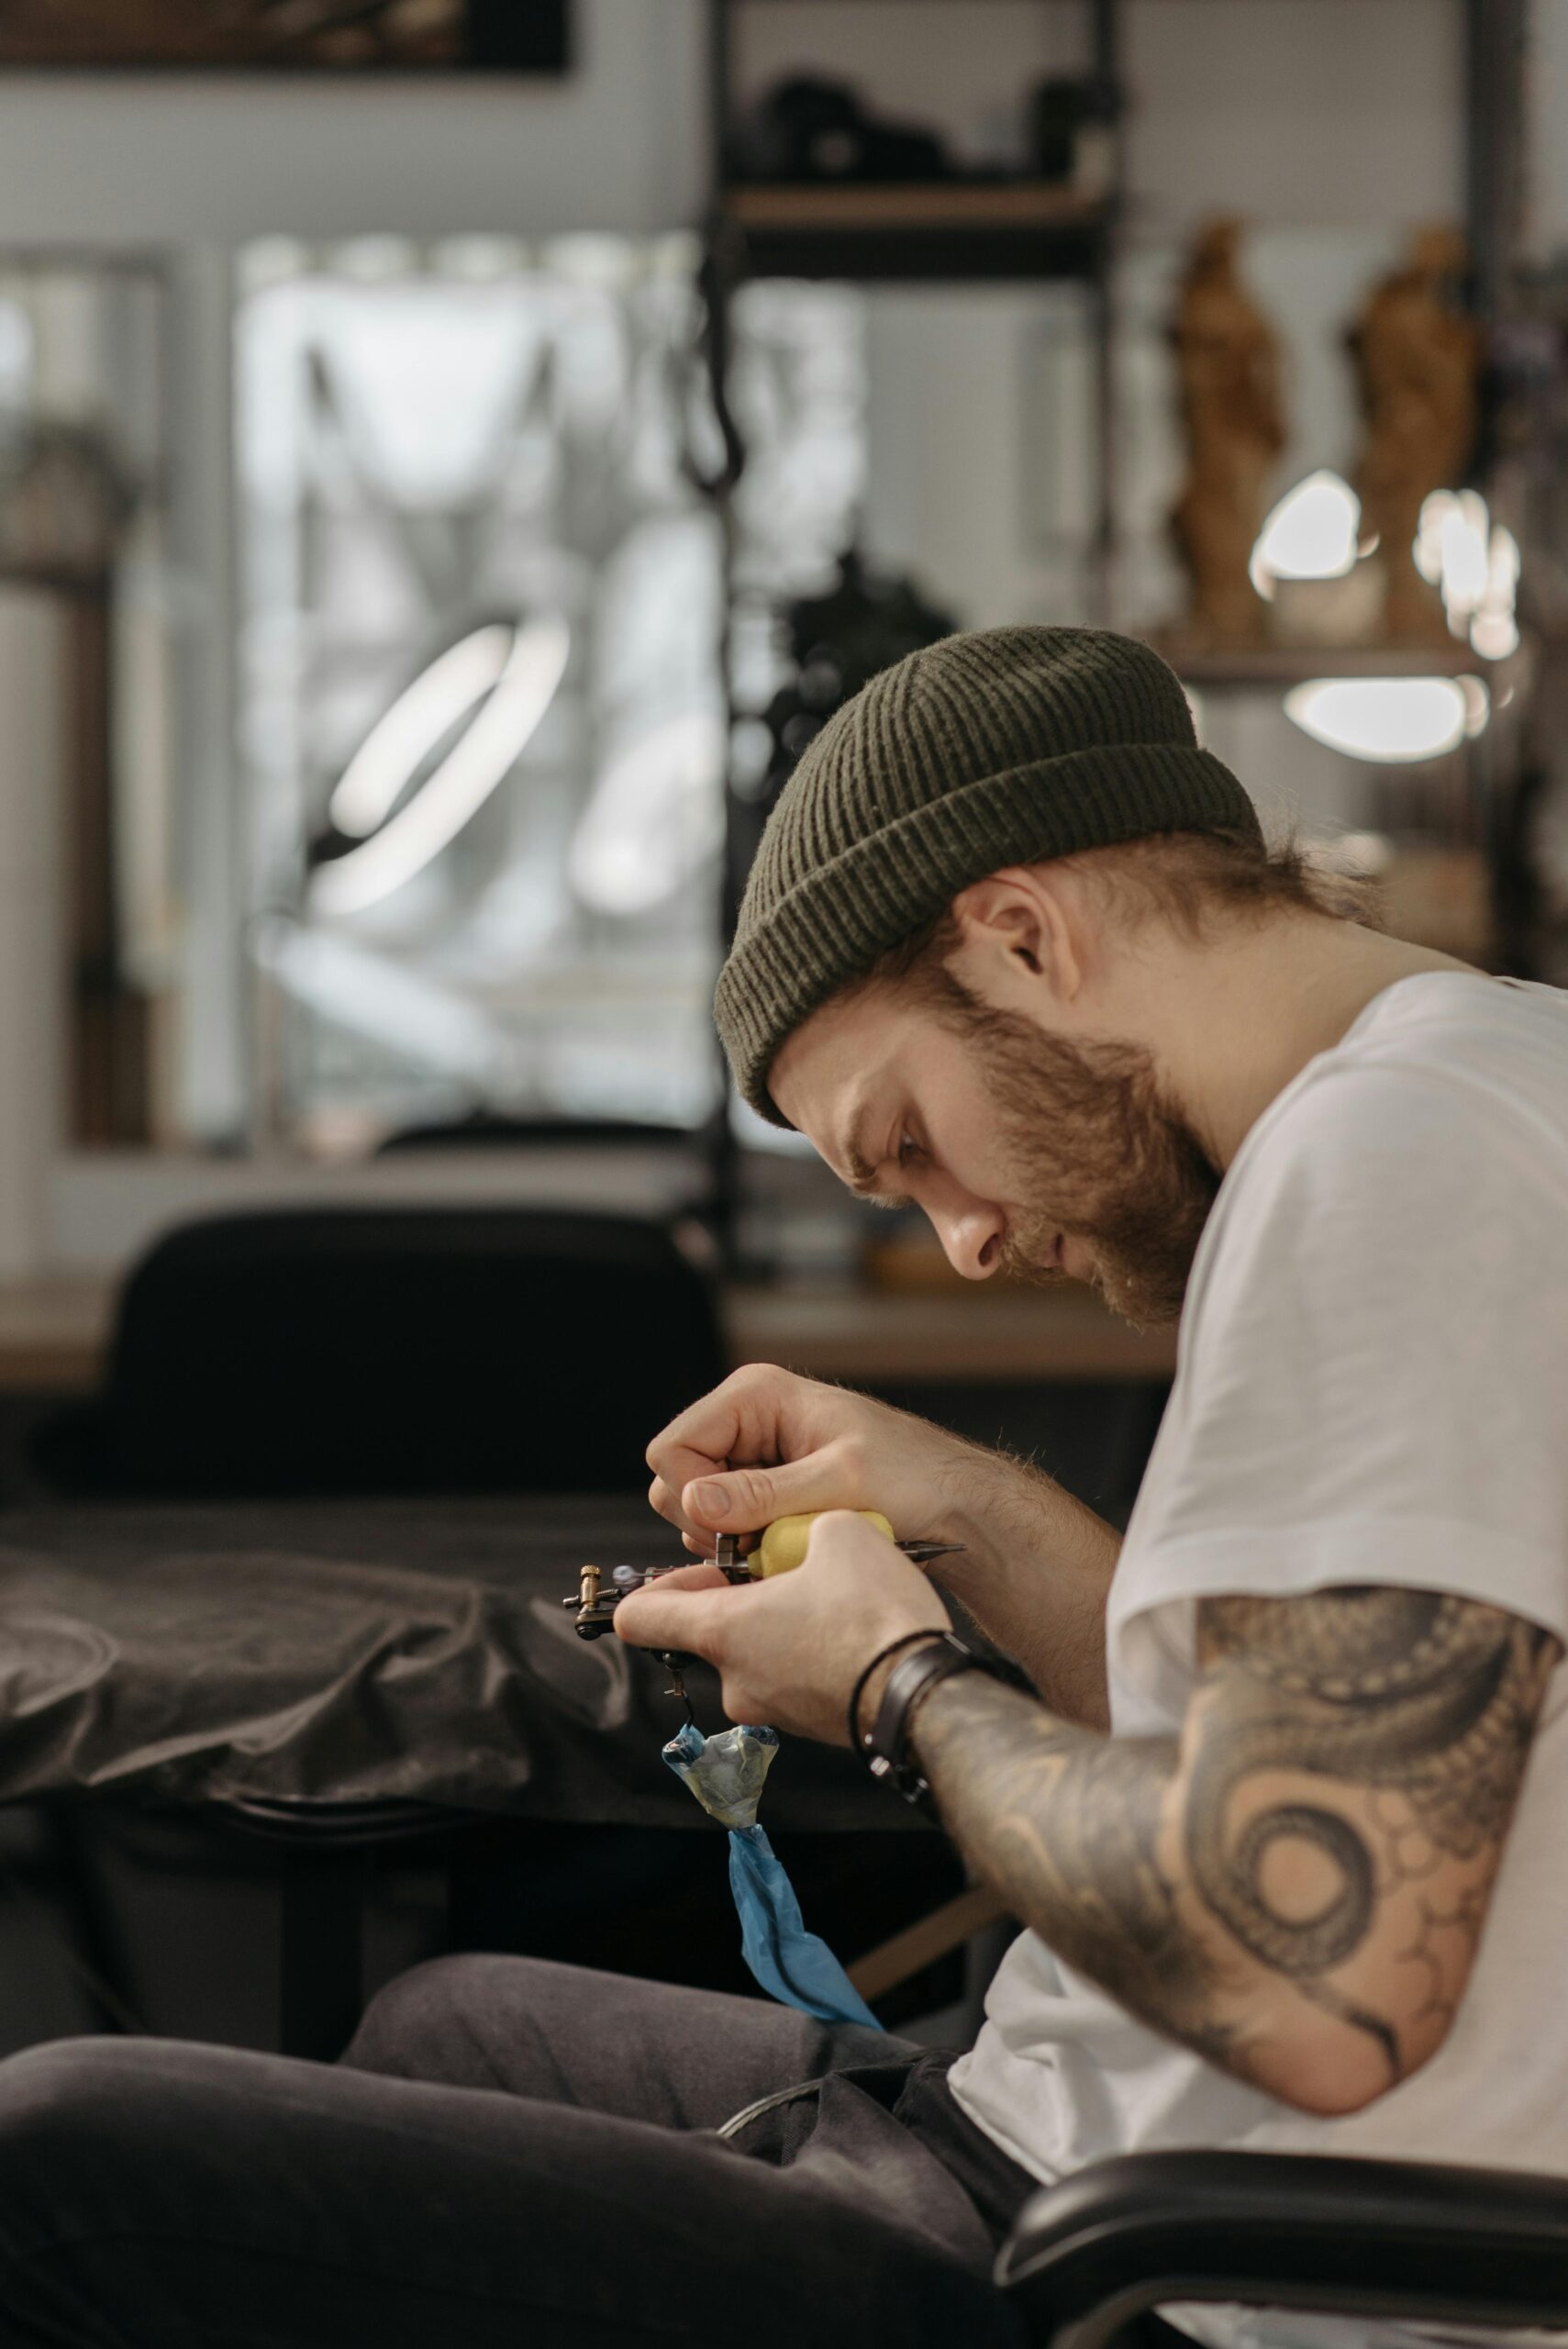
The quality of your stencil application directly determines the precision and professionalism of your final tattoo. Even the most skilled hand becomes compromised when working from a poorly applied, faded, or incorrectly positioned stencil. Professional tattoo artists understand that stencil mastery isn’t a preliminary step—it’s a critical skill that separates amateur work from exceptional results.
A perfectly applied stencil provides your roadmap throughout the tattooing process, maintaining crisp lines even after hours of wiping, stretching, and working the skin. Poor stencil application leads to repositioning mid-session, lost design elements, and compromised precision that clients immediately notice.
According to dermatological research on skin preparation, proper skin conditioning before stencil application affects both transfer quality and how long the stencil remains visible during tattooing. Understanding skin physiology elevates your technical capabilities beyond basic application to true professional mastery.

Technique #1: Optimal Skin Preparation Creates Perfect Adhesion
Perfect stencil application begins with meticulous skin preparation. Many beginners rush this step, resulting in patchy transfers, premature fading, and frustrating repositioning attempts that waste time and compromise client confidence.
Start by thoroughly cleansing the area with antibacterial soap and warm water, removing all oils, lotions, dirt, and dead skin cells that interfere with stencil adhesion. Pat the area completely dry—moisture prevents proper transfer and causes premature fading. Never use alcohol-based products immediately before stencil application, as they can over-dry the skin and create a barrier that prevents proper adhesion.
The Shaving Protocol
Proper hair removal proves essential for clean stencil transfer. Always shave in the direction of hair growth first, then against the grain for the closest possible shave. Use a fresh, sharp razor for each client—dull blades tug at hair and irritate skin, creating inflammation that affects stencil adhesion and client comfort.
After shaving, cleanse again to remove any remaining hair and shaving cream residue. Some professional artists prefer using clippers for initial hair removal on particularly dense areas, following with a razor for final smoothing. This approach reduces irritation whilst achieving the clean surface necessary for perfect stencil transfer.
Your equipment quality matters here—invest in professional-grade disposable razors designed specifically for tattoo preparation rather than standard consumer razors.
Technique #2: Selecting the Right Stencil Transfer Product
Not all stencil transfer products perform equally, and matching your transfer medium to skin type and tattoo duration creates dramatically better results. Professional artists maintain multiple transfer products to optimise performance for different situations.
Deodorant-based transfer remains popular for its accessibility and decent hold on most skin types. Roll-on Speed Stick or similar products provide reliable transfer for sessions under two hours on normal skin. However, oily skin types and longer sessions demand more robust solutions.
Commercial stencil transfer solutions like Stencil Stuff, Stencil Pro, or Green Soap offer superior longevity and crispness compared to deodorant. These products contain specialized compounds that enhance adhesion whilst maintaining skin health. According to Tattoo Artist Magazine’s product testing, professional transfer solutions maintain stencil clarity up to 40% longer than traditional deodorant methods.
Matching Product to Skin Type
Oily skin requires gel-based transfer products that penetrate slightly and resist the natural sebum that causes premature stencil breakdown. Dry skin works well with cream-based products that provide slight moisture whilst transferring ink. Sensitive skin benefits from hypoallergenic, fragrance-free commercial products specifically formulated for tattoo use.
Experiment with different products during your practice skin sessions to develop intuition about which transfers work best for various scenarios you’ll encounter with real clients.
Technique #3: The Perfect Application Pressure and Timing
Achieving ideal stencil transfer requires precise pressure and timing—too much pressure creates blurred lines, whilst insufficient pressure yields patchy, incomplete transfers. This balance requires practice to develop the tactile sense that produces consistent results.
Apply your chosen transfer product in a thin, even layer across the entire area where your stencil will sit. Too much product causes the paper to slide and creates blurry transfers. Too little prevents adequate ink release from the thermal paper. The layer should appear slightly glossy but not dripping or pooling.
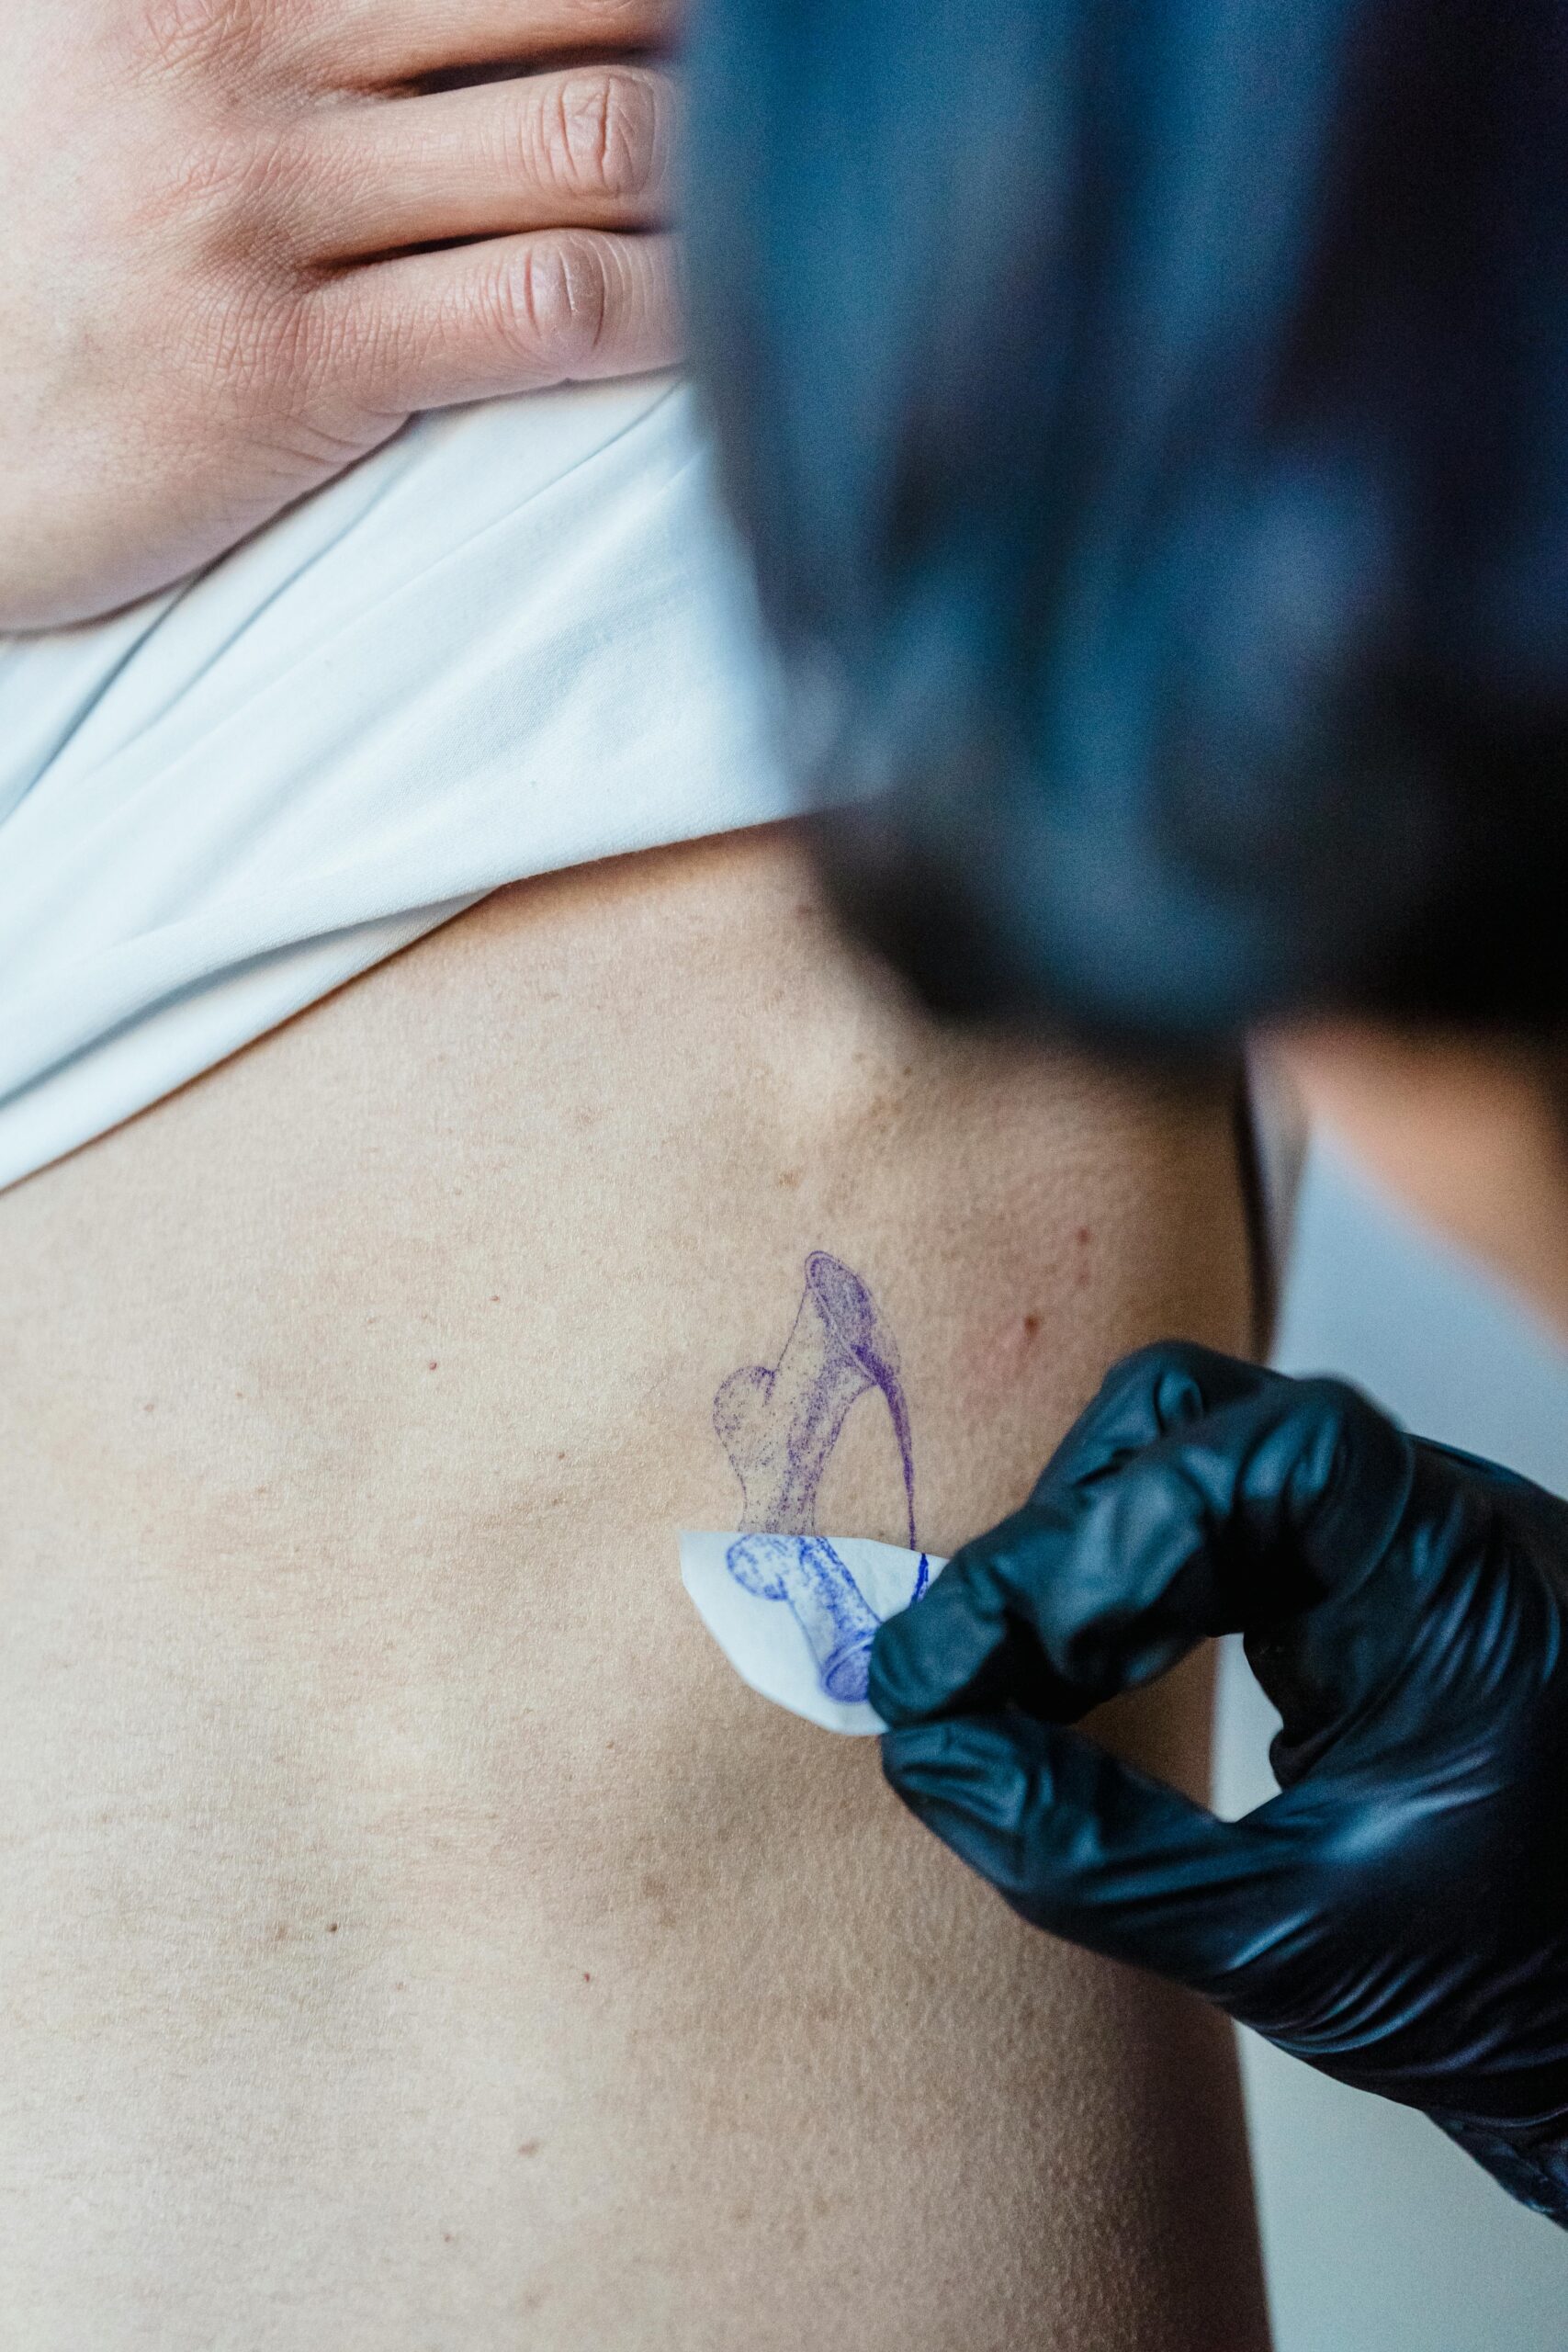
Position your stencil carefully on the prepared area, smoothing from the centre outward to eliminate air bubbles and wrinkles. Apply firm, even pressure with a clean, dry cloth or paper towel for 30-45 seconds. Press hard enough to ensure complete contact without sliding the stencil, which creates doubled lines and ruins transfer quality.
The Peel Technique
The peel-back technique dramatically improves transfer quality compared to simply lifting the stencil away. Starting from one corner, peel the stencil back slowly against itself at a low angle, maintaining consistent speed throughout. This creates shear force that pulls the maximum amount of transfer ink from the paper whilst preventing smudging.
Fast peeling causes incomplete transfers. Slow, deliberate peeling produces the crisp, complete lines that professional work requires. Let the transfer dry for 3-5 minutes before touching or positioning the client, allowing the stencil to fully set and bond with the skin.
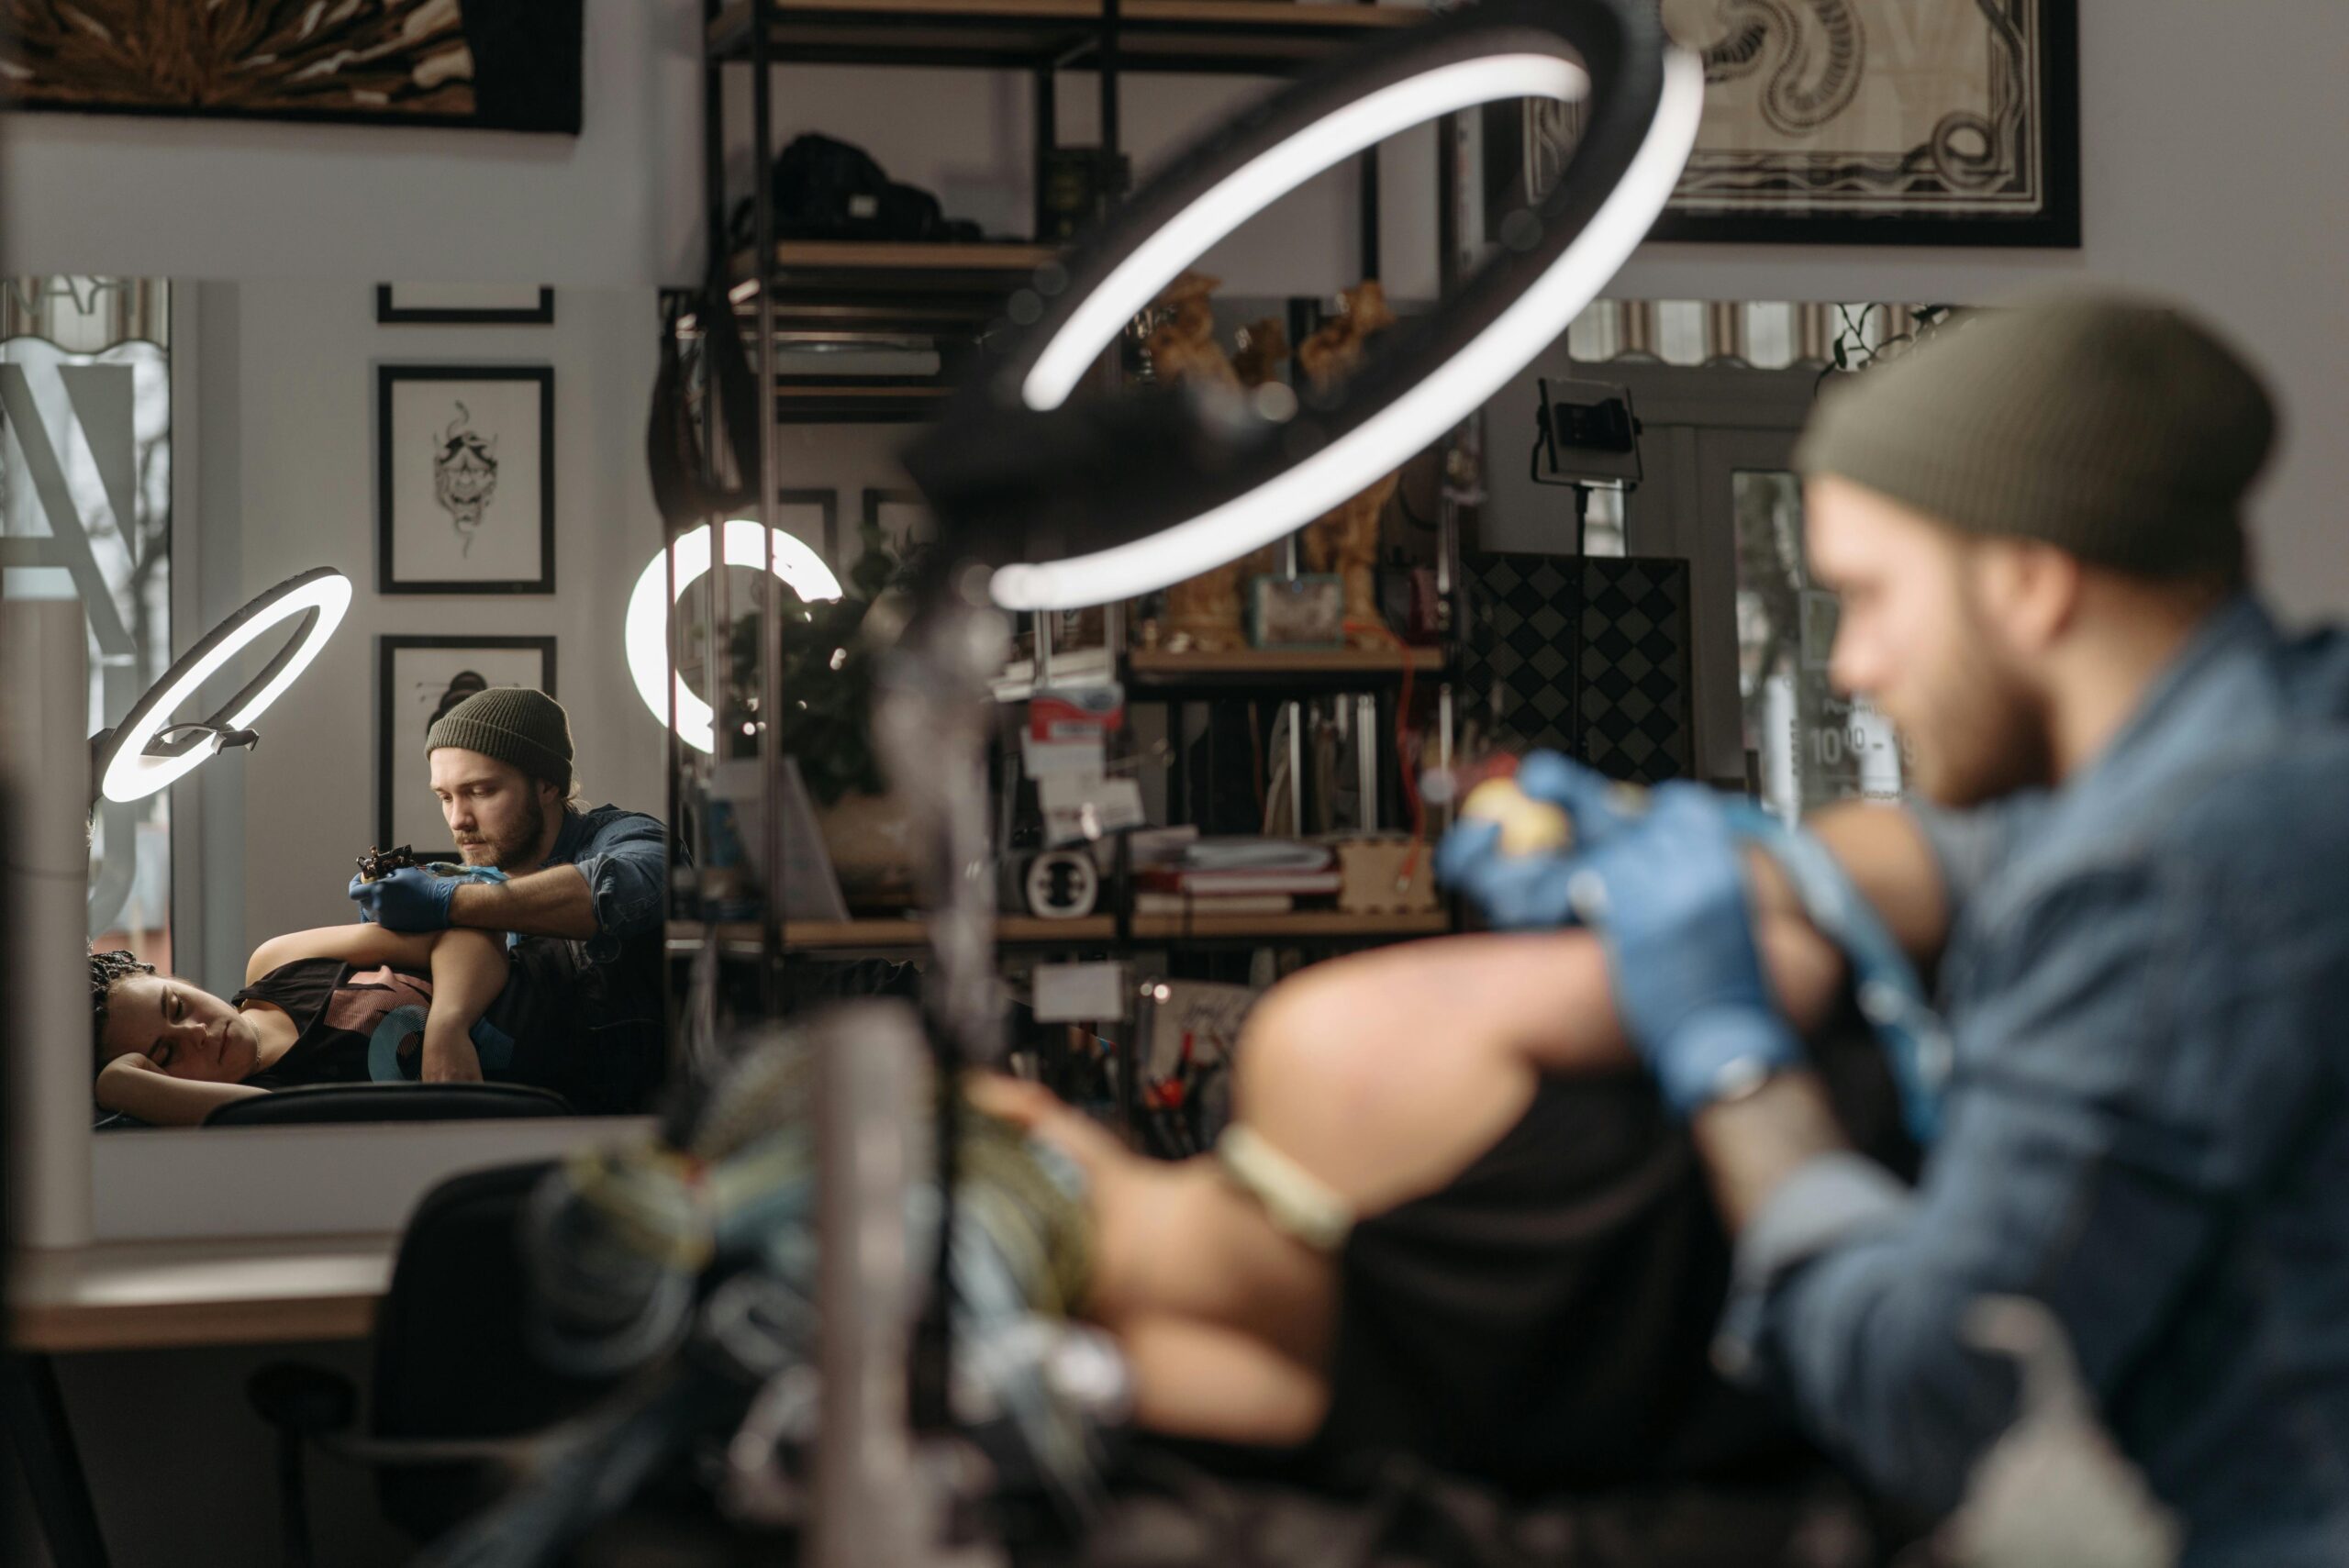
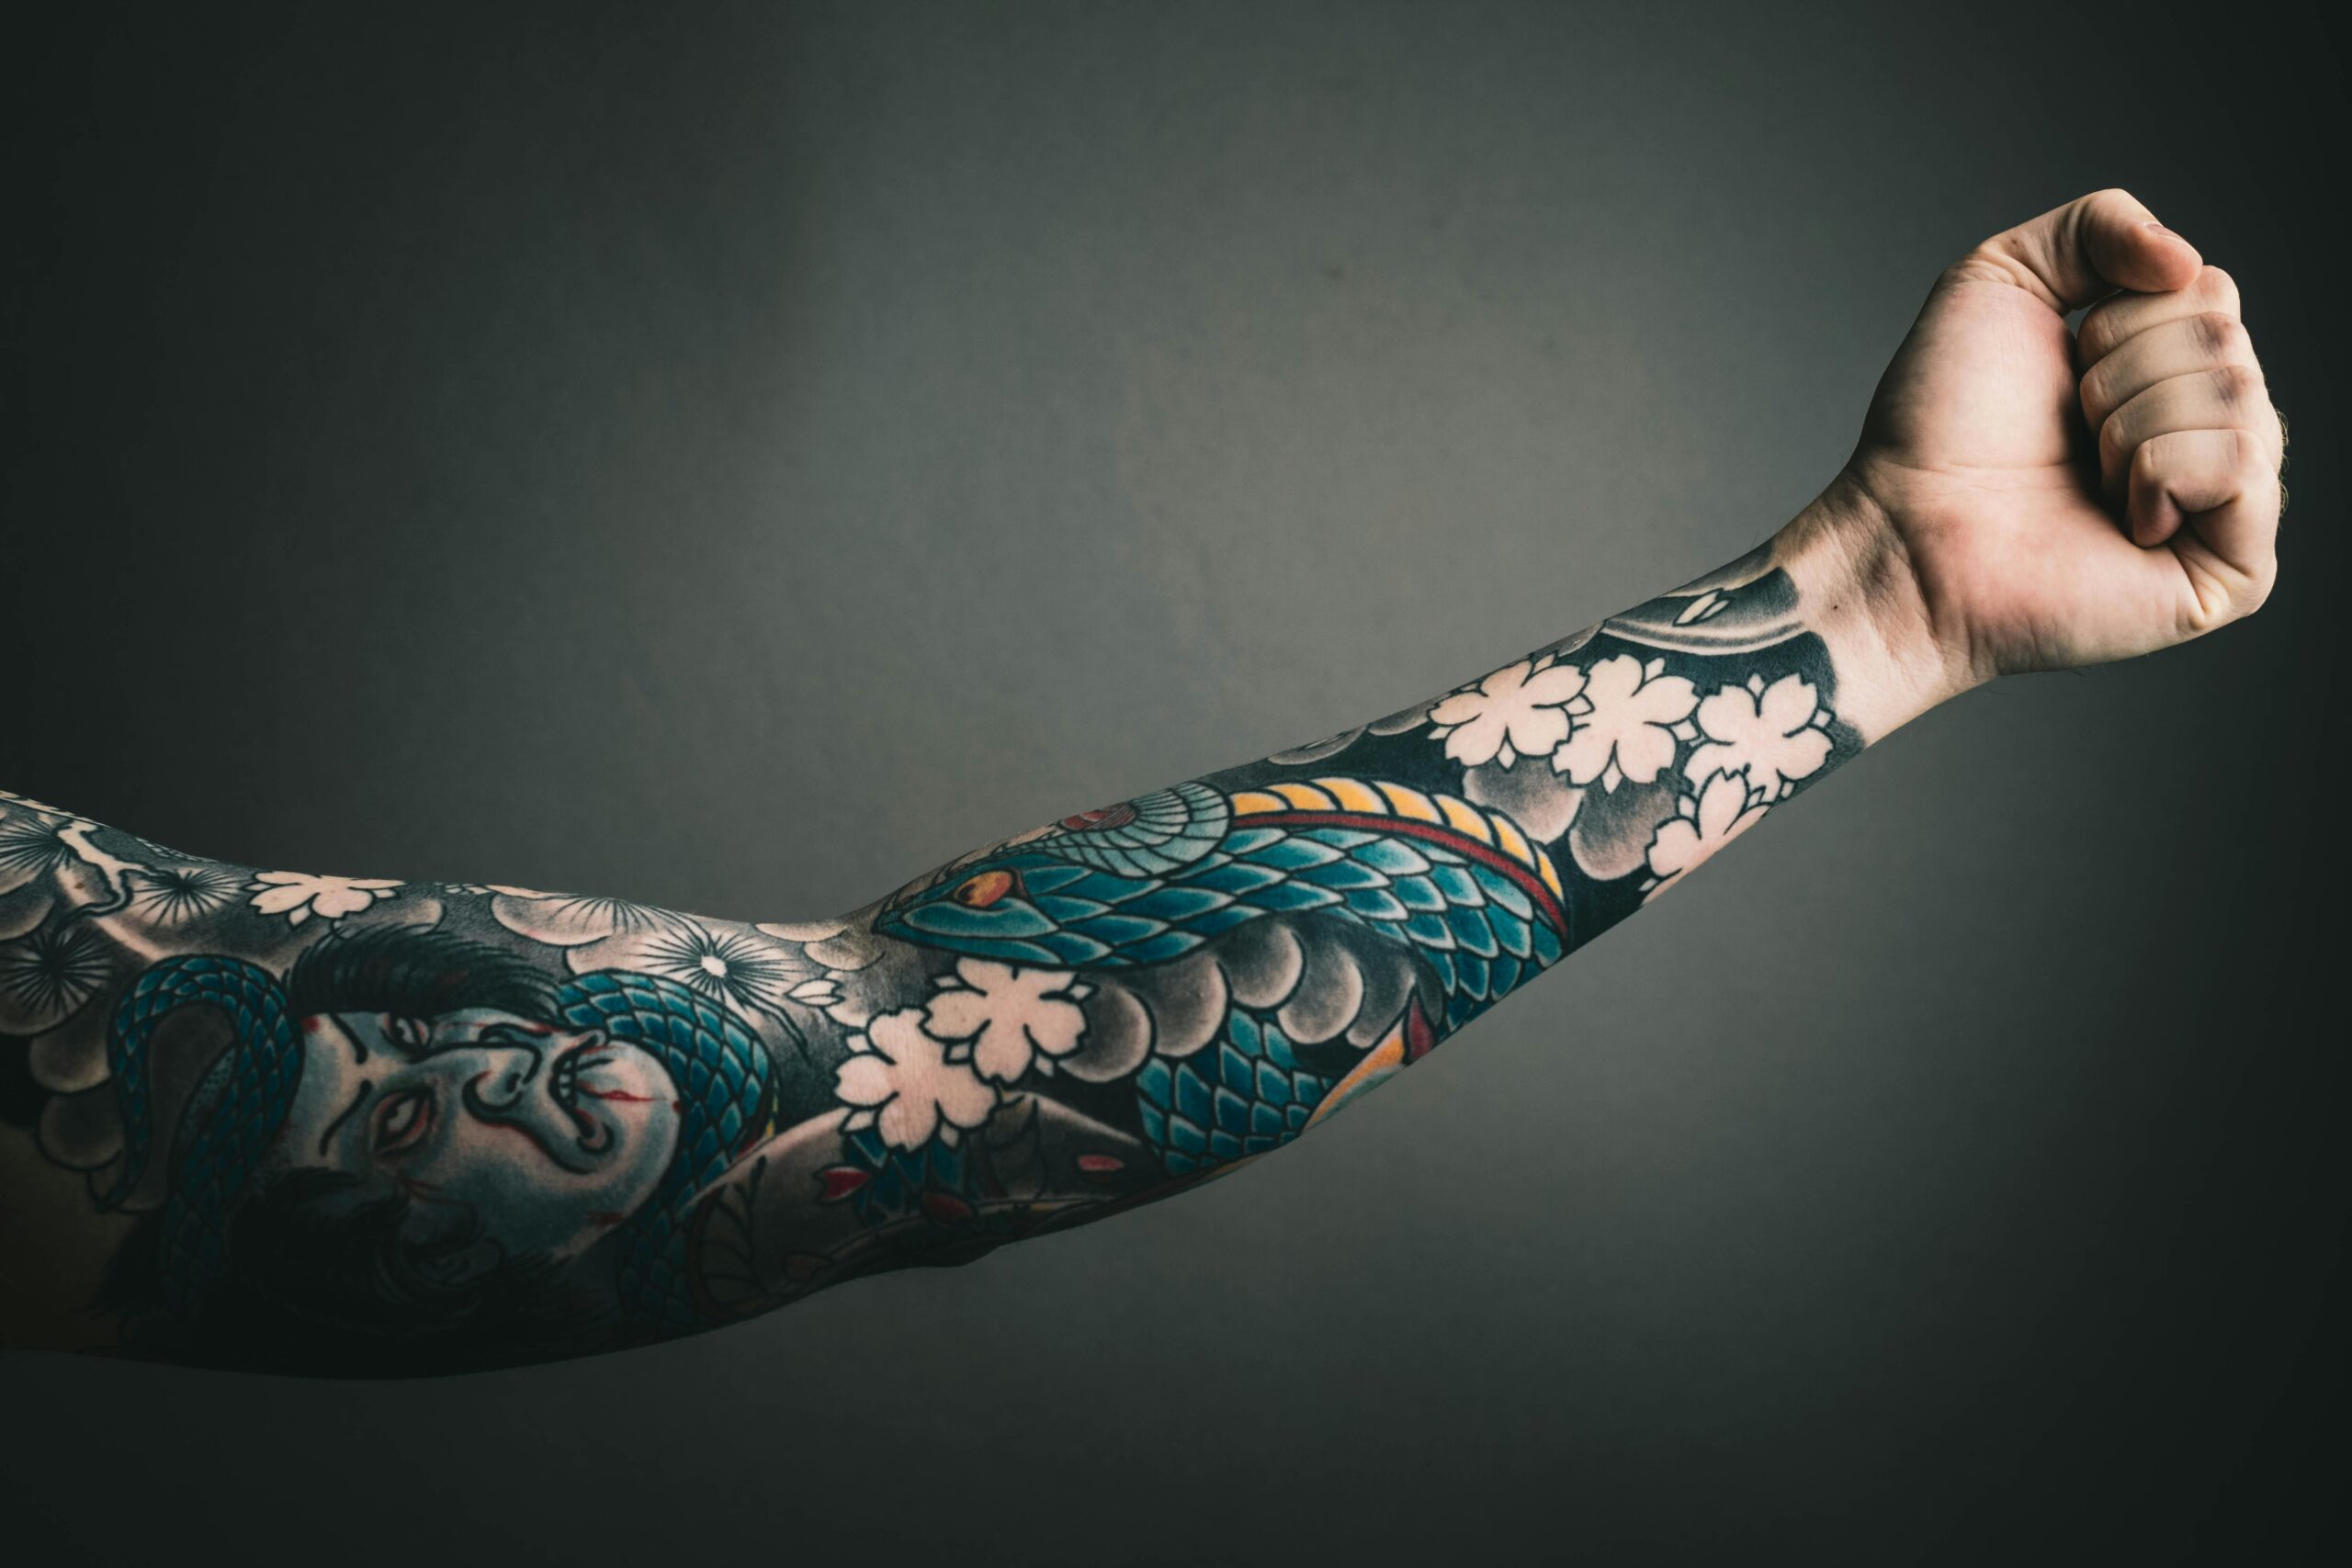
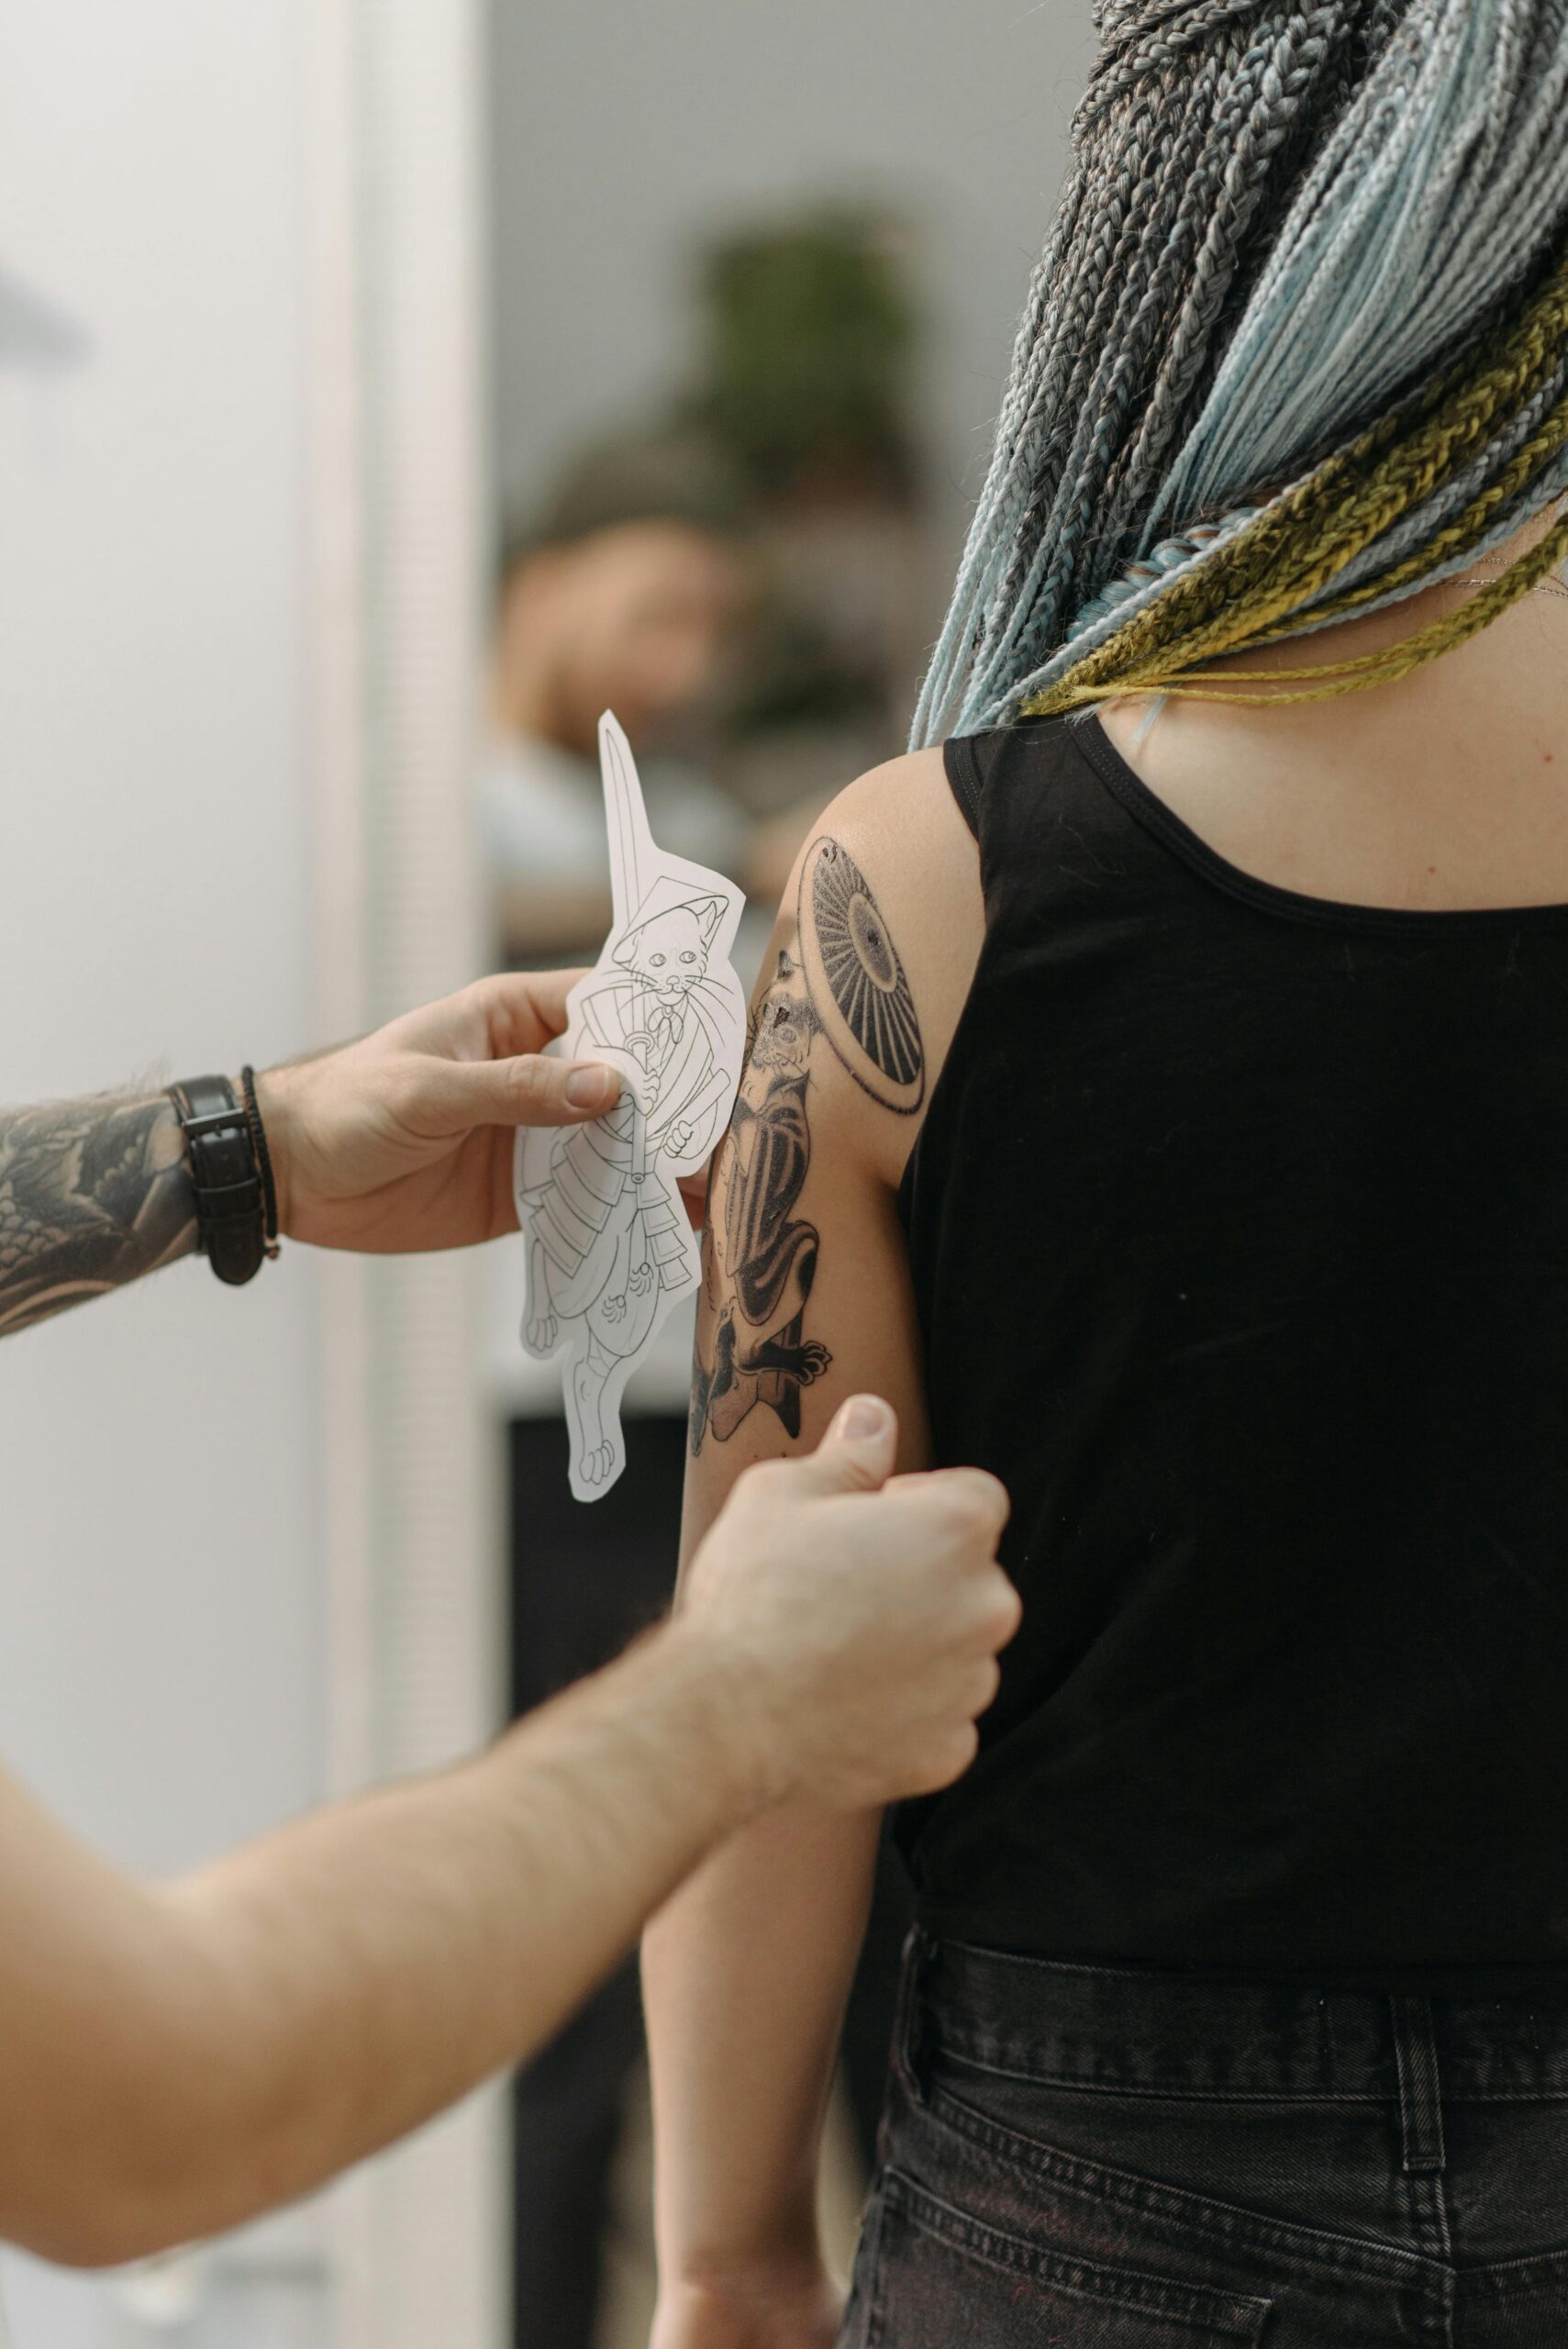
Technique #4: Strategic Stencil Positioning for Body Contours
Applying stencils to flat practice skin differs vastly from working with the curves, creases, and contours of human anatomy. Professional positioning accounts for how body parts move, stretch, and sit naturally, ensuring your tattoo looks correct in all positions.
For areas that stretch significantly—inner arms, ribcage, stomach—apply your stencil with the area in its natural, relaxed position rather than stretched. Tattoos applied on stretched skin appear distorted when relaxed. This consideration proves particularly crucial for text and geometric designs where proportion accuracy determines professional quality.
Consider how gravity and movement affect appearance. Thigh tattoos look different when standing versus sitting. Upper arm pieces must work from all viewing angles. Understanding functional anatomy helps you position stencils for optimal visual impact regardless of body position.
Working with Challenging Anatomy
Curved surfaces like shoulders, calves, and the back of arms require sectional stencil application for complex designs. Divide your design into manageable sections that follow the body’s natural curves rather than forcing a flat design onto a curved surface. This approach maintains proper proportions and prevents the visual distortion that marks amateur work.
For extremely contoured areas, consider using sectional stencils that you apply sequentially, ensuring each section aligns properly with adjacent sections. Experienced artists often free-hand connection points between stencil sections, creating seamless integration that appears as a single, perfectly placed design.
Technique #5: Temperature and Humidity Control
Environmental factors significantly impact stencil transfer quality and longevity—factors that beginning artists often overlook until experiencing frustrating failures during important client sessions.
Ideal stencil application occurs in climate-controlled environments between 20-24°C with moderate humidity (40-60%). Cold temperatures cause skin to contract slightly, affecting stencil placement accuracy. Hot temperatures increase perspiration, which rapidly breaks down stencils and creates the oily skin conditions that prevent proper adhesion.
High humidity causes stencil paper to absorb moisture, affecting transfer quality and making the paper harder to position accurately. Extremely low humidity over-dries skin, creating a barrier that prevents proper ink transfer from thermal paper.
Climate Adaptation Strategies
In hot climates or during summer, increase your use of gel-based transfer products that resist moisture better than cream formulations. Keep your workspace cool and consider using portable fans directed away from your client to reduce perspiration without creating drafts that might disturb stencil application.
Cold weather—particularly relevant in Canadian winters—requires allowing adequate warm-up time for clients before stencil application. Cold skin doesn’t accept stencil transfer as readily as skin at normal body temperature. Consider using slightly more transfer product in cold conditions to compensate for reduced natural skin oils.
Technique #6: Troubleshooting Poor Transfer Quality
Even experienced artists occasionally encounter stencil transfer problems. Recognizing issues quickly and knowing how to correct them prevents wasted time and client frustration.
Patchy transfers typically result from insufficient transfer product, uneven pressure, or inadequate skin preparation. If you notice patchy areas immediately after peeling your stencil, you can sometimes reposition and press again, though this risks creating doubled lines. More commonly, apply a second stencil after cleaning the area with witch hazel or alcohol to remove the initial partial transfer.
Blurry or doubled lines indicate too much transfer product, sliding during application, or pulling the stencil away too quickly. Prevention beats correction here—remove the smudged stencil completely with alcohol, allow skin to dry fully, and reapply with less product and more careful technique.
Stencil Fading During Long Sessions
Even well-applied stencils fade during extensive tattoo sessions. Professional artists anticipate this by photographing the fresh stencil from multiple angles as reference material. Consider reinforcing critical design elements with skin markers partway through lengthy sessions, though avoid marker colours that might interfere with proper ink colour assessment.
Your fine line work particularly benefits from stencils that maintain clarity throughout sessions, as delicate lines require precise guidance that faded stencils cannot provide.
Technique #7: Advanced Stencil Preservation During Tattooing
Maintaining stencil visibility throughout your tattoo session requires strategic wiping and skin management techniques that preserve your guideline whilst keeping your working area clean.
Wipe perpendicular to design lines rather than along them—this removes excess ink and plasma whilst minimizing stencil removal. Use gentle pressure with quality paper towels or dedicated tattoo wipes rather than aggressive scrubbing that strips your stencil prematurely.
Consider using stencil-preserving barrier films for areas you’ll work for extended periods. These thin, adhesive films protect your stencil from excessive wiping whilst allowing you to see through to the design underneath. While adding slight expense, barrier films prove invaluable during detailed pieces requiring dozens of wipes.
Working Around Compromised Stencils
As stencils inevitably fade during longer sessions, develop the skill of using partial stencil information combined with your design memory and reference photos. Experienced artists essentially “connect the dots” using remaining stencil fragments and their developed spatial memory.
This skill requires comprehensive training and practice but separates competent technicians from confident professionals who maintain quality regardless of working conditions.
Common Stencil Application Mistakes to Avoid
Several predictable errors compromise stencil quality for developing artists. Awareness prevents these issues from undermining your technical capabilities.
Applying stencils on wet or recently cleaned skin causes immediate failure—always ensure complete dryness before transfer. Using expired or poorly stored thermal stencil paper results in weak transfers regardless of technique quality. Store thermal paper in cool, dry conditions away from light, and never use paper that appears discoloured or curled.
Repositioning stencils multiple times creates confusion and marks the skin with multiple overlapping designs that make accurate tattooing nearly impossible. Take time to position correctly on your first attempt rather than rushing into premature application. According to professional guidelines from the Alliance of Professional Tattooists, proper planning and patient stencil application prevents 90% of positioning mistakes.
Building Systematic Stencil Habits
Develop a consistent stencil application routine that you follow for every client. Systematic approaches prevent the scattered thinking and rushed decisions that lead to poor transfers. Your routine should include: thorough consultation and design approval, skin preparation checklist, product selection based on skin type and session length, careful positioning with client feedback, proper application pressure and timing, and photographic documentation before beginning work.
Develop Professional Stencil Mastery Through Expert Training
Reading about stencil techniques provides valuable knowledge, but developing the tactile skills and visual judgment for perfect transfers requires hands-on practice with expert feedback. Professional training accelerates your progression from basic competence to true mastery.
At Omnia Tattoo Academy, our tattoo courses include comprehensive stencil application training that covers all skin types, body contours, and challenging scenarios you’ll encounter throughout your career. You’ll practice dozens of stencil applications on practice skin, receiving detailed feedback from experienced tutors who identify subtle technique improvements that dramatically enhance results.
Our six-day weekly tutor support means you receive guidance exactly when you need it, helping you troubleshoot problems and refine techniques as you progress. Self-paced online learning allows you to master each stencil application aspect before moving forward, building the confidence essential for professional work.
Perfect Your Stencil Technique Today
Ready to master the stencil application skills that underpin all professional tattoo work? Our comprehensive tattoo courses provide systematic training in every technical aspect of tattooing, from stencil preparation through final design execution.
Join Canadian artists who’ve developed their technical precision through Omnia’s proven training methodology. With flexible payment plans starting at $30 per week, professional equipment included, and comprehensive tutor support, you’ll build the foundational skills that successful tattoo careers require.
Explore our online tattoo course options and start creating the precise, professional work that builds client confidence and industry reputation.