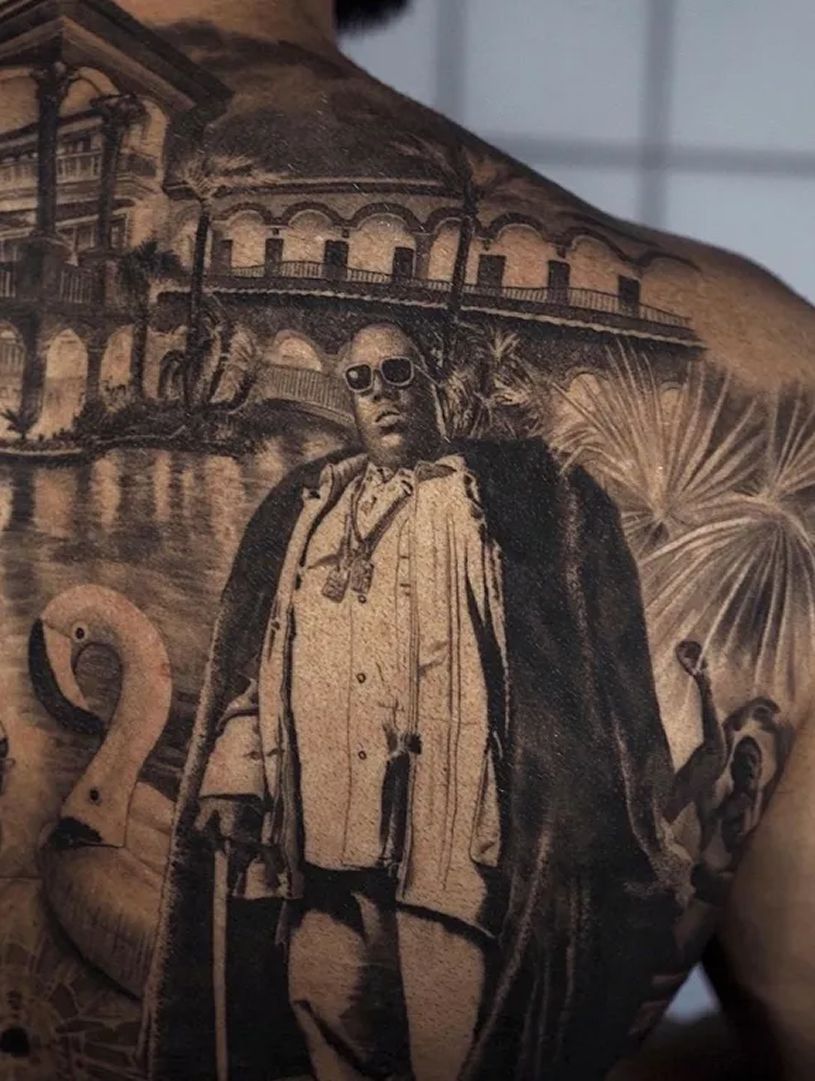
Transforming vague client concepts into beautiful, wearable tattoo designs represents one of the most valuable skills professional artists develop. This comprehensive guide outlines a proven 5-step process for custom design work—from initial consultation through final execution—helping you create meaningful, artistic tattoos that exceed client expectations whilst showcasing your creative capabilities.
Why Custom Design Skills Elevate Your Career
Custom tattoo design capability separates true artists from basic technicians who simply reproduce existing imagery. Clients increasingly seek personalised work reflecting their unique stories, preferences, and aesthetics rather than generic flash selections.
According to Tattoodo’s industry research, custom work commands 30-50% premium pricing over flash pieces whilst generating significantly higher client satisfaction and referral rates. Artists known for excellent custom work build sustainable businesses based on reputation and artistry rather than competing primarily on price.
Custom design proficiency provides multiple business advantages: premium pricing reflecting creative value, deeper client relationships through collaborative processes, portfolio differentiation from competitors using similar flash, and creative satisfaction preventing artistic burnout from repetitive work.
However, successful custom work requires systematic processes preventing miscommunication, managing client expectations, and ensuring designs translate effectively from concept to skin. Unstructured approaches create frustration, extensive revisions, and final pieces that disappoint despite your technical capabilities.
Social Media Examiner’s content research demonstrates that unique, original content significantly outperforms generic reproductions in engagement and sharing—principles applying directly to custom tattoo work.

The Communication Challenge
Most clients arrive with incomplete concepts, reference images from multiple unrelated sources, or emotional ideas they struggle articulating visually. Your ability to extract meaningful design direction from imprecise communication directly impacts custom work success.
Effective designers function partly as therapists, interpreting emotional intent beneath stated requests and translating abstract concepts into concrete visual solutions. This skill develops through experience and systematic consultation approaches that extract necessary information whilst building client confidence in your creative vision.
Your professional consultation training establishes foundations for effective client communication that custom work demands.
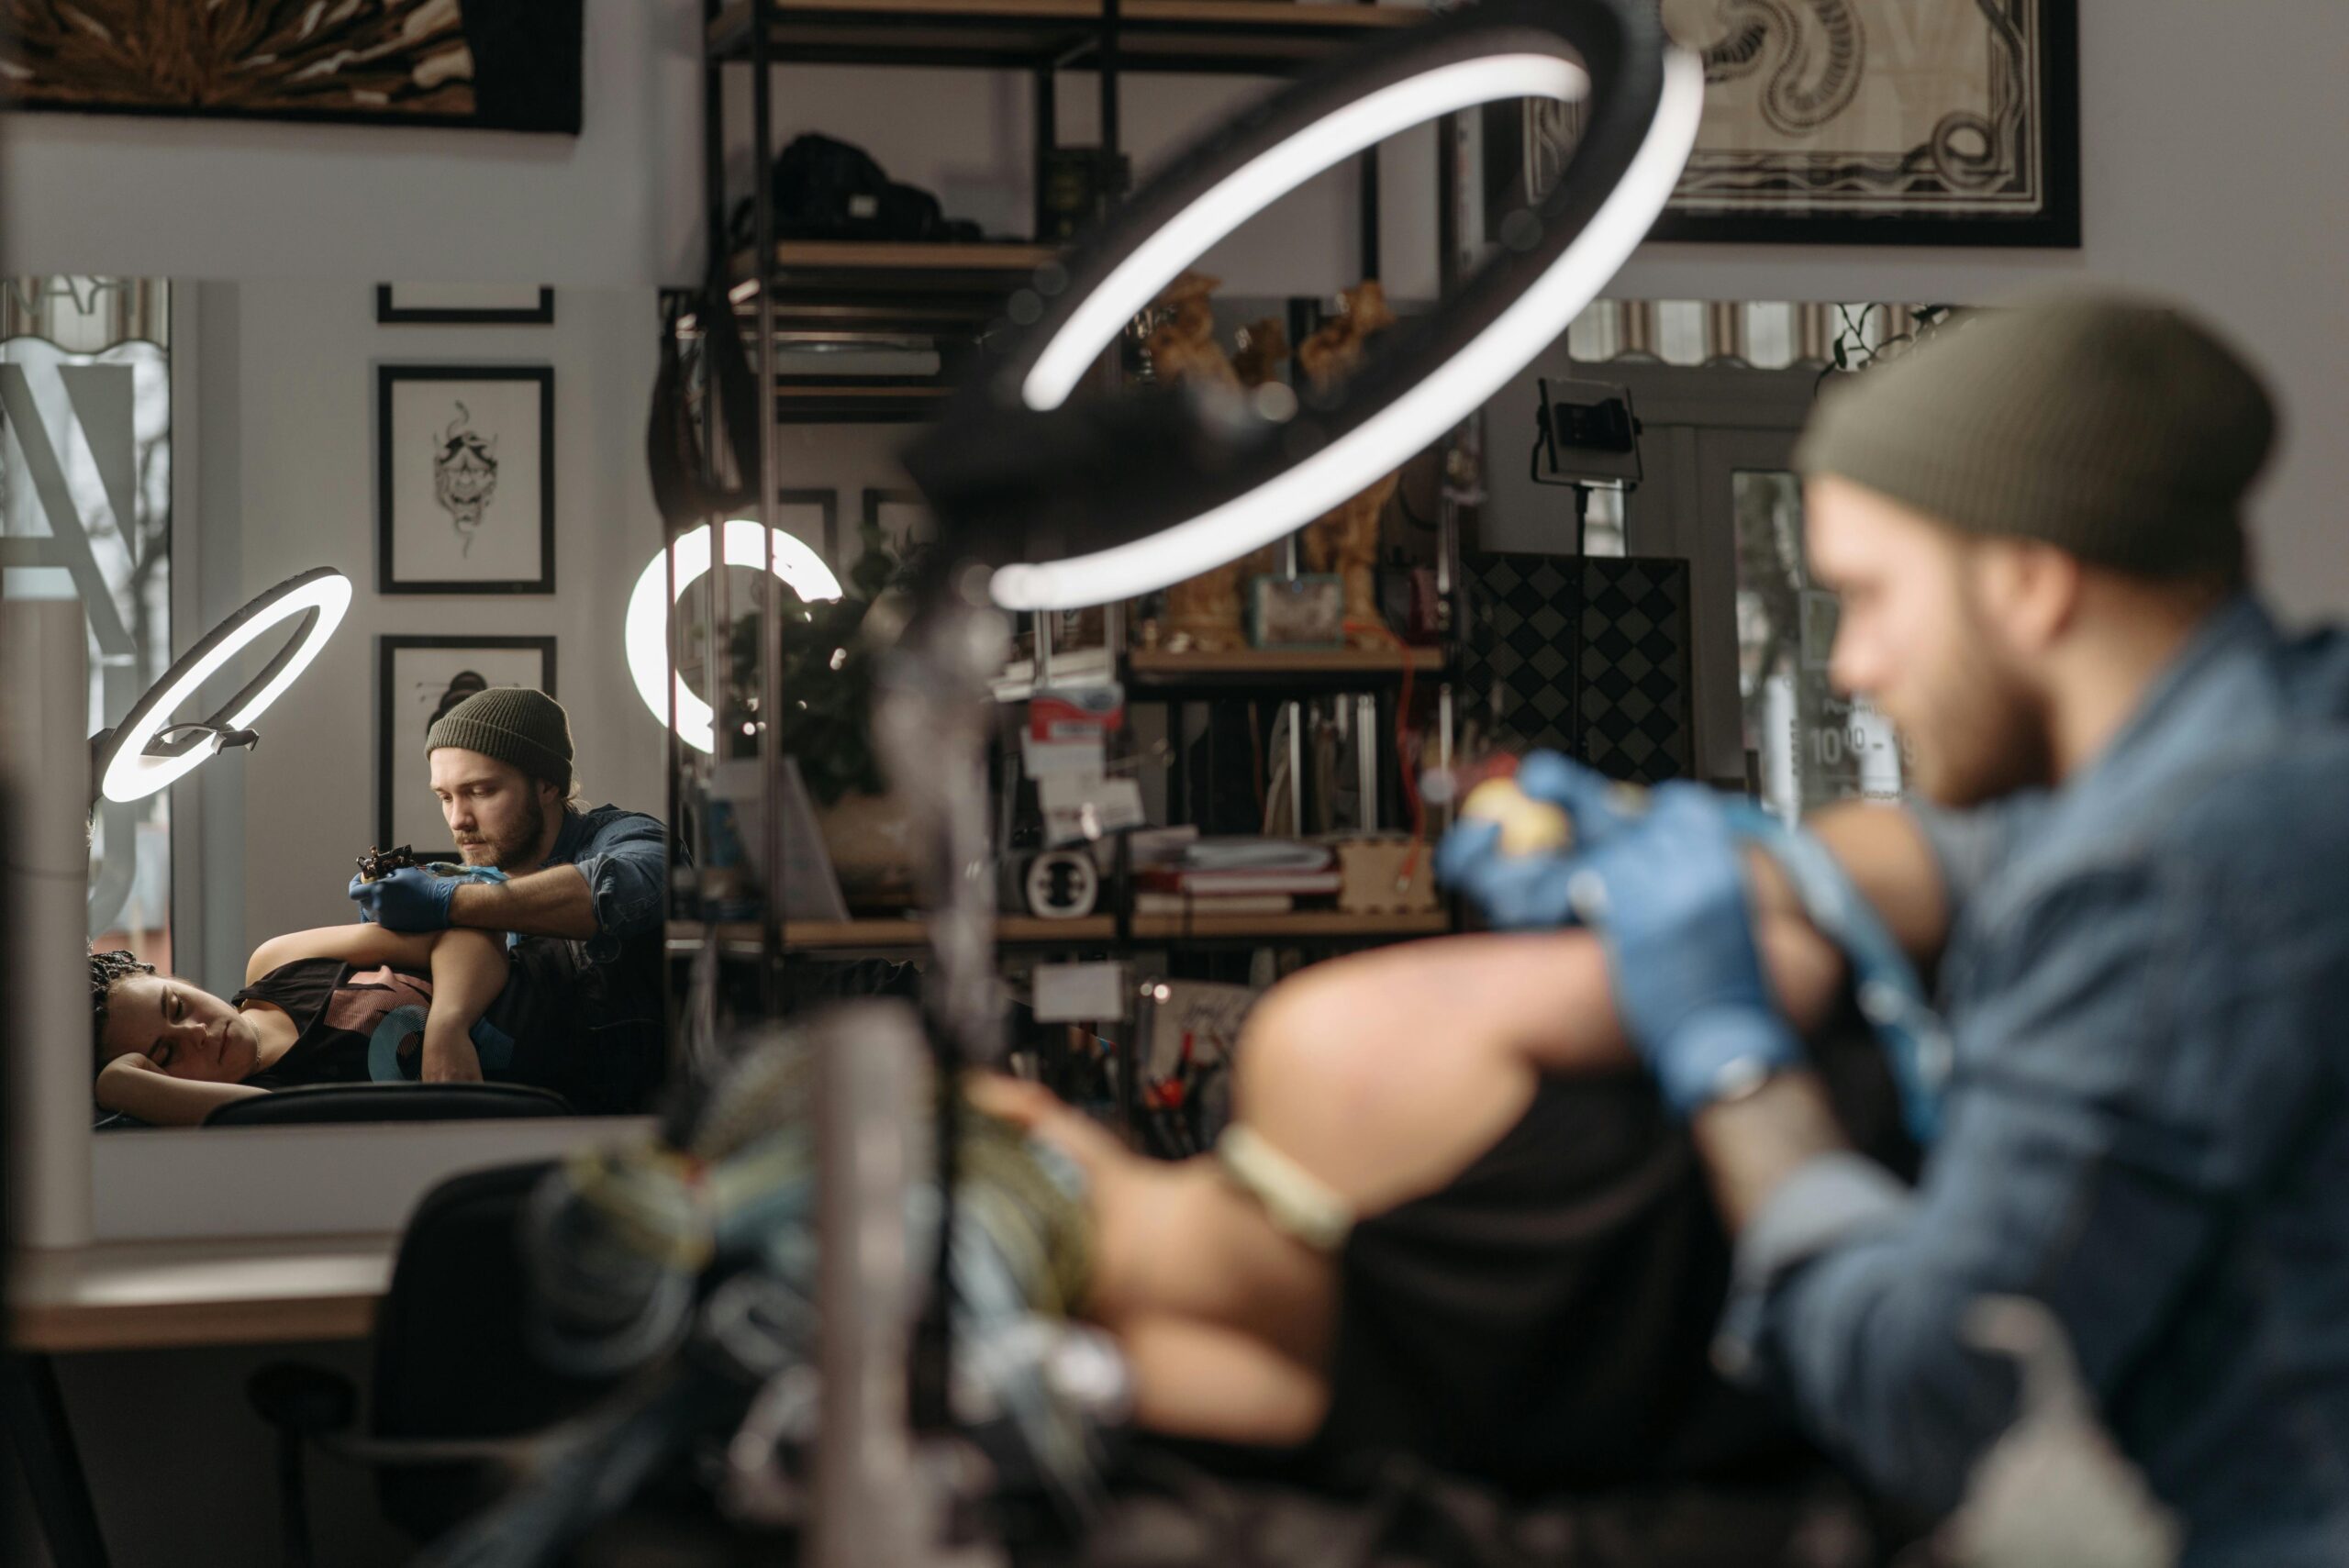
Step 1: The Discovery Consultation (30-45 Minutes)
Successful custom work begins with comprehensive consultations that gather far more information than basic size and placement discussions. Deep understanding of client motivations, aesthetic preferences, and lifestyle considerations informs designs that genuinely resonate.
Essential Discovery Questions
Begin consultations with open-ended questions encouraging detailed responses rather than yes/no answers:
Meaning and Motivation: “Tell me the story behind wanting this tattoo. What does it represent for you?” Understanding emotional significance helps identify which design elements carry most importance versus decorative additions.
Aesthetic Preferences: “Walk me through tattoo styles you love and hate. What draws you to certain aesthetics?” Many clients lack technical vocabulary but can identify preferences through examples. Show your portfolio diversity, gauging reactions to different approaches.
Reference Imagery Analysis: “What specifically appeals to you in these reference images?” When clients share inspiration photos, they often focus on one element whilst you might emphasise different aspects. Clarification prevents designing toward wrong priorities.
Lifestyle Integration: “Where will this tattoo sit in your life? How visible do you want it? How does it relate to existing or planned tattoos?” Placement and sizing decisions impact design approach significantly.
Long-term Vision: “Where do you see yourself with this tattoo in 10-20 years?” This question helps gauge whether clients want trendy designs they’ll regret or timeless work they’ll appreciate permanently.
Reading Between the Lines
Clients often struggle articulating true desires, requiring interpretation skills that develop through experience. Common translation needs include:
“I want something unique” often means “I want something recognisably within a popular style but personalised.” True uniqueness sometimes intimidates clients despite stated desires.
“I’m open to your creative vision” can mean genuinely trusting your artistry or having no clear ideas and hoping you’ll solve everything. Distinguish between these through additional questioning.
“Make it meaningful” suggests emotional weight requiring design elements carrying genuine symbolism rather than purely decorative beauty.
“Keep it simple” might mean actually simple (fine line, minimalist) or relative simplicity compared to highly detailed realism, requiring clarification about aesthetic reference points.
Document consultation extensively through written notes, recorded audio (with permission), or detailed form completion. Memory fails; documentation ensures accuracy when designing days or weeks later.
According to research from professional client communication studies at NCBI, structured consultation approaches reduce design revision requests by 60-70% compared to casual conversation methods.
Step 2: Concept Development and Preliminary Sketches (1-3 Hours)
Following consultation, translate gathered information into preliminary visual concepts that explore design directions before committing to detailed execution.
Brainstorming and Visual Research
Begin with unstructured brainstorming, sketching thumbnail concepts rapidly without self-editing. Generate 10-15 rough ideas exploring different compositional approaches, style treatments, and element combinations.
Research relevant imagery for technical accuracy and inspiration—if designing a botanical tattoo, study actual plant structure ensuring anatomical believability. Reference research prevents generic or inaccurate representations that mark amateur work.
Create mood boards combining client references with your own inspiration sources, establishing visual direction before detailed drawing begins. Digital tools like Pinterest or Canva facilitate quick mood board assembly showing stylistic cohesion.
Statistics Canada research on creative industries shows that systematic creative processes produce more innovative outcomes than purely spontaneous approaches.
Composition and Flow Considerations
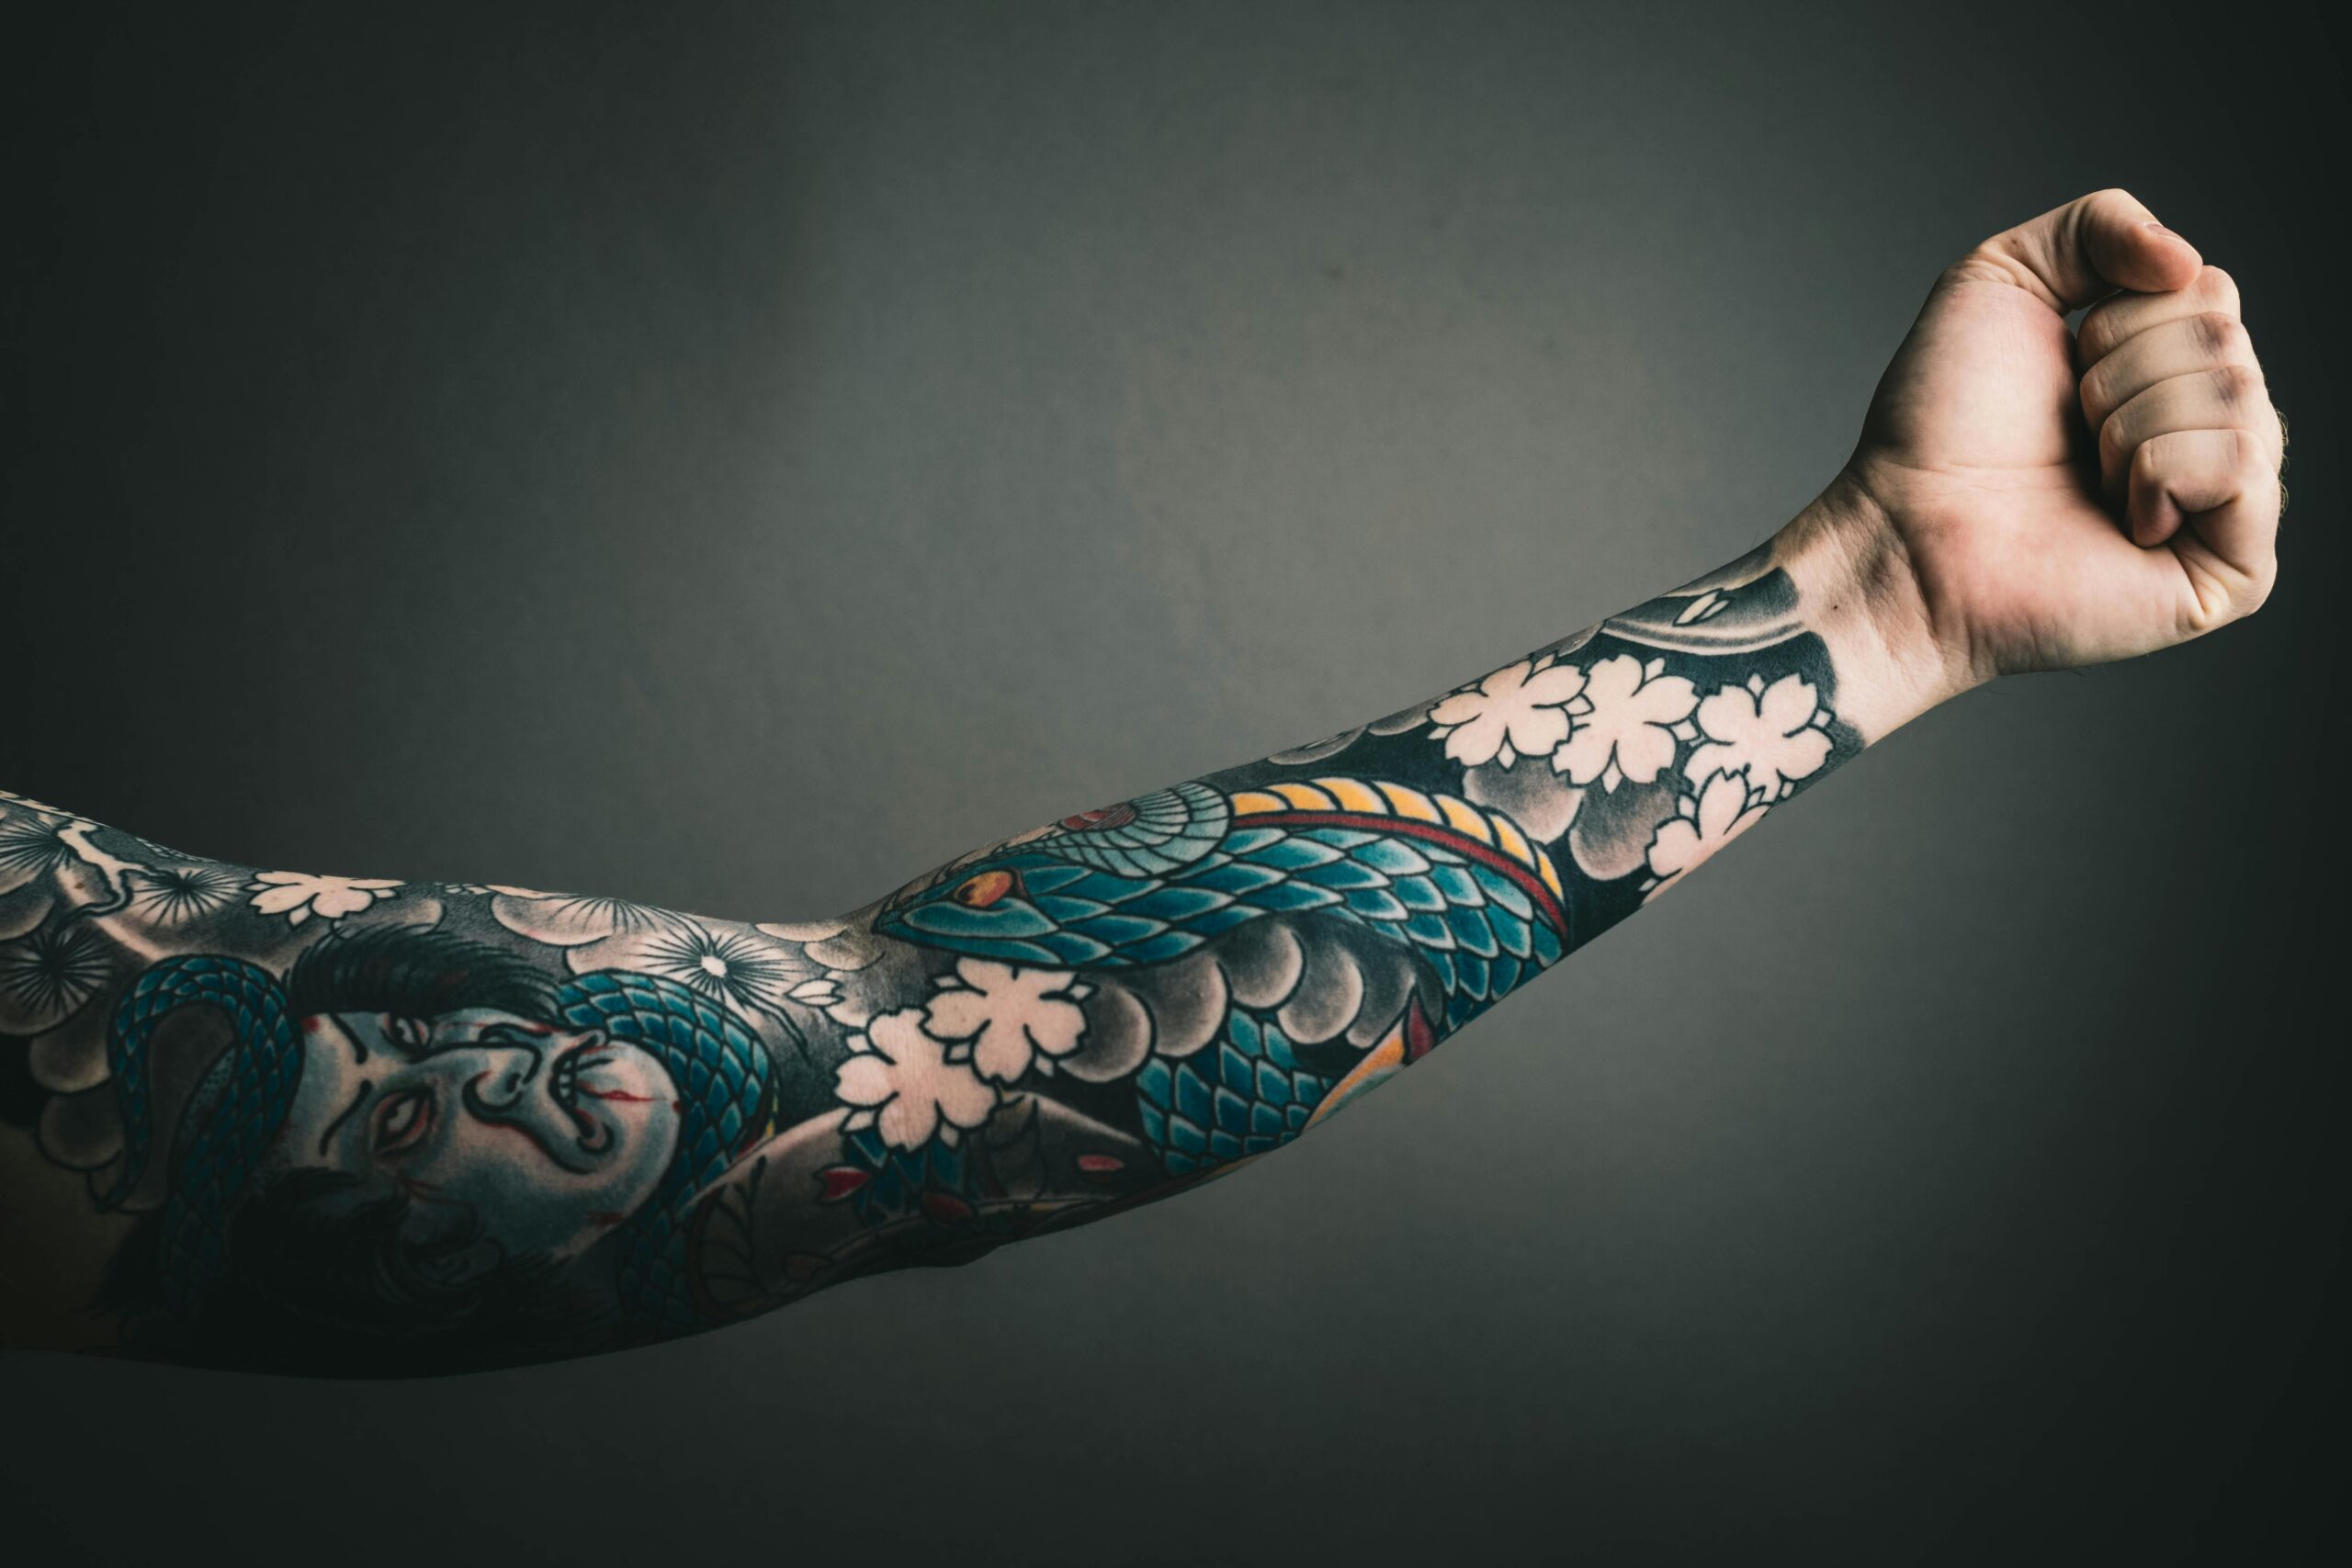
Custom tattoos must flow with body anatomy rather than fighting against it. Consider how designs wrap around muscles, follow bone structure, or complement natural body contours.
Sketch designs directly on body photographs or tracings showing actual placement, ensuring compositions work three-dimensionally rather than as flat graphics. Common design failures involve ignoring anatomical reality, creating awkward visual relationships when applied to actual bodies.
For larger pieces, consider viewing angles and how designs present when body parts position naturally versus extended for tattooing. Back pieces might look perfect flat but lose impact when shoulders hunch naturally. Arm designs must work from all viewing angles, not just straight-on presentation.
Your technical foundation in design principles ensures custom work succeeds technically alongside artistic merit.
Style Translation
Translate client references into your artistic style rather than copying directly. If someone shows realism reference but you specialise in illustrative work, show how their concept translates into your aesthetic rather than attempting mimicry outside your strengths.
Honest communication about style capabilities prevents disappointing clients who expect exact replication of references outside your expertise. Better to redirect clients toward artists better suited for specific styles than accept work you’ll execute poorly.
Present 2-3 preliminary concept directions offering variety whilst staying within parameters established during consultation. Too many options create decision paralysis; too few suggests limited creative thinking.
Step 3: Client Feedback and Revision Process (Varies)
Present preliminary concepts through clear communication that invites specific feedback whilst guiding toward productive revisions.
Presentation Framework
When showing designs, explain your thinking process connecting design choices to consultation discussion: “You mentioned loving botanical elements with delicate aesthetic, so I developed this piece using fine line technique and Canadian wildflowers carrying the symbolic meanings you described.”
Connecting designs directly to client input demonstrates listening and thoughtfulness, increasing acceptance rates and reducing arbitrary revision requests.
Present digitally mockups showing designs scaled appropriately on body placement, helping clients visualise actual appearance rather than evaluating flat drawings divorced from context.
Managing Revision Requests
Establish clear revision policies from the beginning: typically 1-2 revision rounds included in quoted price, with additional extensive redesigns subject to fees. This prevents endless revision cycles consuming disproportionate time.
When receiving revision requests, distinguish between: minor adjustments (element sizing, positioning tweaks, detail additions), moderate changes (style modifications, composition restructuring), and complete redesigns (different concept entirely).
Minor adjustments indicate general approval with refinement needs. Moderate changes suggest design direction needs significant adjustment. Complete redesign requests signal miscommunication during consultation requiring additional conversation before proceeding.
Saying No Productively
Sometimes client requests would compromise design integrity or your artistic standards. Develop tactful refusal language: “I understand that idea appeals to you, but incorporating it would create visual conflict with these other elements. Instead, consider this alternative achieving similar effect whilst maintaining cohesion.”
Frame refusals around design principles and client benefit rather than personal preference, helping clients understand your professional perspective serves their interests.
According to professional practice guidelines from the Alliance of Professional Tattooists, collaborative design processes increase client satisfaction by 40% compared to artist-dictated approaches, whilst maintaining creative control through structured frameworks.
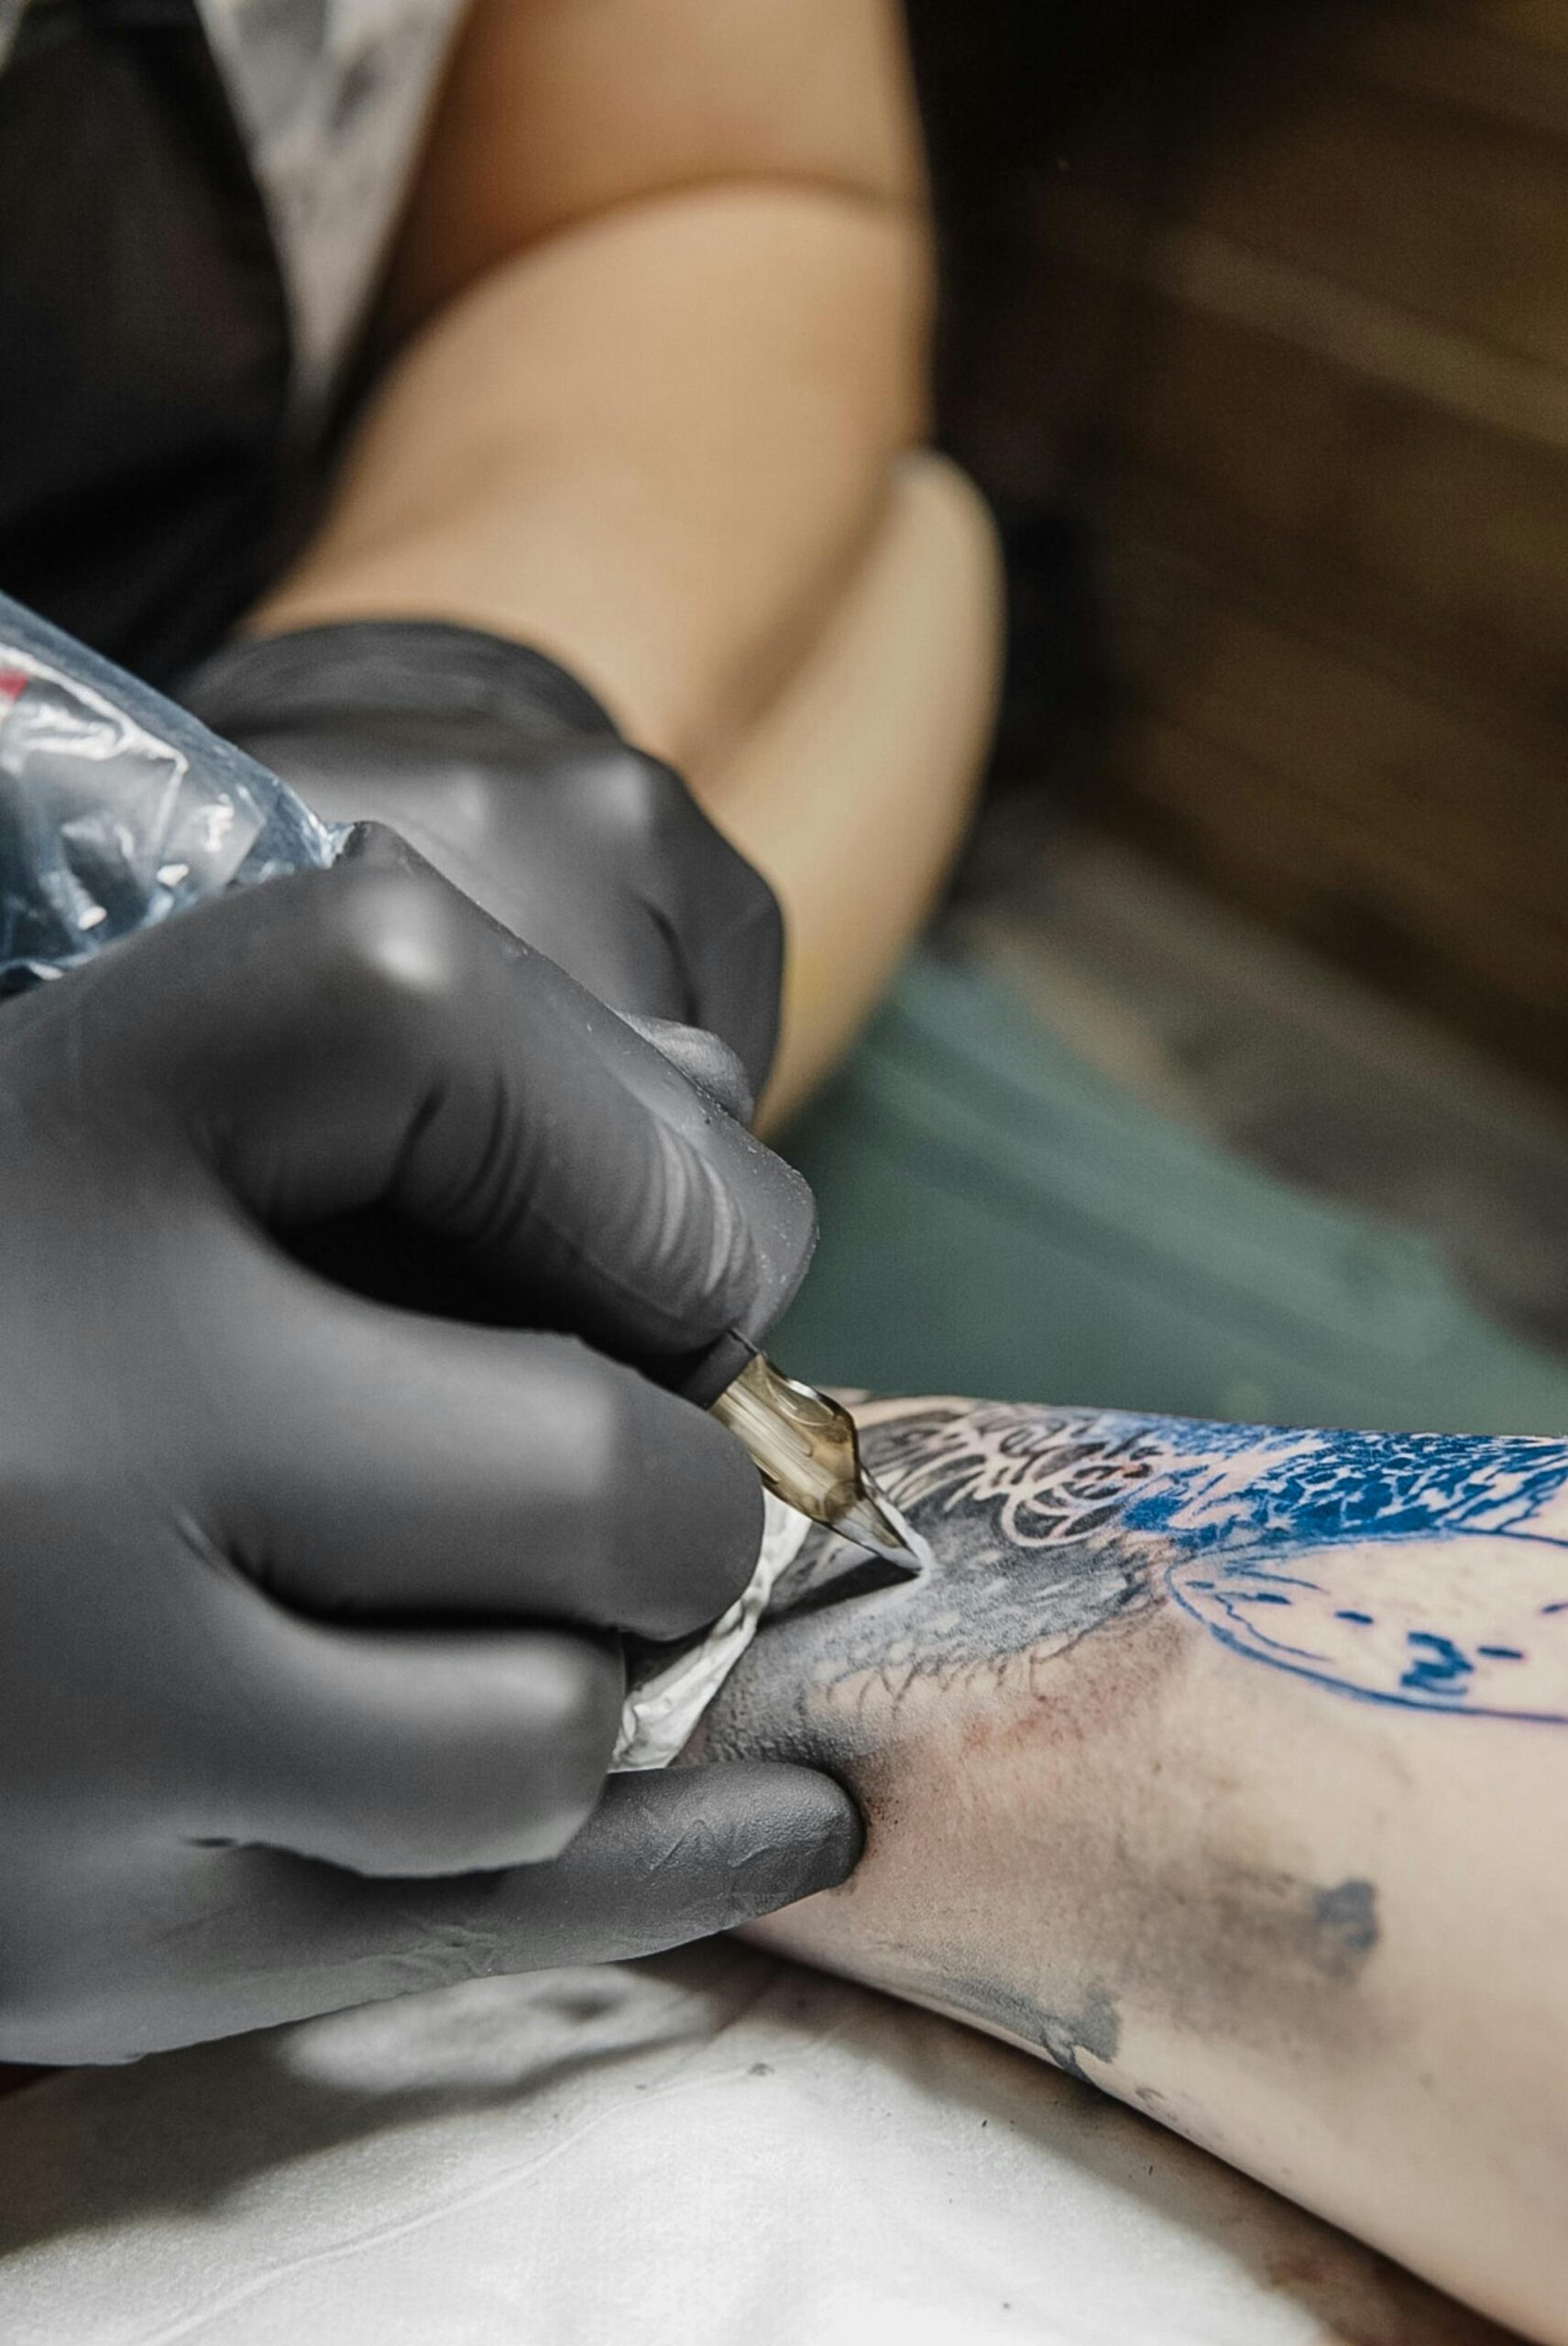
Step 4: Final Design Refinement and Stencil Preparation (2-4 Hours)
Once concept approval occurs, invest time in detailed refinement ensuring every element executes beautifully whilst functioning technically as tattoo stencil.
Detail Development
Refine all design elements to final execution standard, ensuring: line weights appropriate for size and placement, adequate spacing preventing elements from merging during healing, technical feasibility given your skill level and equipment, and scale compatibility with intended body placement.
Many designs work beautifully at large scale but lose critical detail when reduced to actual tattoo size. Test designs at intended scale, ensuring readability and impact at realistic dimensions.
Add healing considerations: bolder outlines for areas healing challenged (hands, feet), higher contrast for pieces that will experience significant sun exposure, and simplified details in areas where precision proves difficult (inner arm, ribcage).
Health Canada’s body art safety guidelines inform technical standards ensuring designs translate safely and effectively to skin.
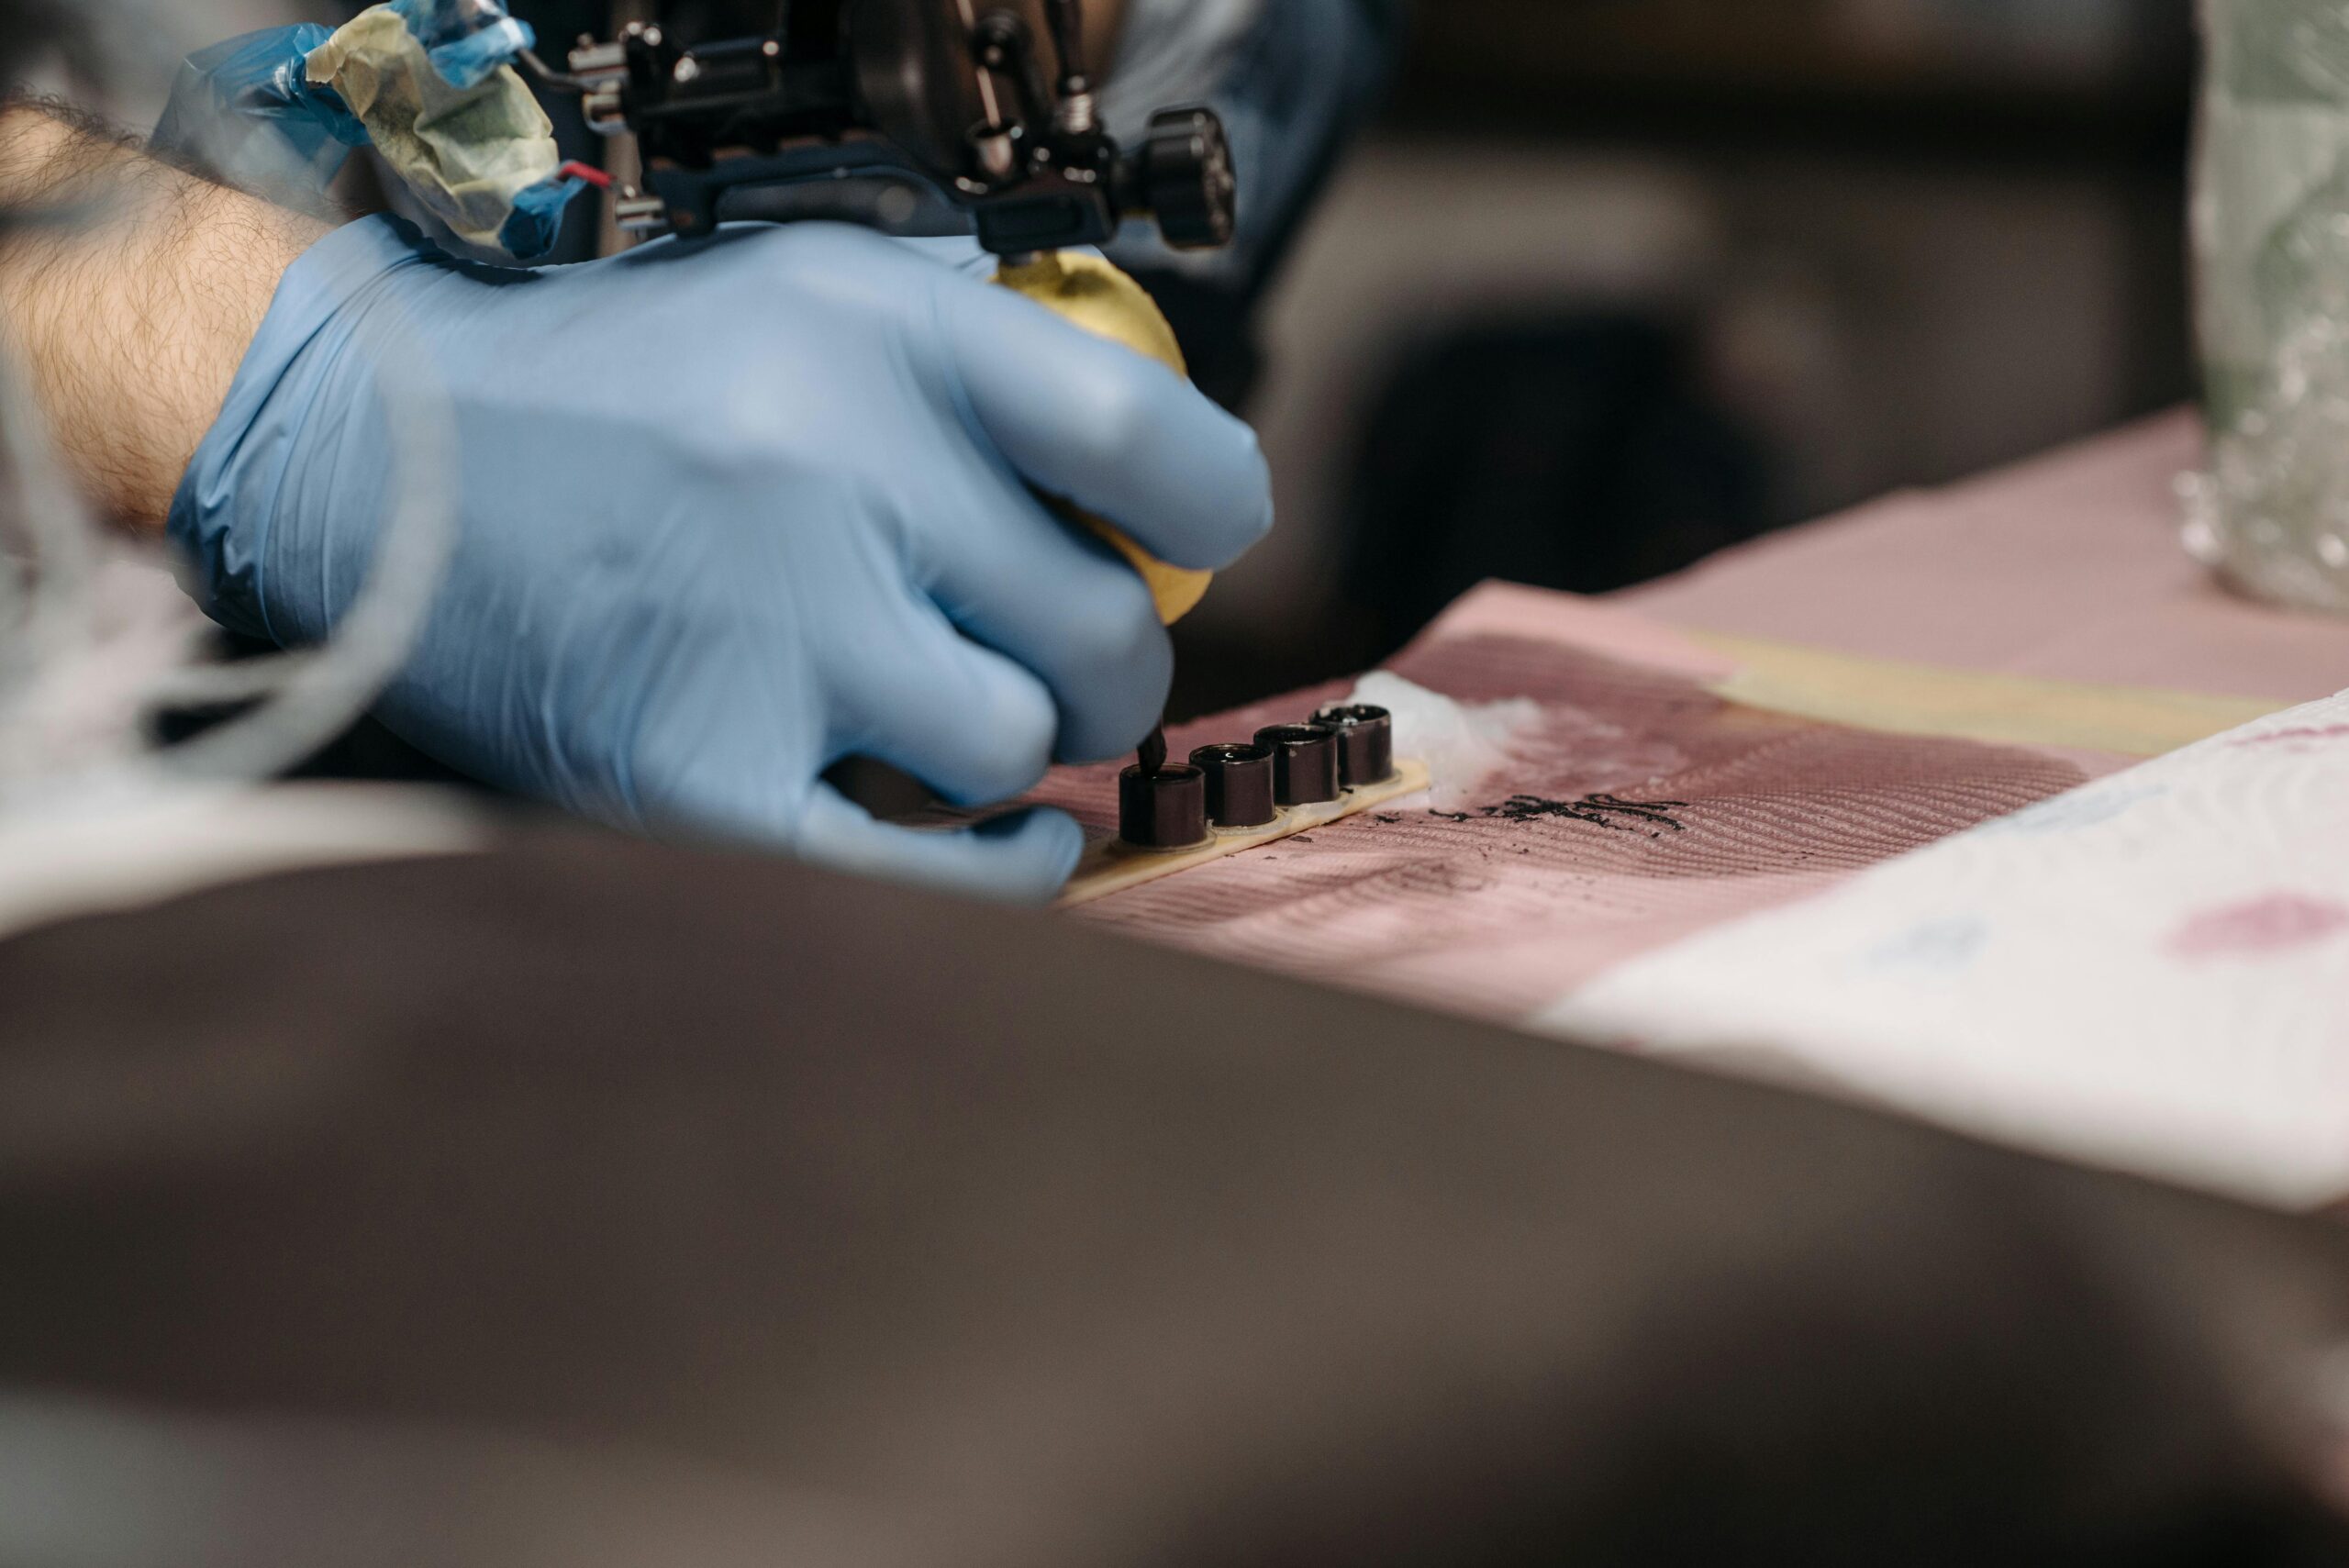
Stencil Creation Best Practices
Transfer final designs to thermal stencil paper using approaches that maximise stencil clarity and durability during tattooing:
Use bold, clear lines in stencil creation—subtle grey washes don’t transfer effectively. Ensure adequate contrast distinguishing all design elements.
Consider creating multiple stencil versions for complex pieces: outline-only stencils for initial line work, shading guides for grayscale development, and reference prints showing final intended appearance.
For extremely large or complex pieces, create sectional stencils allowing application across multiple sessions whilst maintaining proportional accuracy.
Test stencils on practice skin when possible, confirming transfer quality and ensuring you can execute the design as stenciled.
Your stencil application expertise directly impacts custom design execution quality—even perfect designs fail without proper transfer.
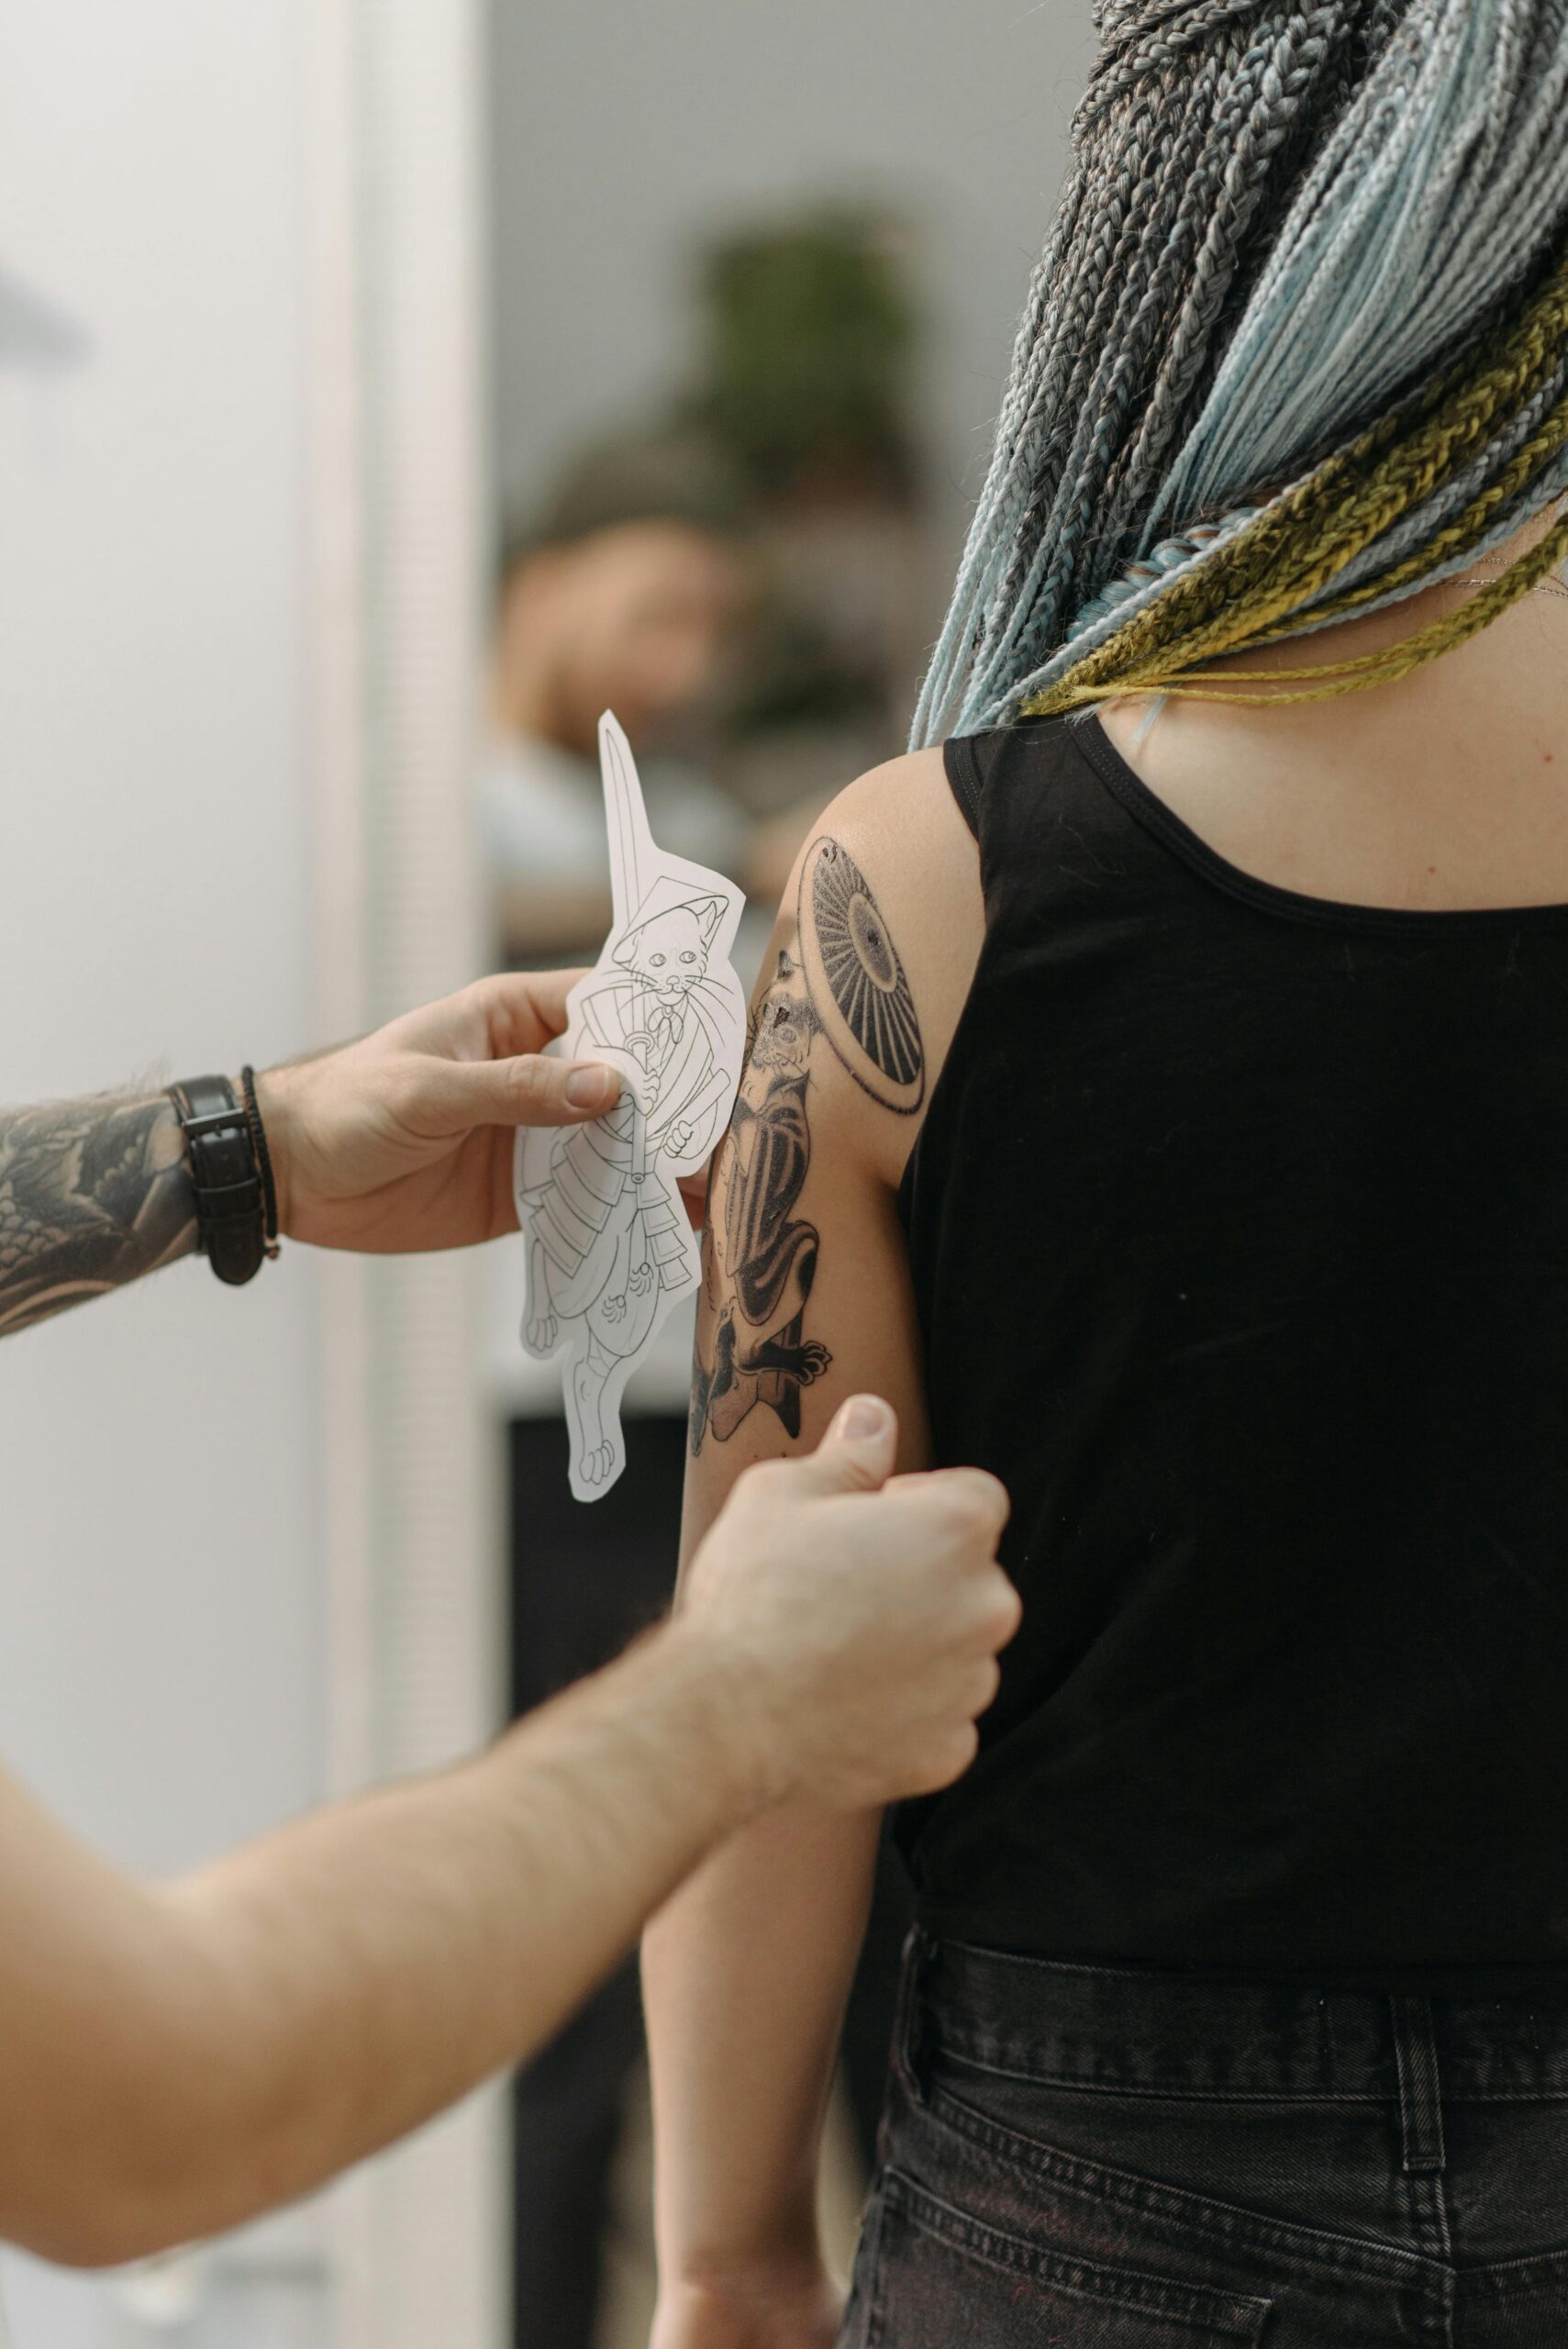
Final Client Approval
Show final refined designs and stencil to clients before appointment day, preventing surprise or disappointment when arriving for tattooing. This final checkpoint catches any lingering concerns whilst time remains for adjustments.
Some artists prefer revealing final designs on appointment day, creating dramatic moment and preventing last-minute change requests. However, this approach risks disappointing clients without opportunity for correction, potentially losing both appointment and deposit.
Digital approval processes (email or messaging app) create documentation of design approval, protecting against claims you deviated from agreed design.
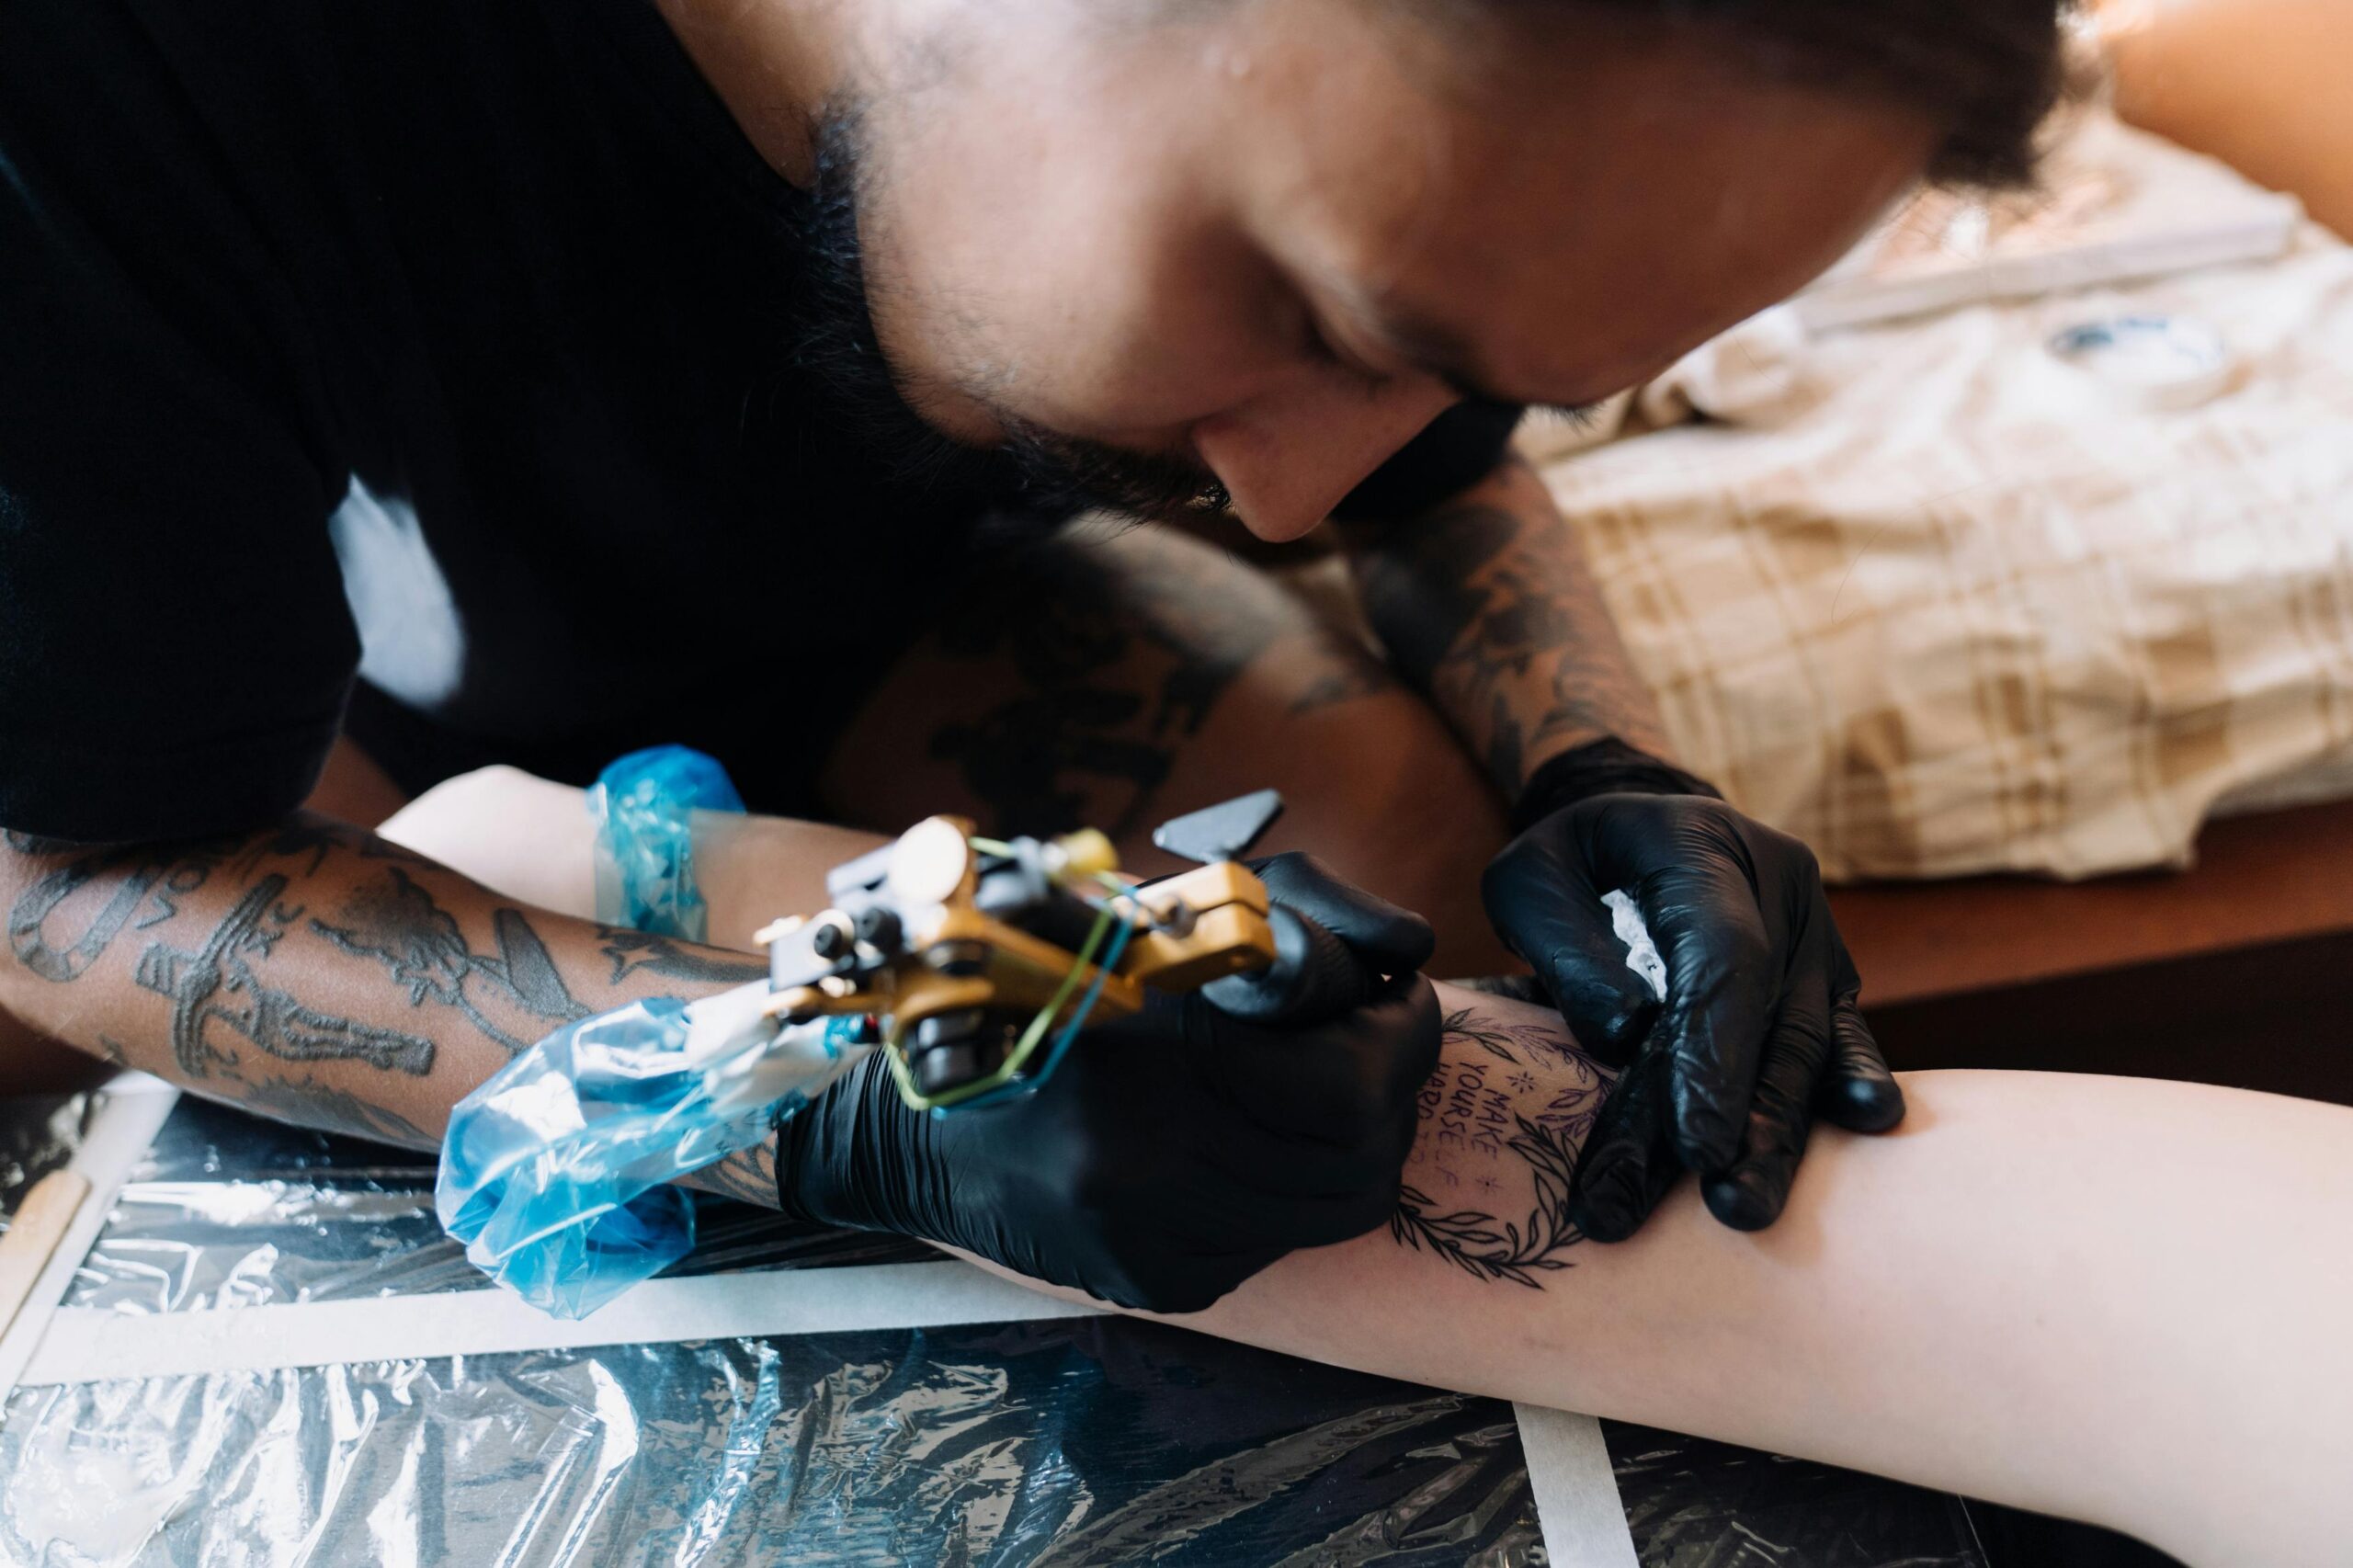
Step 5: Execution and Adaptive Problem-Solving (Varies by Piece)
Even perfectly planned designs require adaptive problem-solving during execution as reality introduces variables preliminary planning cannot predict.
Starting with Confidence
Begin tattooing confidently, trusting your preparation rather than second-guessing mid-execution. Hesitation appears in final work, creating tentative lines and inconsistent application that undermines design quality.
Apply stencils deliberately, taking time ensuring perfect placement and alignment. Rushed stencil application creates cascading problems throughout tattooing process.
Photograph fresh stencil from multiple angles before beginning work—these references prove invaluable as stencils fade during extended sessions.
Adaptive Adjustments
Despite thorough planning, tattooing sometimes requires design adjustments based on: body contour realities differing from predictions, client pain tolerance affecting complexity you can execute, healing concerns about areas looking more challenged than anticipated, or technical challenges arising during execution.
Make adjustments confidently without lengthy consultation mid-session—clients trust your expertise and excessive questioning undermines confidence. Significant changes warrant brief discussion, but minor compositional adjustments fall within your creative discretion.
Line Weight Adjustments: Increase line weight slightly for areas proving difficult to work cleanly, ensuring readability despite technical challenges.
Detail Simplification: Reduce complexity in sections where precision proves impossible due to body movement, client discomfort, or skin texture issues.
Compositional Refinement: Adjust element positioning slightly for better flow around unexpected anatomical features.
Document any significant deviations photographically, both protecting yourself from client claims and providing learning opportunities for future planning improvement.

Maintaining Design Integrity
While adaptive problem-solving proves necessary, maintain core design vision rather than making dramatic changes that create fundamentally different pieces than approved.
If substantial changes become necessary mid-session, communicate with clients about options: proceeding with modifications, breaking into multiple sessions allowing redesign time, or abandoning attempt entirely (extremely rare but occasionally necessary).
Professional integrity sometimes requires disappointing decisions protecting client interests and your reputation rather than forcing execution when circumstances won’t support quality results.
Canadian Dermatology Association guidance emphasises that proper execution technique directly impacts healing outcomes and final tattoo appearance.
Common Custom Design Mistakes
Several predictable errors undermine custom work quality and client satisfaction. Awareness helps you avoid these issues.
Over-Complicating Designs
Excitement about showcasing capabilities leads many artists to add excessive detail overwhelming designs and creating maintenance nightmares during healing. Restrain impulses toward maximum complexity, focusing instead on impactful simplicity that ages beautifully.
According to guidance from professional tattoo education resources, 60% of revision requests result from over-detailed designs that would have succeeded with strategic simplification.
Ignoring Placement Realities
Designing without considering actual body placement creates beautiful flat graphics that translate poorly to three-dimensional anatomy. Always design for specific placement, understanding how body contours affect visual reading.
Inadequate Client Communication
Assuming you understand client desires without thorough consultation creates designs missing the mark despite technical excellence. Invest time in discovery preventing wasted design effort and client disappointment.
Perfectionism Paralysis
Endless refinement pursuing impossible perfection prevents completion and creates anxiety affecting execution quality. Develop clear “good enough” standards allowing timely progression whilst maintaining quality standards.
Building Sustainable Custom Work Practices
Custom design requires time investment that must balance profitably against compensation received. Develop systems preventing excessive unpaid design time whilst maintaining quality.
Design Fee Implementation
Consider implementing design fees for extensive custom work: $50-150 CAD deposits applied toward final cost compensating significant drawing time. This filters genuinely committed clients from casual browsers whilst valuing creative labour appropriately.
Communicate design fees clearly: “Custom designs requiring more than two hours drawing time include $100 design fee applying toward final tattoo cost. This compensates creative work whether you ultimately proceed with tattooing.”
Time Management Systems
Set clear timeframes for each design phase preventing endless refinement: consultation within one week of enquiry, preliminary concepts within 5-7 days of consultation, revisions completed within 3-5 days of feedback, and final design approval minimum 48 hours before appointment.
Structured timelines create momentum whilst managing client expectations about turnaround, preventing pressure for rushed design work that compromises quality.
Business Development Bank of Canada resources provide frameworks for pricing creative services that apply directly to custom tattoo design work.
Professional Training Develops Design Capabilities
Custom design skills require artistic development, technical knowledge, and communication capabilities that professional training accelerates dramatically compared to self-teaching approaches.
At Omnia Tattoo Academy, our comprehensive online tattoo courses include dedicated modules on custom design processes, covering consultation techniques, compositional principles, style translation, and execution strategies that transform client ideas into stunning tattoos. You’ll develop systematic approaches that work reliably whilst allowing creative expression that builds your unique artistic voice.
Our experienced tutors provide personalised feedback on your design work, helping you refine artistic capabilities whilst developing client communication skills essential for custom work success. With six-day weekly support and self-paced learning, you’ll master custom design at a pace that suits your development needs.
Design Confidently from Day One
Ready to develop the custom design capabilities that command premium pricing and build sustainable tattoo careers? Our comprehensive tattoo courses provide artistic training, technical skills, and business systems—everything you need for successful custom tattoo work.
Join Canadian artists who’ve built thriving practices through Omnia’s proven training methodology. With flexible payment plans starting at $39 per week, professional equipment included, and comprehensive design and execution training, you’ll develop the complete skill set modern custom tattoo work requires.
Explore our online tattoo course options today and start creating the custom designs that showcase your artistic vision.